
This is a combo of Weeks 4 and 5 for the One Room Challenge because I didn’t get a chance to share an update last week, even though there was lots happening!
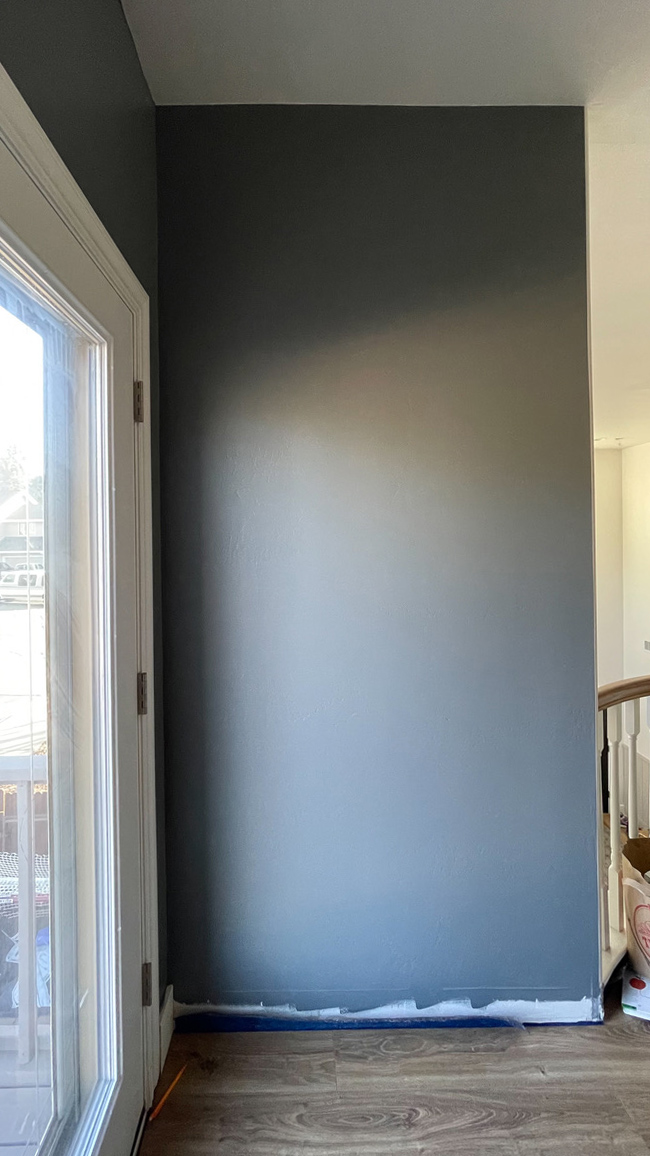
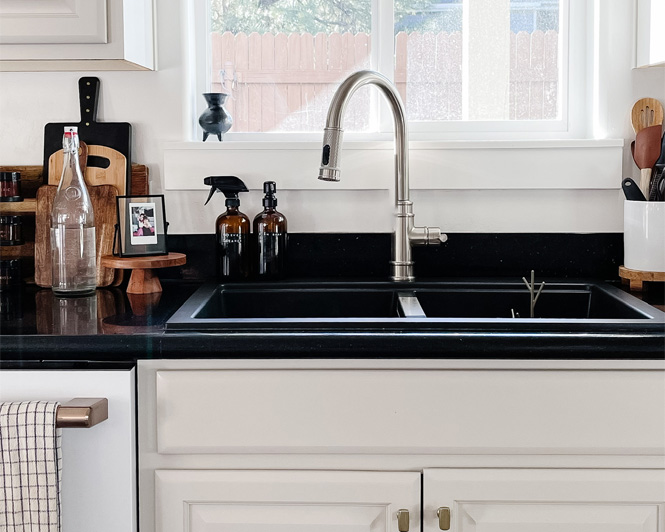
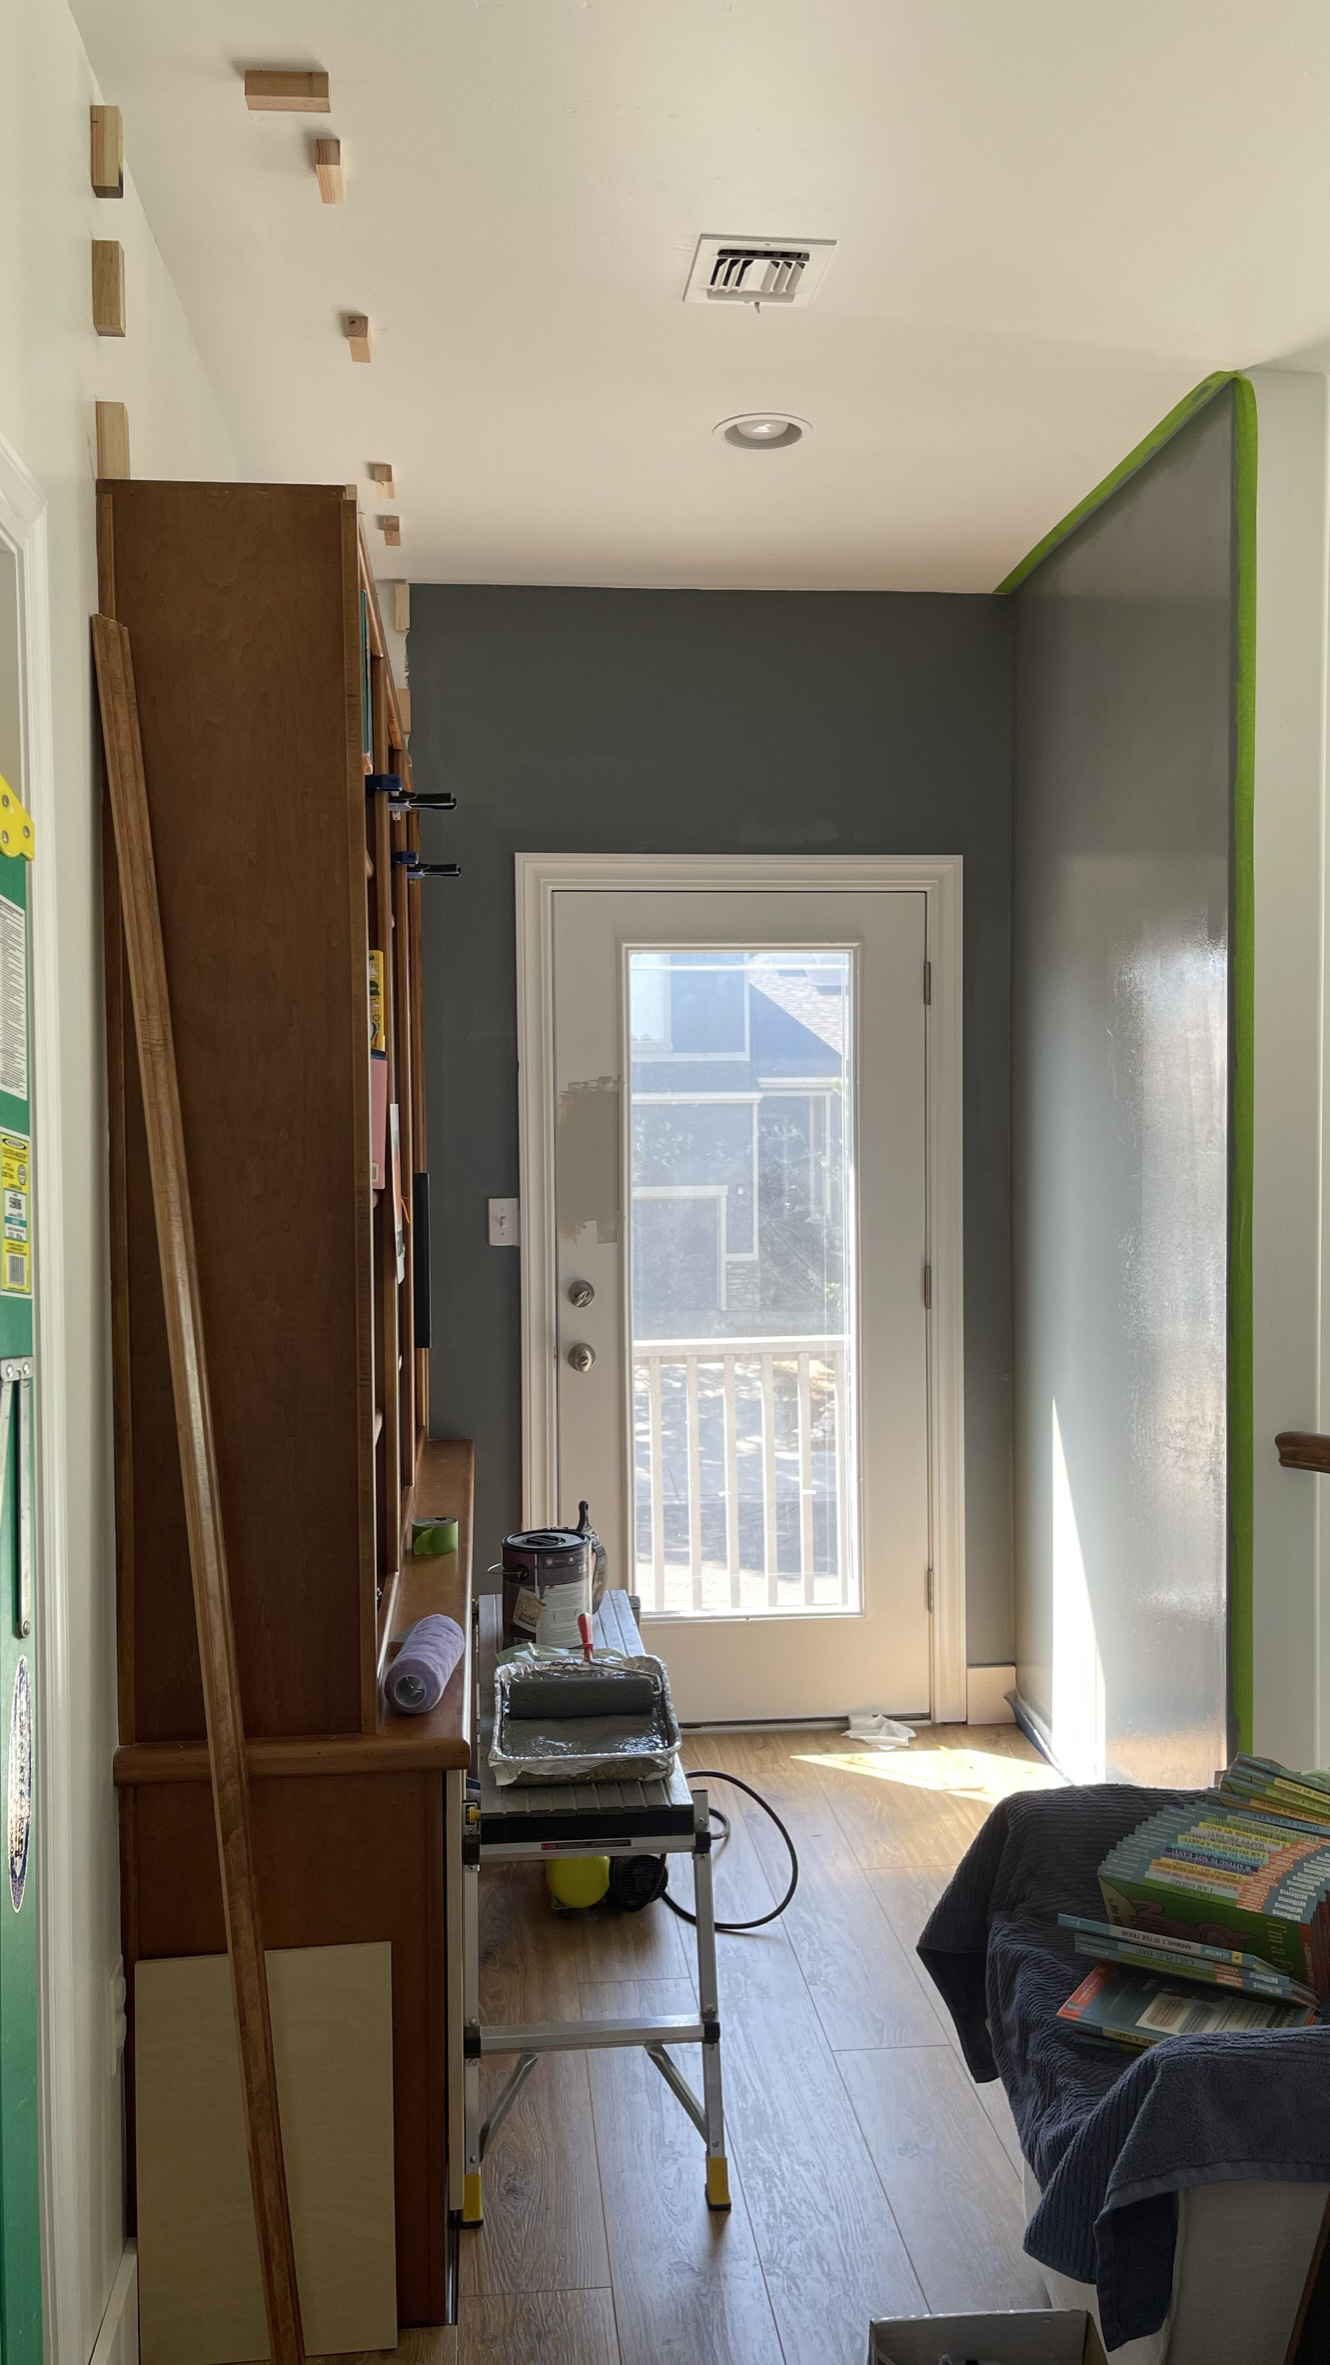
I finally picked a paint color and painted two walls in the nook. It’s a perfect shade of dusty blue, not too light and not too dark. It turned out beautifully and I’m so happy with it.
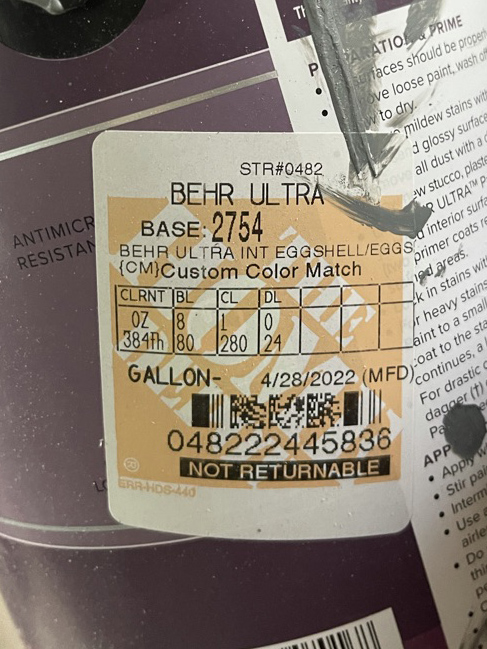
I mixed the color on my own using Farrow & Ball’s Down Pipe and Benjamin Moore’s Revere Pewter. You can find the code in the photo above. Save it for future reference!
On the other side of the nook, I cut support blocks and added those to the ceiling, walls, and top of the bookshelves using glue and nails. The front face plywood will attach to these support blocks.
Next, I drilled pilot holes to the front facing board in order to route the light fixture cords through before nailing the board to the top. If I skipped this step, I would have lost access behind the board.
Before nailing the board in place, I re-wired the light fixtures to make sure everything worked. Again, if I didn’t do this and nailed the board up and it didn’t work, I’d have to remove everything and start over. This was super easy now that I knew how to do it!
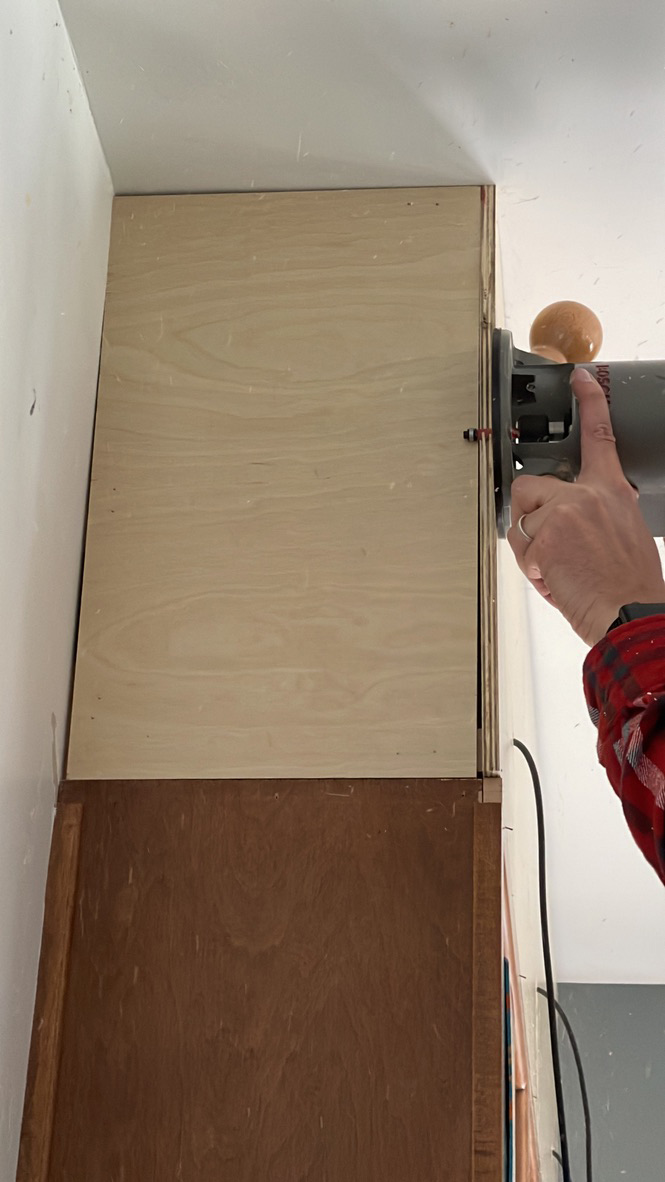
Finally, we used glue and nails to secure the board in place. The side of the bookshelves needed a little fine tuning in size because I took a wrong measurement. You’ll see in the photo below that we had to route the front board down slightly to get everything nice and flush.
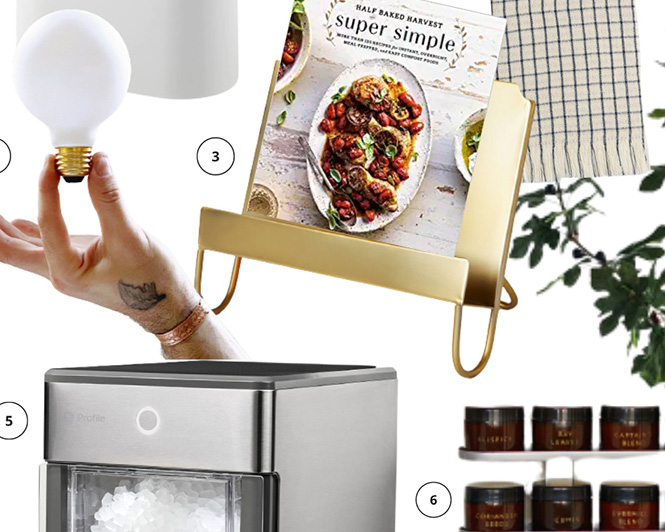
Then I screwed the wall plates to the plywood and attached the light fixtures! I love them so so much. I have been dreaming of adding these lights and making the bookshelves built-in for years and I’m beyond thrilled at the direction this is headed.
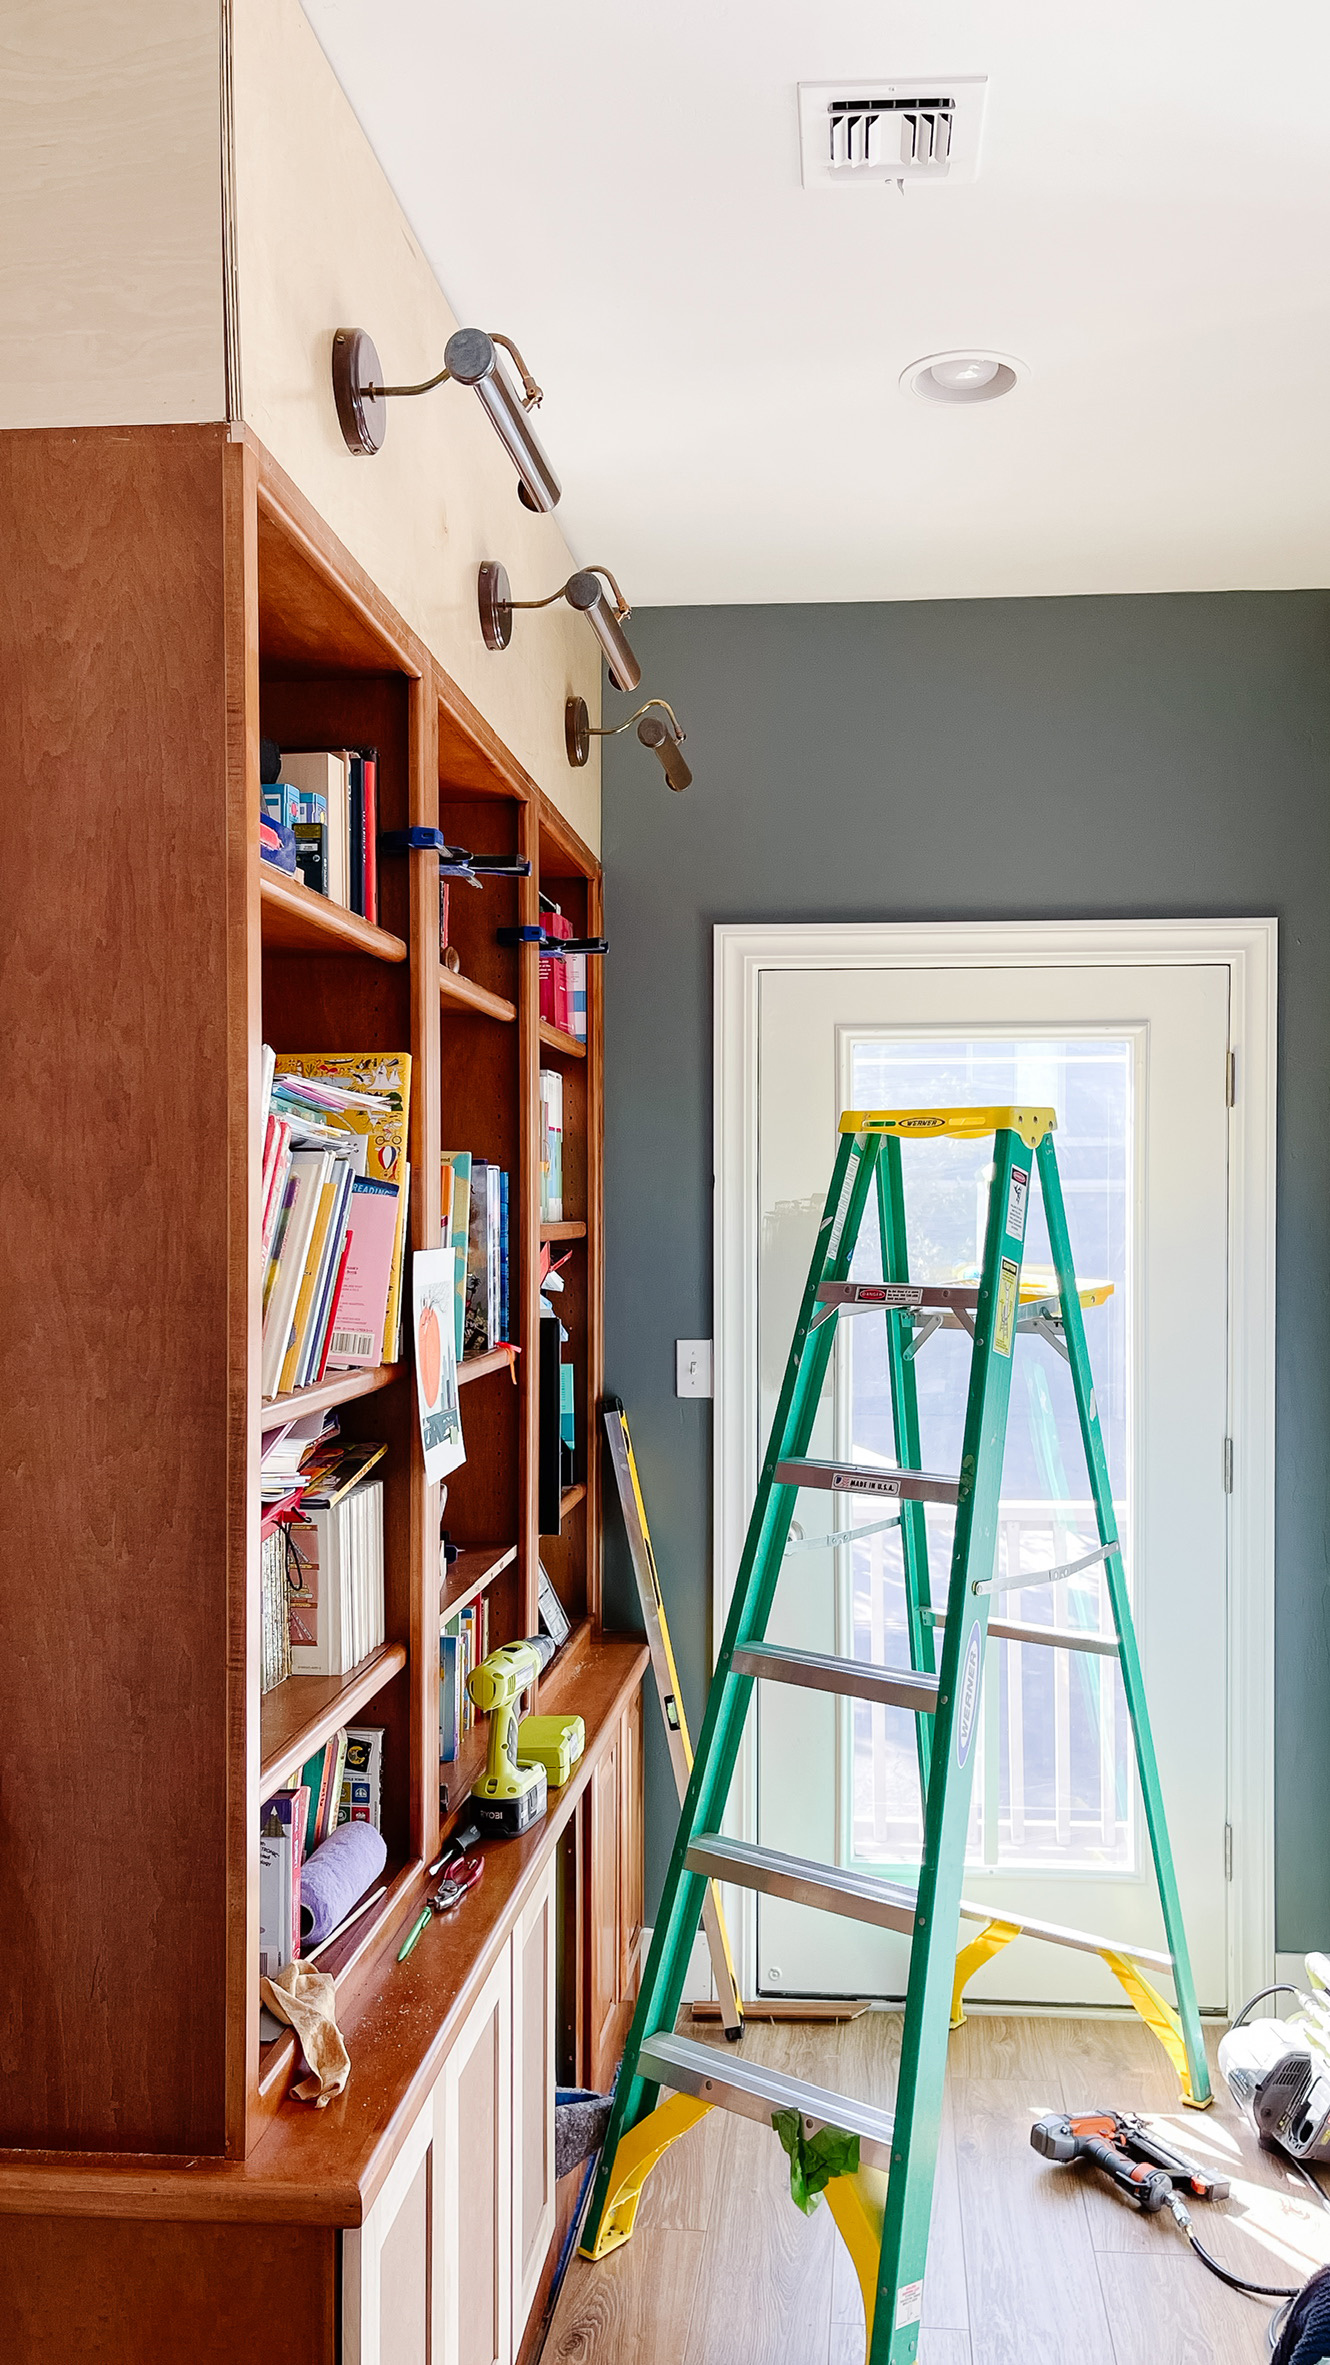
After I put my girls to sleep, I stopped over to the reading nook to turn the lights on, out of curiosity. I could not stop smiling! It was so cozy. The temperature of the light bulbs was perfect — not too warm and not too cool. It gave off just the right amount of light and the direction of the shelves illuminated the books. Love love love.

Next up is adding trim to the top of the bookshelves, cabinet doors, and painting.
Thank you to Apartment Therapy for hosting the One Room Challenge. To see the progress of other ORC participants, click here.
Catch up on previous posts here:
Related Posts


Hi, I’m Tiffany!
I’m so glad you’re here. I hope you’ll see this space as a source of inspiration and encouragement to take the first step in making your home a place you want to be, wherever that may be.
You can expect to find approachable DIY projects and tutorials, opinions on home design, and all the fun stuff that comes up in-between.
