
It’s been really fun looking through all of the guests participants in the One Room Challenge and seeing everyone’s visions!
View this post on Instagram
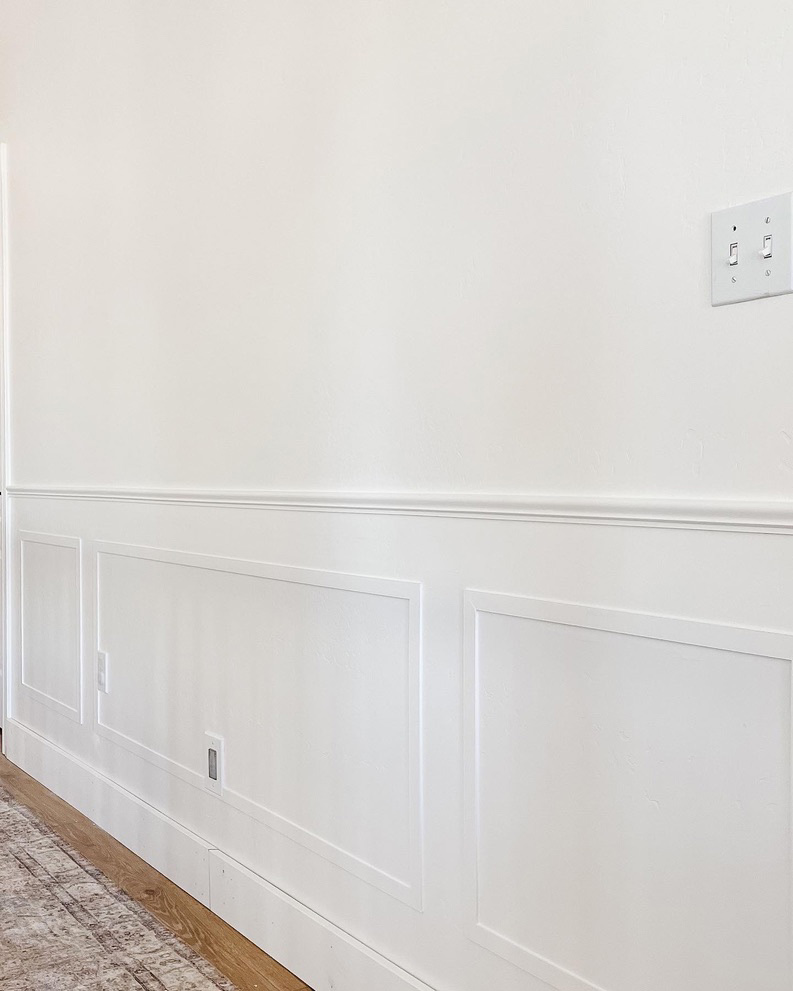
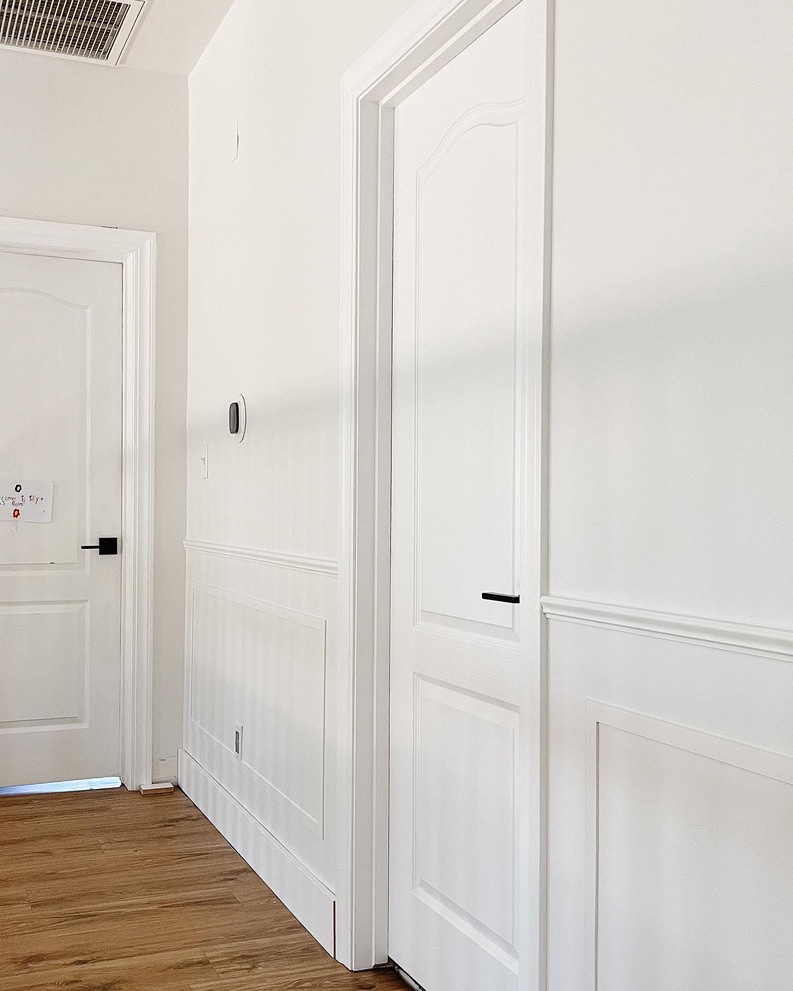
In the first week, I completed the picture frame moulding on the lower third part of the walls in the hallway. We made some spontaneous tool purchases (hello new mitre saw!) that really helped get this right the first time because the cuts were accurate and my math was correct (yay).

Of course, I ran into my first obstacle. I forgot to account for the second nightlight in the second panel and the trim ran right into it. I was worried about having to use a jigsaw to cut such a flimsy piece of trim (I’m using lattice PVC), but Brandon cut it with a utility knife and that was way easier! So we solved that and the trim fit nice and snug around the faceplate.
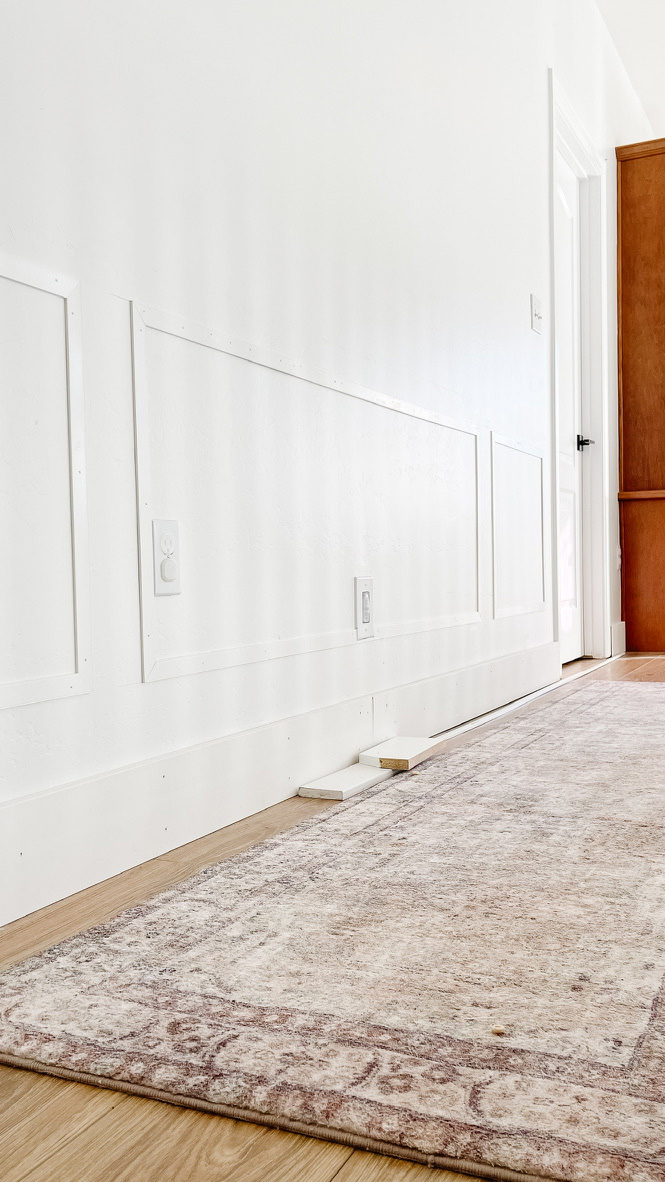
To attach the trim, I used construction adhesive to hold the pieces in place while I made sure everything was level. Then I used 5/8″ brad nails to secure in place. The trim is so light that the glue + nails are a good combo. If you’re using PVC trim, be sure to level as you go because the trim is so flexible.
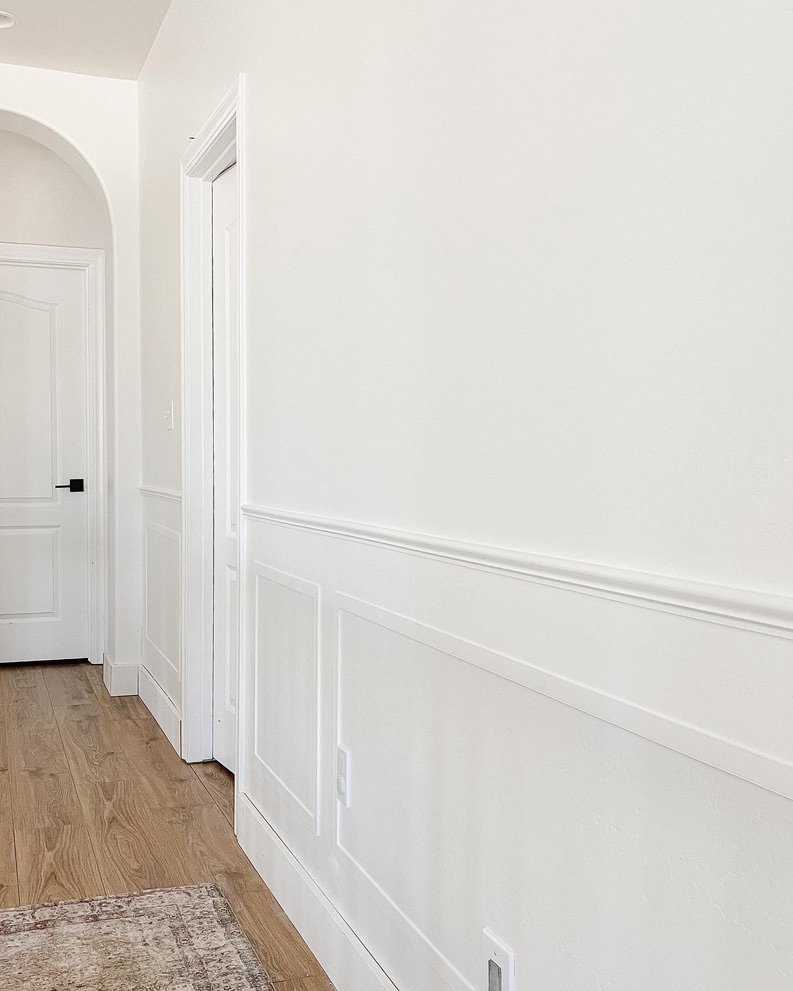
Next, I filled the holes with wood filler, caulked all of the seams, and painted the trim the same color as the walls, Dunn Edwards Droplets.
Week 2 is going to focus on figuring out how to build the bookshelves to the ceiling.
To see the progress of other ORC participants, click here!
Catch up on previous posts here:
Related Posts


Hi, I’m Tiffany!
I’m so glad you’re here. I hope you’ll see this space as a source of inspiration and encouragement to take the first step in making your home a place you want to be, wherever that may be.
You can expect to find approachable DIY projects and tutorials, opinions on home design, and all the fun stuff that comes up in-between.
