
We’ve been in our home for five years now and I haven’t touched our front living area/entryway because it has 19 foot ceilings and the space has always stumped me. As I’ve been trying to learn how to DIY more, I decided I wanted to tackle the entryway to make it more inviting for guests (what are guests, right?) and as a drop space for the shoes that never seem to find their way to the shoe rack.
I usually cruise FB Marketplace a couple times a day looking for vintage pieces. It’s been the easiest way for me to look for treasures since I don’t want to take two small kids into an antique store. Not to mention I can’t really do that now, anyway!
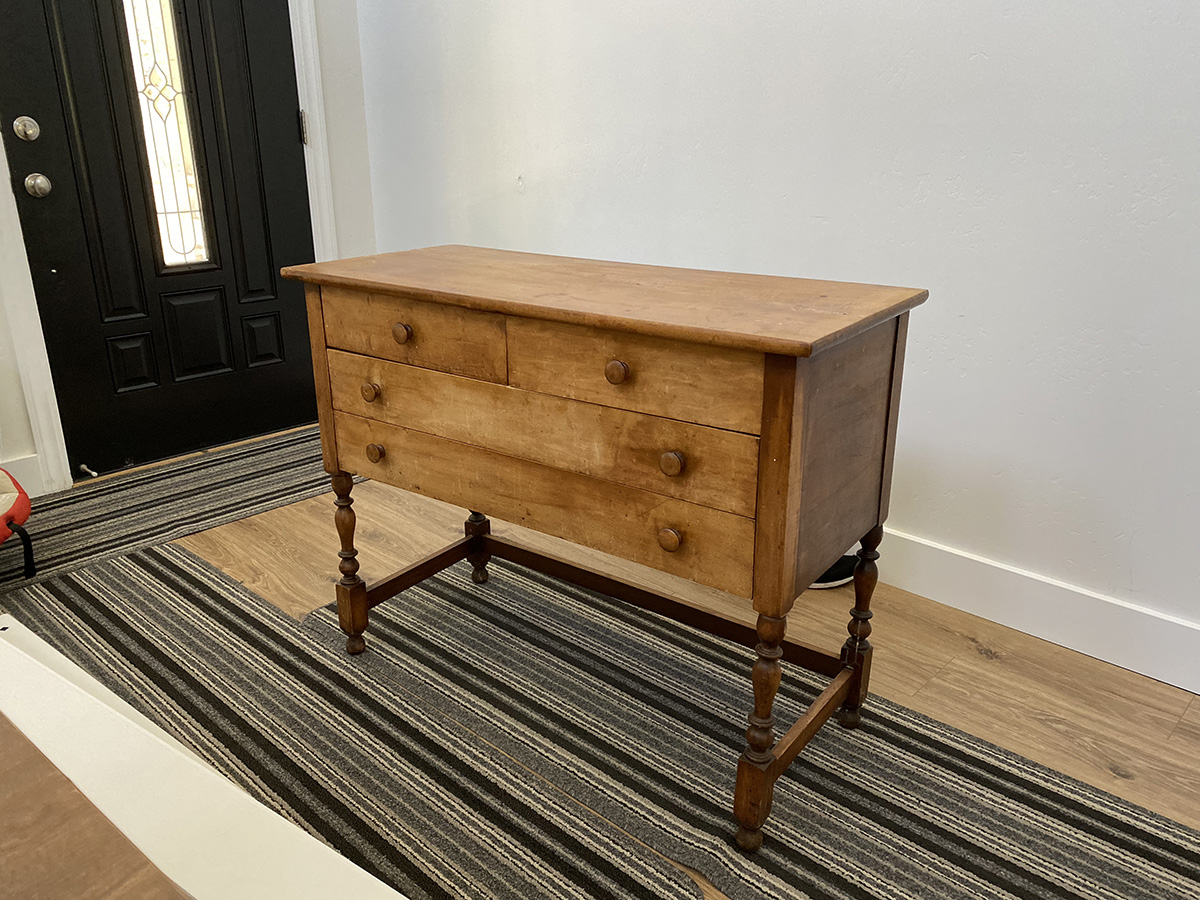
I came across this beautiful antique buffet and scooped it up right away. It was the catalyst I needed to move forward with the entry way. I decided I wanted to add texture to the room with shiplap.
Here’s what the wall looked like before:
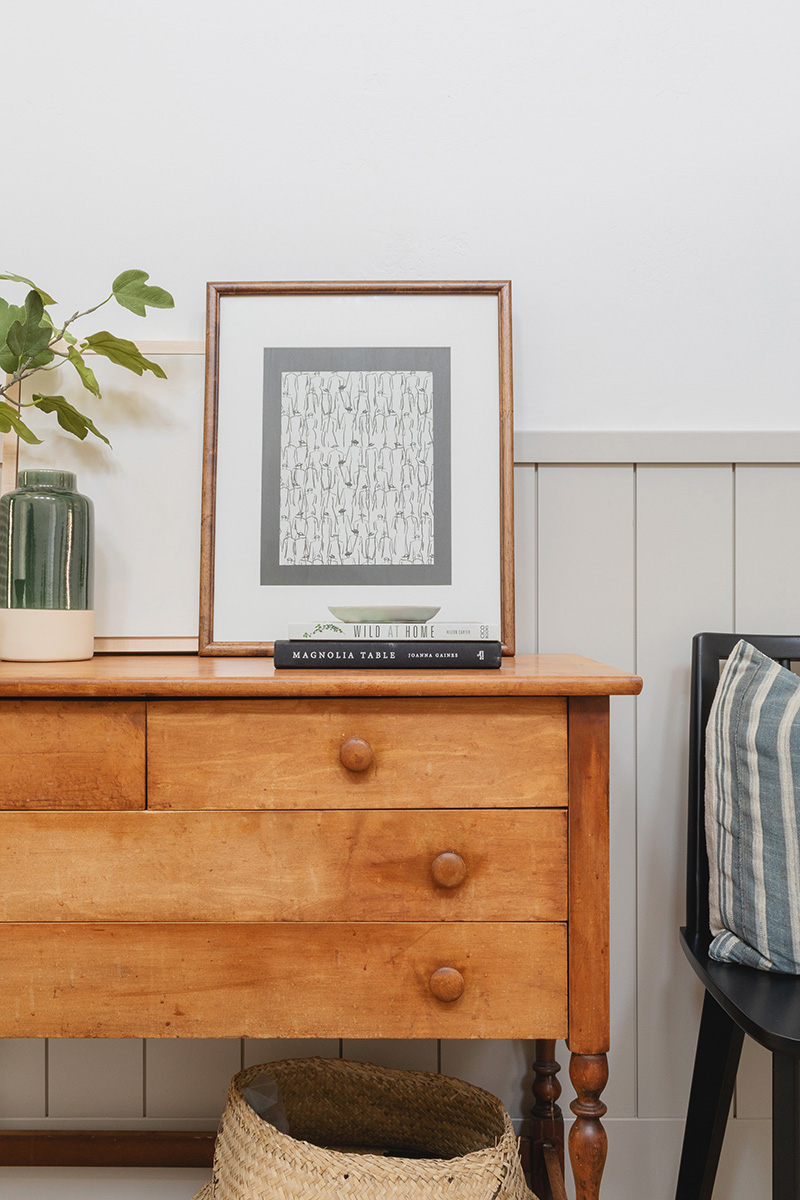
After the buffet arrived, I immediately styled it by shopping my home and here’s where we landed.

I got to work cutting the shiplap boards I bought to height. Then nailed them on the wall with my finish nailer. I didn’t use liquid nails in case I wanted to remove the boards later. I didn’t want to have to repair drywall.
Because the boards weren’t cut precisely the same length, the top was a little uneven in some parts. To avoid using a ton of caulk for the short boards, I found this nice trim cap at Home Depot that hid all of the imperfections and was the perfect depth for the shiplap boards.
This was my first time using a paint sprayer! I went with a paint sprayer in order to get the gaps between the boards. If you know what color you’re going to paint the boards, then you can paint the gaps before nailing them to the wall and roll the rest.
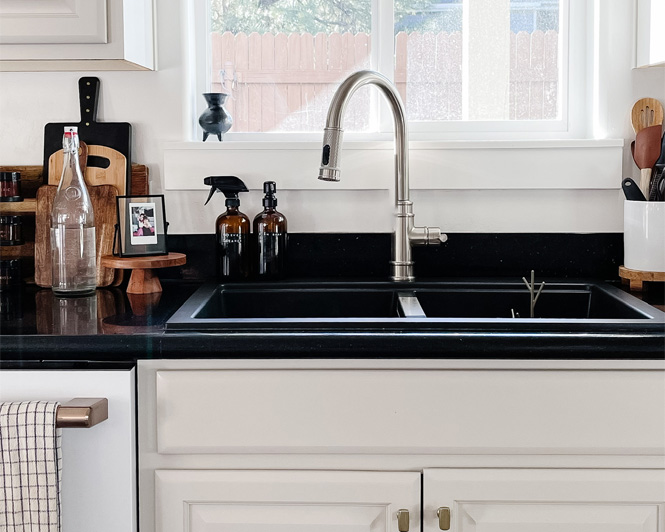
Originally I had planned on painting the same color as the walls (Dunn Edwards, Droplets), but at the last minute we decided to use the same color as our kitchen cabinets (HGTV Sherwin Williams, Into the Gloaming) to create contrast and depth in the room. And I’m so glad we did! It adds the perfect amount of warmth and ties everything together in a subtle way.
You can see more of my process and behind-the-scenes in my highlights on Instagram.
Related Posts


Hi, I’m Tiffany!
I’m so glad you’re here. I hope you’ll see this space as a source of inspiration and encouragement to take the first step in making your home a place you want to be, wherever that may be.
You can expect to find approachable DIY projects and tutorials, opinions on home design, and all the fun stuff that comes up in-between.
Our home is a place we want to share with friends and that includes you.
@tiffanytcheng
More of the day-to-day shenanigans on IG

