
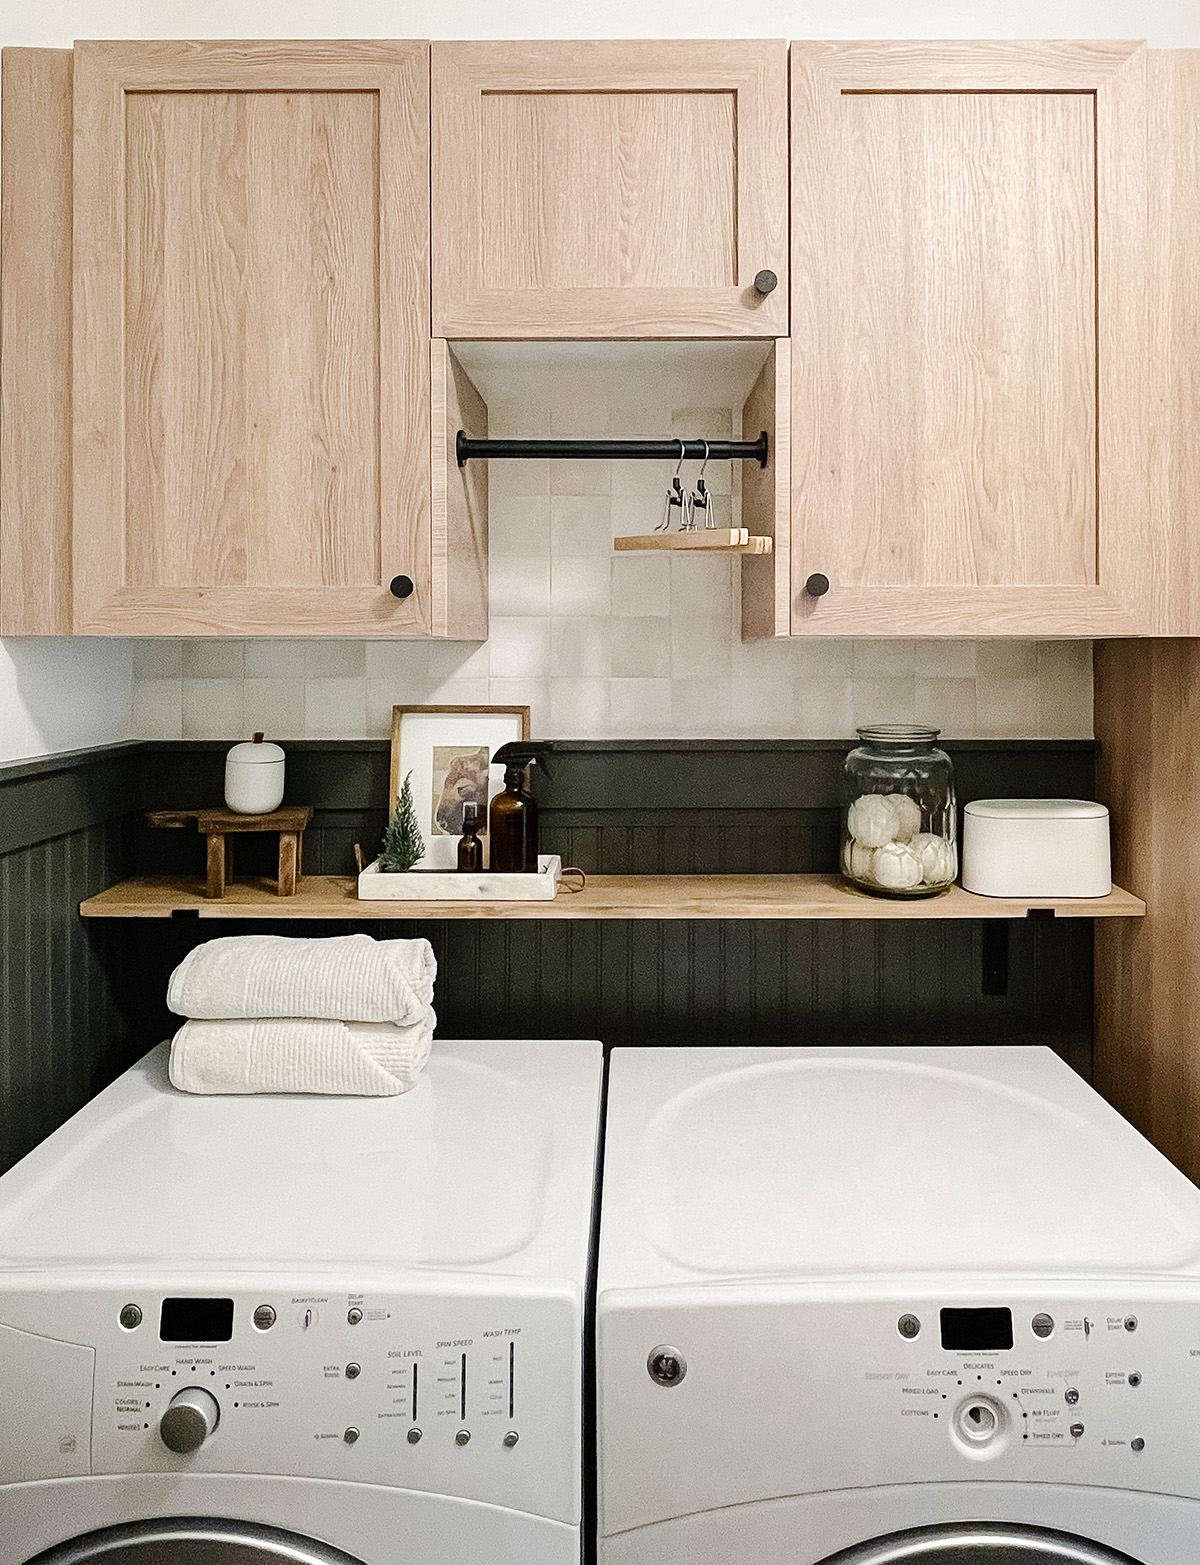
Our laundry room has been in progress for more than two years now. I was pregnant with Ona when we first started with the Phase 1 of the project. We added bead board paneling, new cabinets and door fronts, painted the paneling a deep green, repainted the paneling, tiled under the cabinets, and now, adding a new shelf!
I finally picked up the supplies last week and decided to tackle the project over the weekend. The total cost for this project was $48. I’m so happy with how it turned out. It feels like that shelf was meant to be there this entire time.
Supplies*
- Board (for shelf), $18
- Metal Brackets (2), $25
- Wood Stain (already had)
- White Wash Stain (already had)
- Wood Conditioner (already had)
- Drywall Screws holds up to 50lbs (already had)
Other Tools
- 3/16″ drill bit
- 3/8″ drill bit
- Impact driver
- Drill
- Screwdriver
- Level
- Painter’s Tape
- Pencil
- Paper Towels
Steps
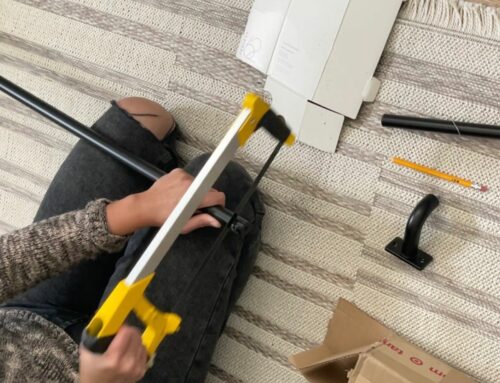
1. Use a stud finder to determine location of studs. If your studs are in a spot that you want your bracket to go, then you’re golden and don’t need to use an anchor. However, if you want them in a specific spot that doesn’t have a stud, then you’ll need a drywall anchor.
2. Find and mark where you want your brackets to go. I used a pencil to draw a circle where the screws would go.
** DIwhyyyyyy: did my screw-in anchors break? ** When I attempted to screw in my anchors, both of them snapped, leaving half in the wall. The reason this happened is because the drywall screws aren’t meant to be twisted into MDF. So what we did was we used two different sized drill bits to get through the MDF paneling on the wall. Then the anchors popped in and worked like a charm.
3. Measure the length of your screw and use painter’s tape to mark that on the drill bit so you know how far in to drill. Use the 3/16″ drill bit first (this will be a smaller hole) with the impact driver to drill your pilot hole. Then switch to a drill and use the 3/8″ drill bit (measure the width of your paneling, ours was 1/8″) to gently drill enough to get past the paneling. In our case, it was 1/8″ thick. Then screw your anchor in. You’ll feel it when you hit the drywall.
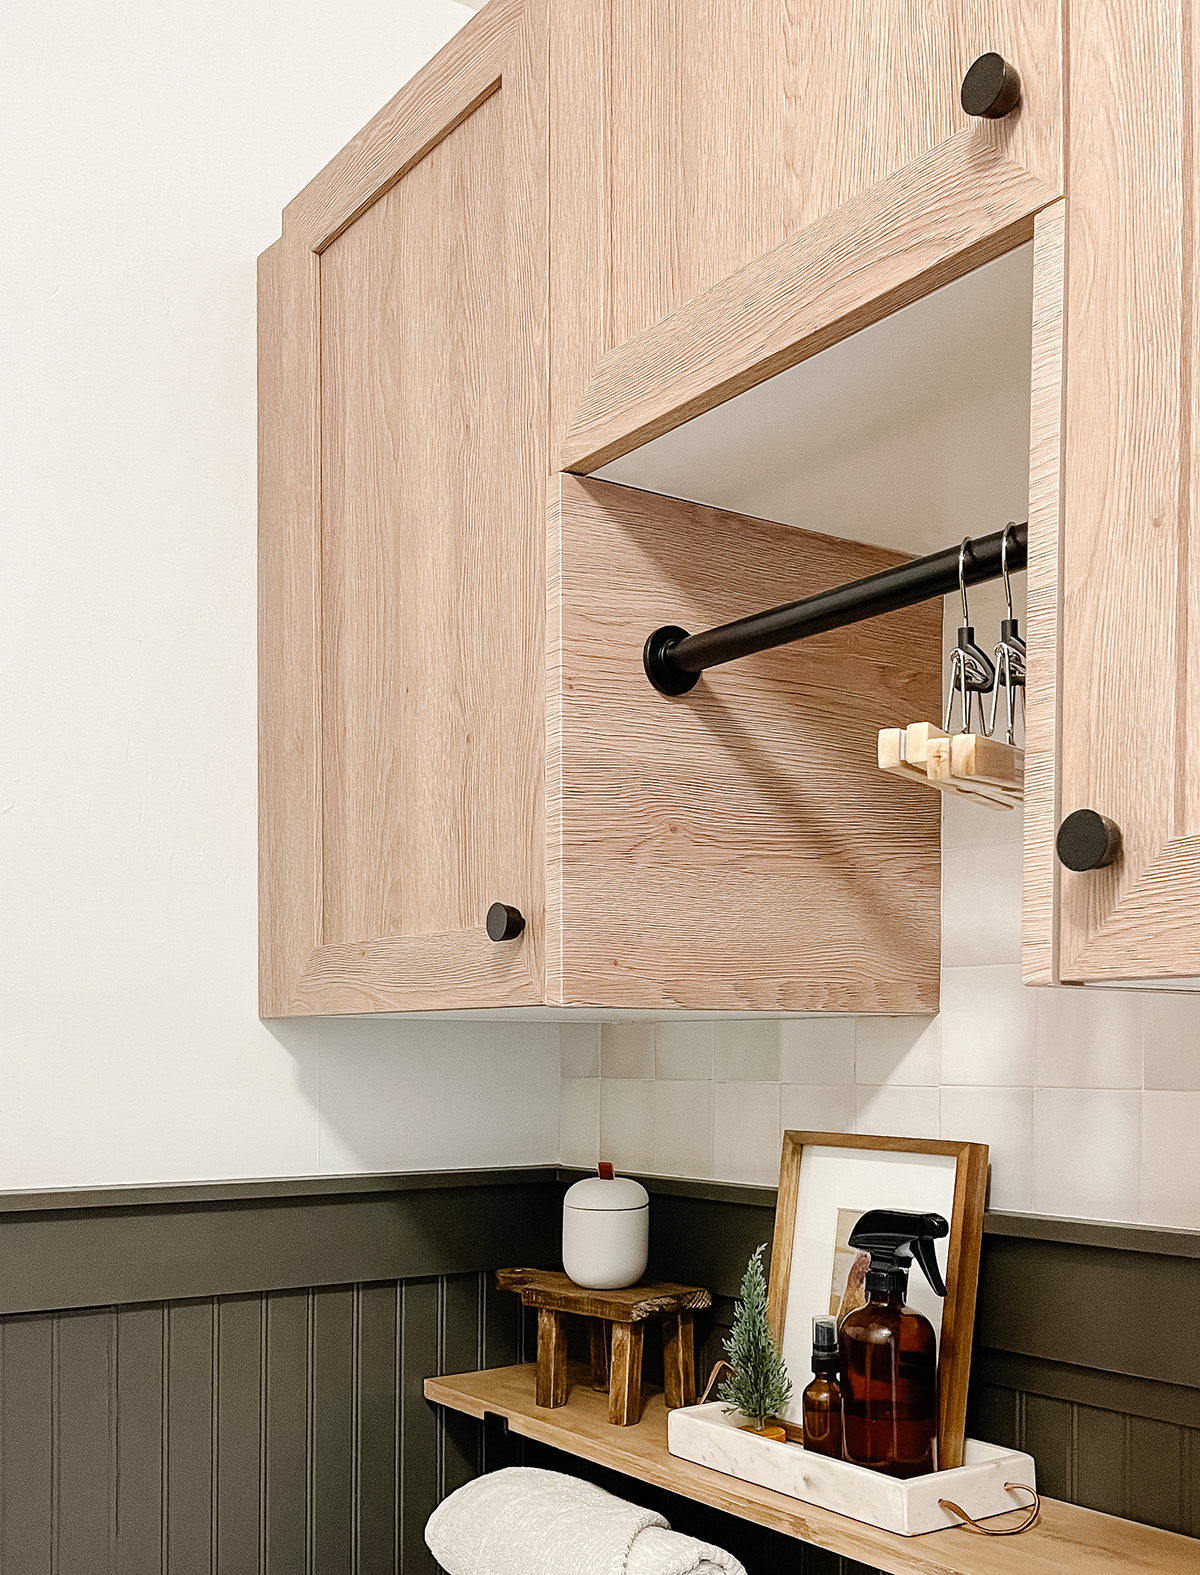
4. Install the bracket with the screws using the level to make sure it’s all straight and lined up. Don’t screw in too tight or the anchor will twist. Repeat on the other side.
5. For the shelf, measure your space and cut the board to size using a mitre saw. You could also ask Home Depot to cut the board for you if you know your measurements.
6. I stained our shelf using one coat of wood conditioner, one coat of white wash, and one coat of wood stain in Early American. I wiped it immediately after as I didn’t want it to get too dark. The wood conditioner is really important if you want to get a nice even stain.
7. Put your shelf on the brackets, stand back and admire your work!

I hope this simple tutorial will inspire you to add function and beauty to spaces that need it in your home. If you do this project, tag me. I’d love to see it and cheer you on.
*Disclosure: I only recommend products I would use myself and all opinions expressed here are my own. This post may contain affiliate links. If you purchase a product, I may earn a small commission at no additional cost to you. Thank you for supporting my blog.
Related Posts

Hi, I’m Tiffany!
I’m so glad you’re here. I hope you’ll see this space as a source of inspiration and encouragement to take the first step in making your home a place you want to be, wherever that may be.
You can expect to find approachable DIY projects and tutorials, opinions on home design, and all the fun stuff that comes up in-between.
