
Why yes, I did make a sourdough starter and learned how to make sourdough bread in quarantine. I’m actually quite proud of it and now that I’ve mastered my recipe, I truly enjoy making bread each week for ourselves and friends.
Before learning how to make the starter, I was quite intimidated with the process. I had read so many things about what your starter should look like, how it should behave, etc., and it felt like having a newborn… on top of having a newborn. So I started it with flour and water and fed it daily for weeks. I kept waiting for the starter to be bubbly before attempting to make the bread, but it never happened.
After a couple of months, I finally decided to try. I ordered a dutch oven and found a bread recipe that was easy for beginners. The first couple of rounds yielded very dense loafs. They weren’t bad by any means, but not airy like I was used to. I continued to experiment with the amount of water and flour and finally figured out my formula.
I will note that I don’t use a digital scale to measure, so that likely prolonged my trial and error period, but now I’ve got it down using measuring cups. I’m sharing my recipe below along with tips for your sourdough starter.
My Sourdough Bread Recipe
My base recipe came from this no-knead sourdough bread recipe from Feasting at Home. The article is a wealth of information on how to shape your dough and even offers a schedule for the entire process. What I love about this recipe is that it proofs overnight, so I start the dough at about 8 p.m. and it’s ready for baking the next morning.
Tips
- The bubbly part of your starter will happen about 4-6 hours after you feed it! It shouldn’t be bubbly and ‘alive’ all the time. But it doesn’t matter what your starter looks like, as long as it works. Some will be a lot more active than others depending on the types of bread you use, water, temperature, etc.
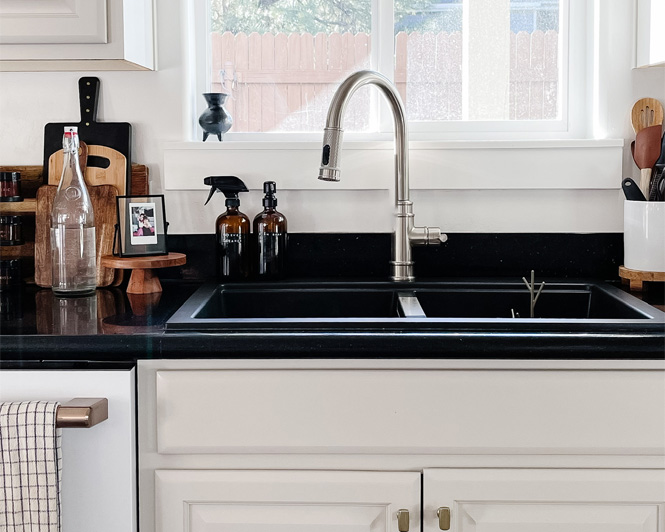
- My starter thrives in a warm place, near my toaster oven.
- When I am not using my starter, I store it in the fridge and feed it once a week.
Purple Sweet Potato Sourdough Bread
One of my favorite breads is a purple sweet potato and sesame flavor that my friend turned me on to. I tried to recreate it. It’s not exact but I’ll get there with some more experimentation. For this flavor, I peeled and diced up a purple sweet potato. In a pot of boiling water, I put the diced cubes in and boiled for 10 or so minutes until they were soft and could be mashed.
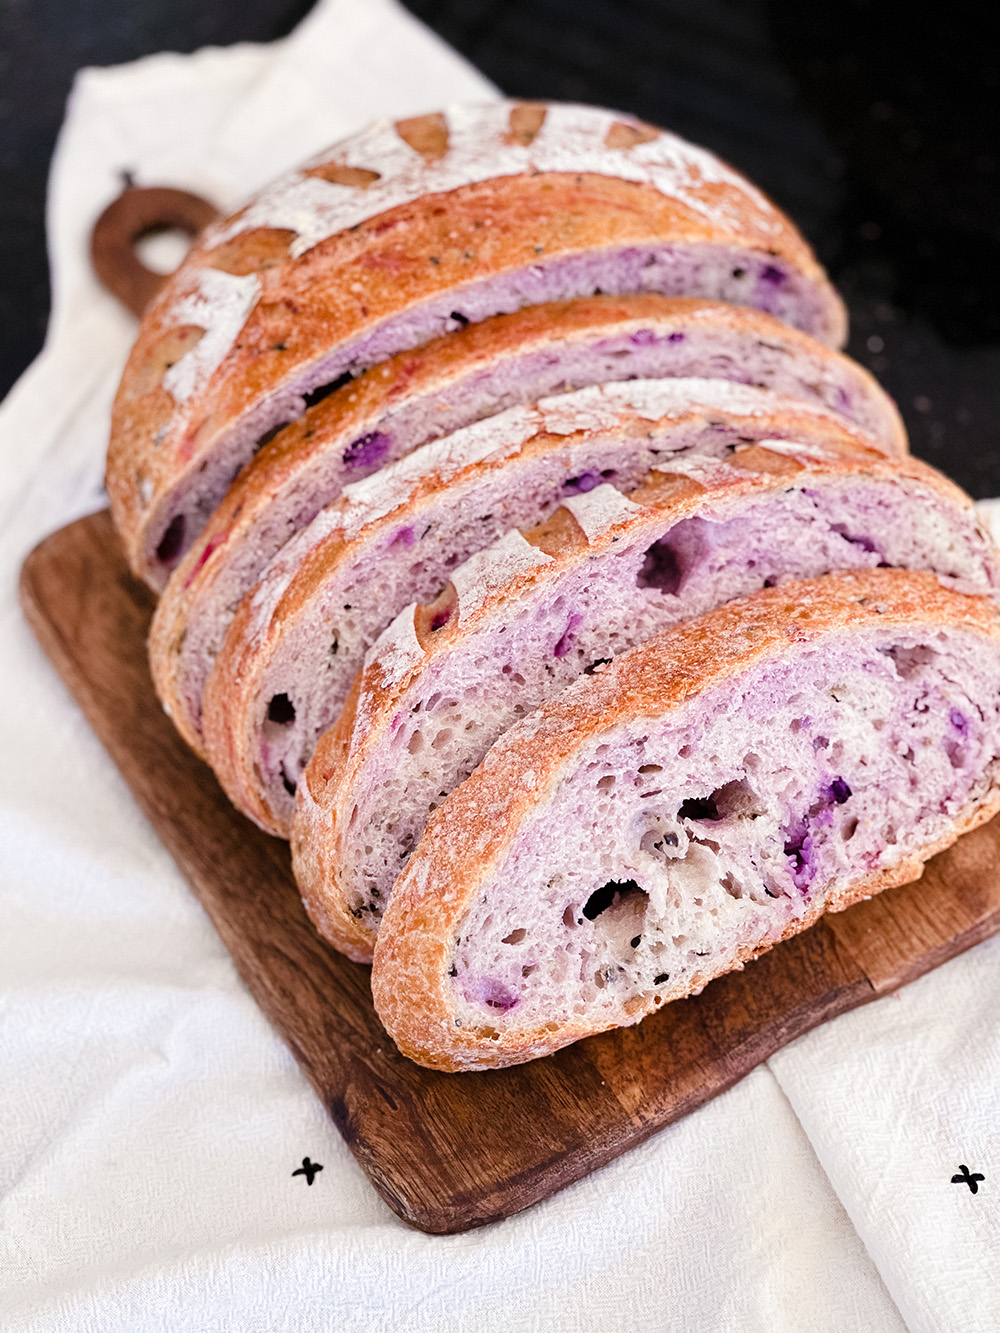
After combining the starter and flour, I add about a ½ cup of the smashed sweet potato to the mixture and 1 tbsp of toasted sesame oil. Then continue on with the recipe as normal.
If you try this recipe, let me know how it turns out!
Ingredients
- 3 ½ cups King Authur Unbleached Bread Flour
- 2 tsp fine sea salt
- 1-3 tbsp herbs/spices of your choice*
- 1 ¾ cups + 2 tbsp water*
- ⅓ cup sourdough starter
* I keep a glass bottle of water on my countertop because the chlorine evaporates from the water.
* This is not a precise measurement but I just add a little extra water.
Instructions
- Feed your starter. I usually do this around 4 p.m. and it’s ready and nice and bubbly for me at 8 p.m.
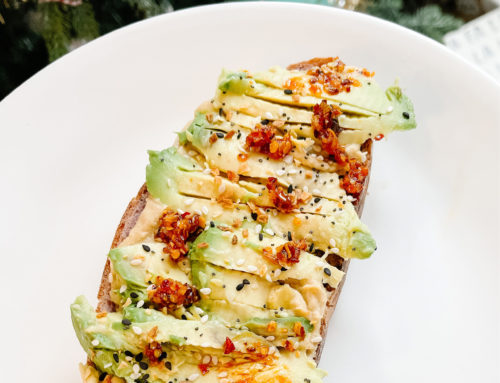
- At 8 p.m., I start by adding my spices and herbs to a large mixing bowl. I like to use spicy fried garlic, chia seeds, sesame seeds, everything but the bagel seasoning, furikake seasoning, anything you want!
- Mix sea salt, seasonings, and flour together.
- In a separate bowl or glass, mix the water and sourdough starter together.
- Combine starter mixture with flour and use a wooden spoon to mix in all of the flour. Don’t worry about mixing it into a dough consistency yet, just get all of the flour mixed in. Cover with a wet cloth and let sit for 15 minutes.
- After letting the dough rest, stretch and mix again. Refer to Feasting at Home’s videos for how to stretch and shape. I usually do this for 2-3 minutes. It will start to take a round dough shape this time. Cover and let sit for another 15 minutes.
- Repeat Step 6 and stretch again for a final time. When you’re done, cover with the wet cloth and let sit overnight for about 10-12 hours.
- In the morning, look to see if your dough has risen. It expands and fills the bowl. If you poke the top and the dough bounces back, it’s ready! A lot of this varies and depends on your environment, the temperature, etc., so be patient and find your groove.
- At this point I heat the oven to 500° and put the dutch oven covered in the oven for one hour.
- While the oven is heating, do a final stretch and shape with the dough and put it in the refrigerator covered.
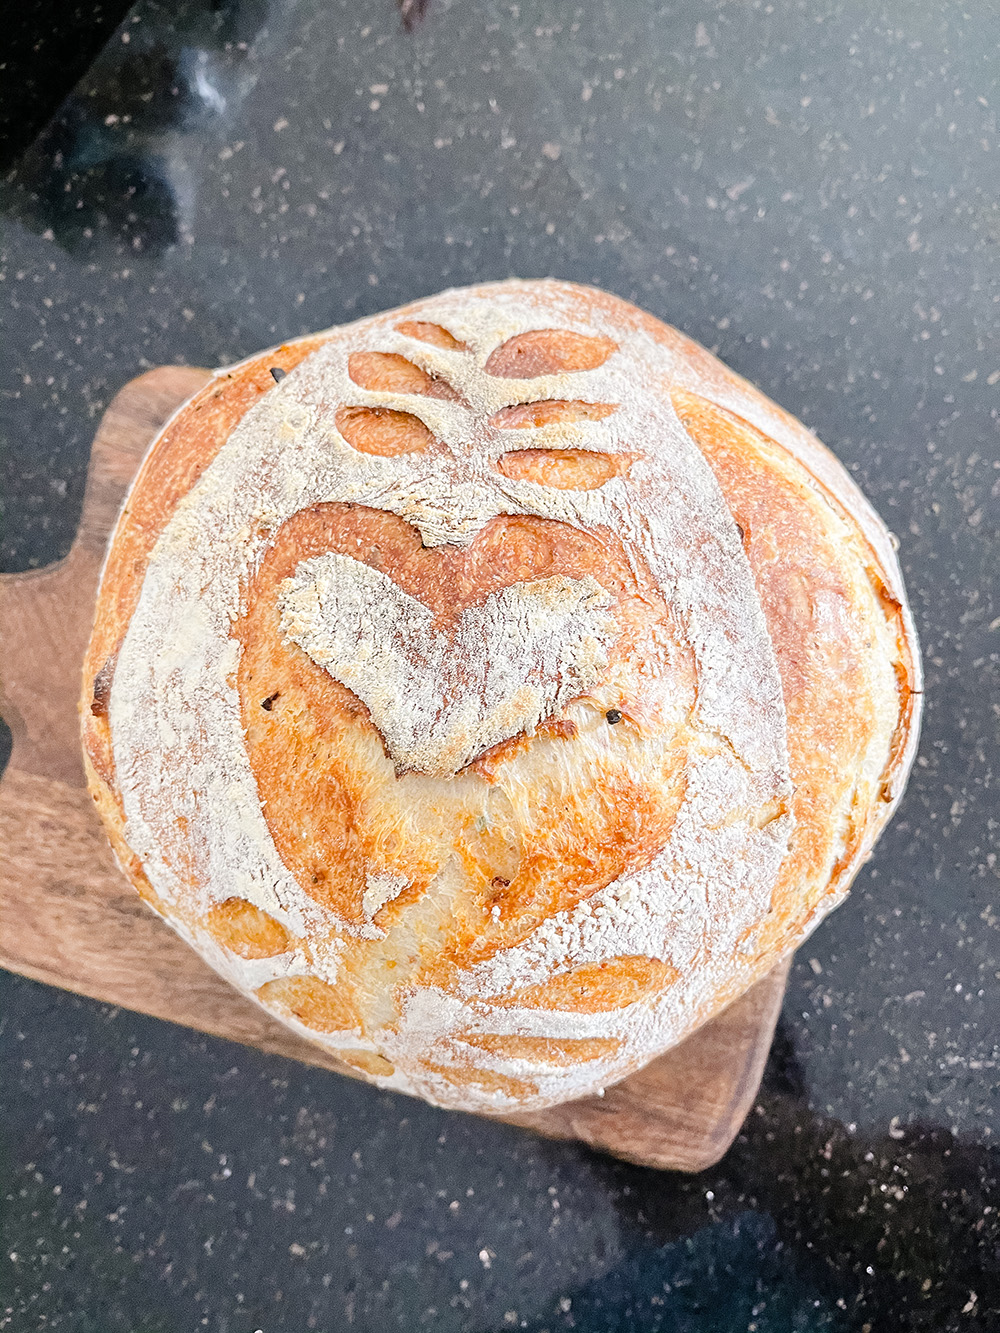
- When the oven is ready, bring out the dough and sprinkle some flour on top. Using a sharp knife or a scoring knife if you have one, slice the top of the bread. Put the dough on some parchment paper and put it in the dutch oven. Bake covered for 22 minutes.
- Take the lid off of the dutch oven and let bake for another 18-22 minutes, monitoring the outside of the bread. I like a medium brown crust, so sometimes I will leave the bread in for an additional 5-10 minutes until I think it’s ready.
- When it’s done, let it sit on a cooling rack for one hour before slicing and enjoy!
Related Posts


Hi, I’m Tiffany!
I’m so glad you’re here. I hope you’ll see this space as a source of inspiration and encouragement to take the first step in making your home a place you want to be, wherever that may be.
You can expect to find approachable DIY projects and tutorials, opinions on home design, and all the fun stuff that comes up in-between.
