
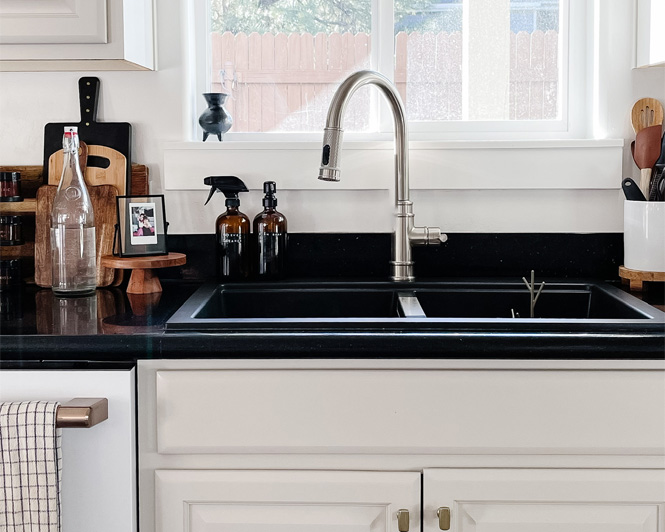

This post has been seven years in the making. I remember asking my general contractor how to trim a window with bullnose corners, but that was before I knew anything about building or DIY and his answer just went right over my head.
Fast forward to today and now I can write a tutorial post on how to do it!
Tools
- Tape measure (with fractions!)
- Laser measure (optional)
- Table saw
- Miter saw
- Jigsaw
- Clamps
- Nail gun
- Hammer/mallet
- Level
- Sanding block/orbital sander
- Utility knife
- Pry bar
Supplies/Materials
- 1/8″ hardboard or 1/4″ MDF (see post for details)
- 1×4 pre-primed MDF for outside trim
- 1×8 pre-primed MDF for window sill
- 1 1/4″ brad nails
- 2″ brad nails
- Liquid nails
- Caulk
- Wood filler
- Shims
Steps
Start by removing any window treatments (blinds), all of the associated hardware from the window, and any previous window sill.
Grab a scrap piece of trim (or the trim board, but a scrap will be easier) to determine the width of the interior casing.
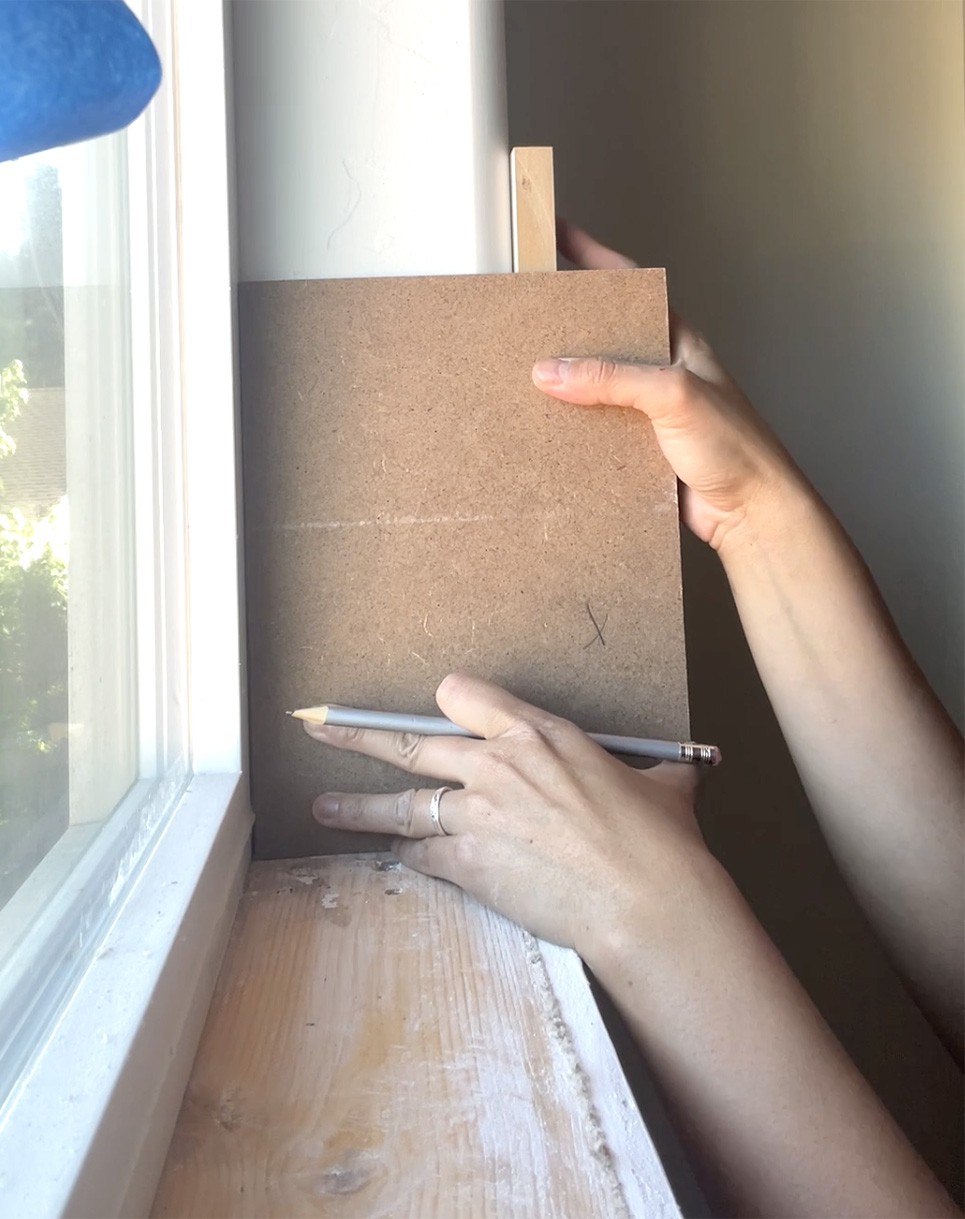
In the photo above, I’m using a scrap piece of MDF to mark exactly where I need to make my cut. I marked it on the other side of the board while holding up my scrap piece of trim.
Repeat this step for the top, if needed. They were different widths for me.
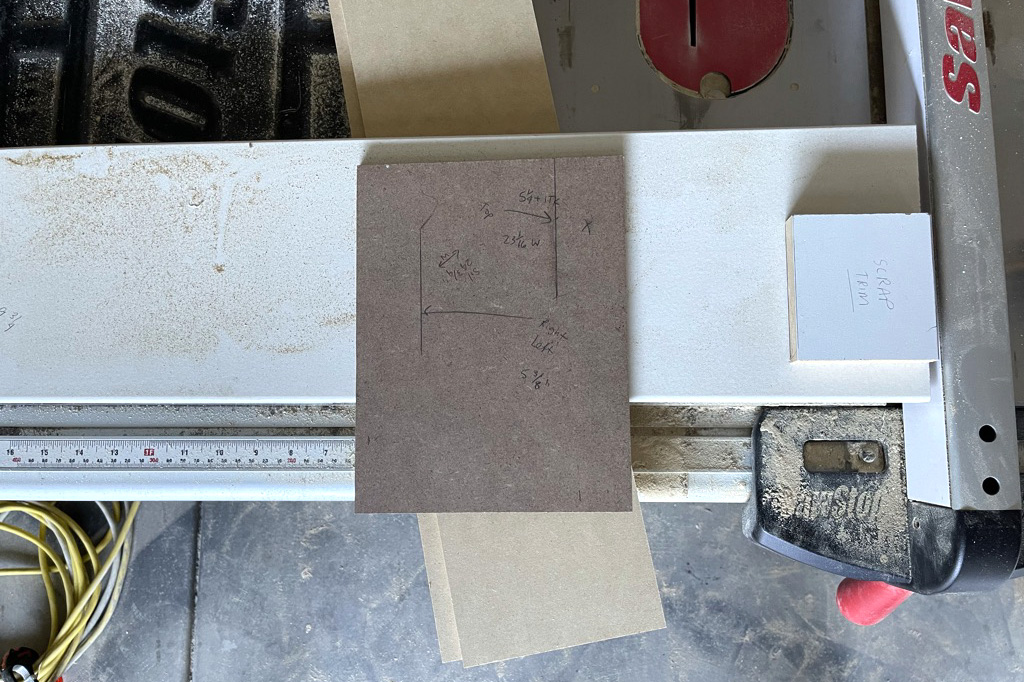
I used the same piece of scrap to mark the top and left/right sides. In the example above, I measured from the left side of the board to the line on the right for the top measurement. Then the right side of the board to the the mark on the left for the left/right side measurements. Be sure to label properly.
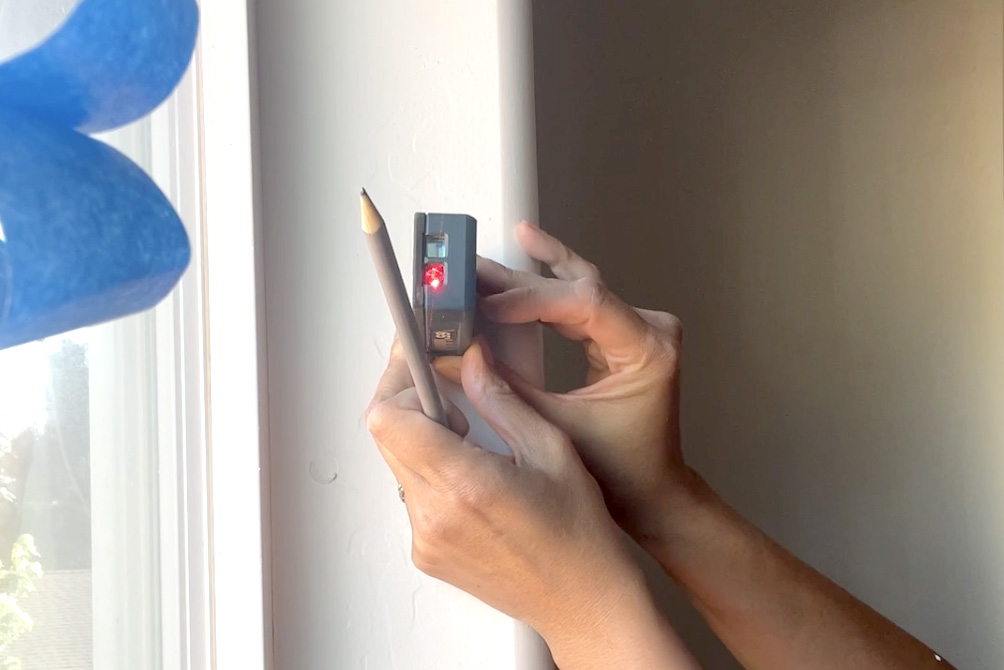
Using my laser measure, I took the width measurement for the top piece. The left/right pieces will need to wait until the window sill is installed to get the correct measurement.
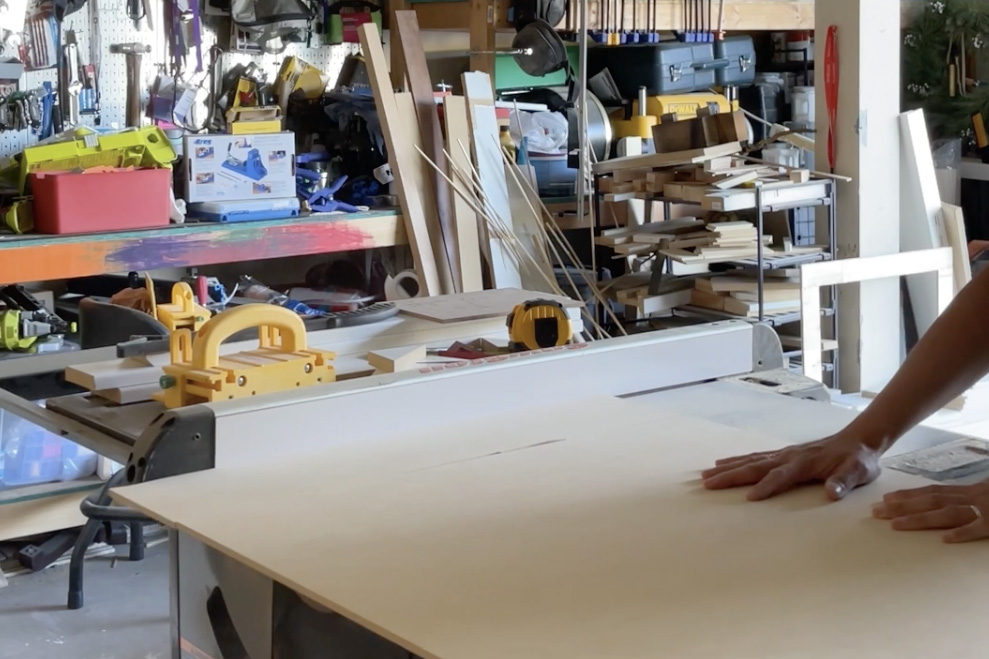
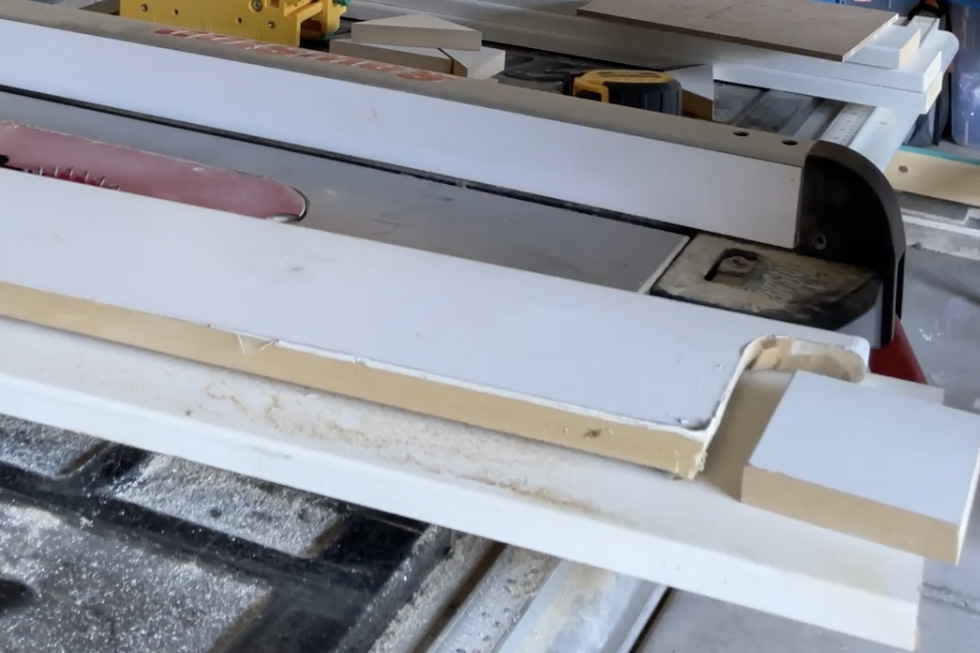
Next, I ripped my half sheet of MDF down to the widths I measured for the top, left, and right interior casing pieces. Then I used the miter saw to cut the top board to length.
Note: I used scrap 1/4″ mdf I had in my garage. you can use 1/8″ hardboard (less expensive and thinner).
For the window sill, I cut a 1×8 pre-primed MDF board to size (this measurement will differ depending on how much you want the sill to extend to the left and right of the window and how deep you want it to come out.
I kept my old window sill to use as a template which came in handy here. Using my scrap piece of trim, I marked where I needed to make my cuts with a jigsaw.
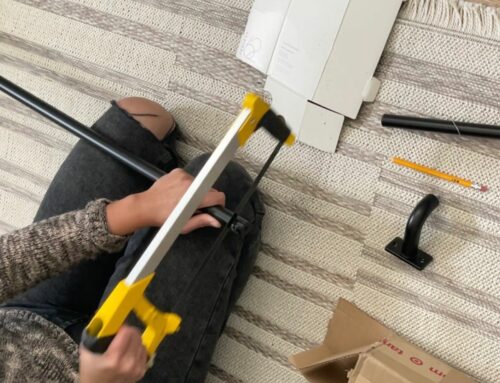
Clamp your board down and use a jigsaw to cut your board.
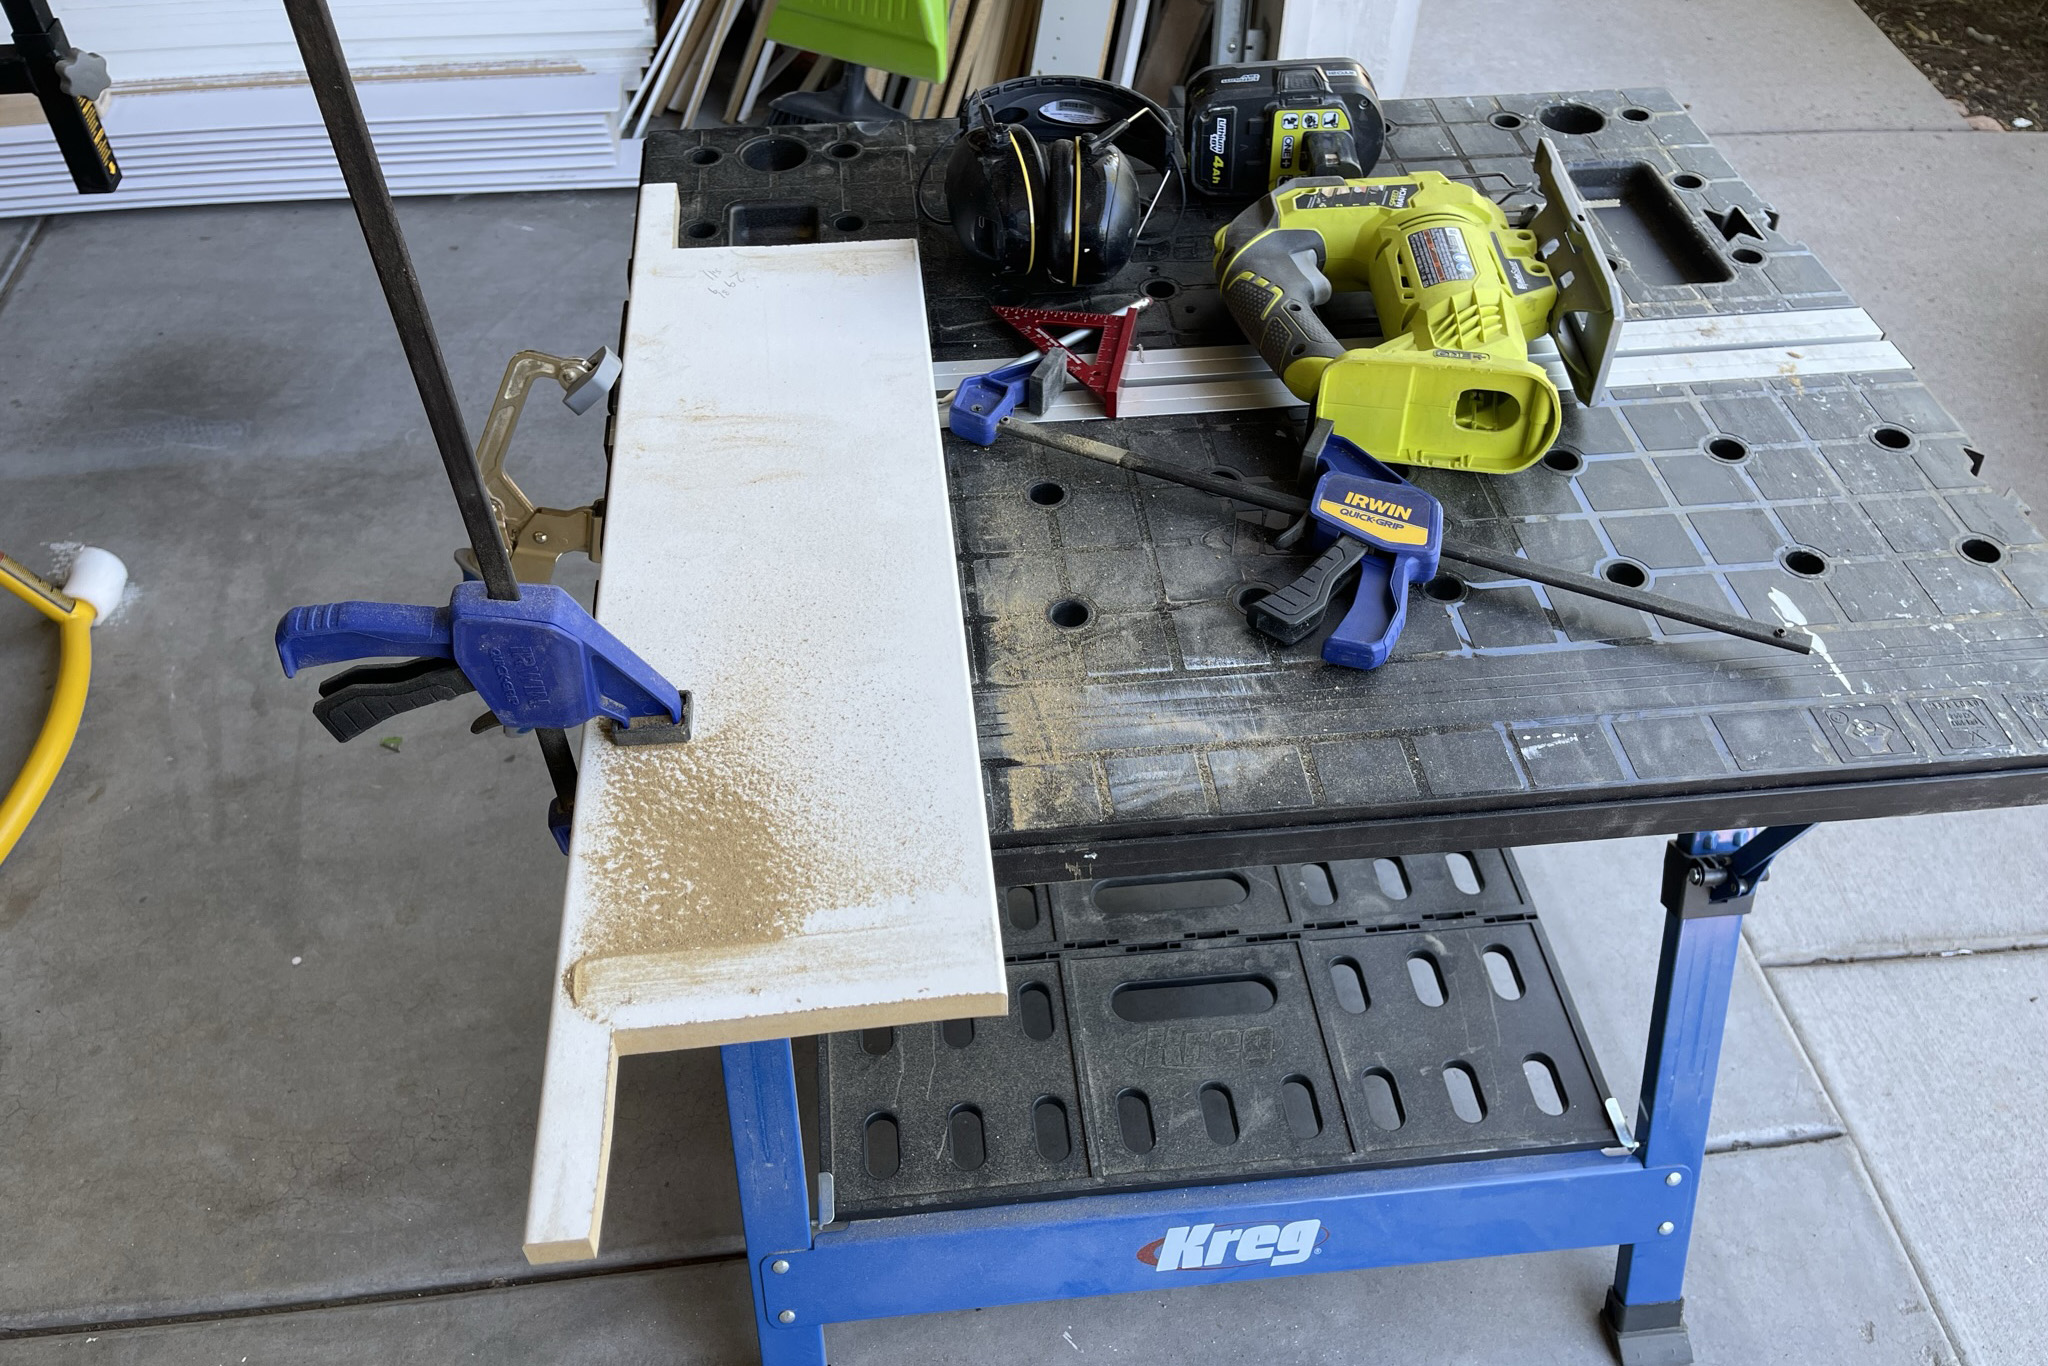
Dry fit your window sill and make adjustments as needed.
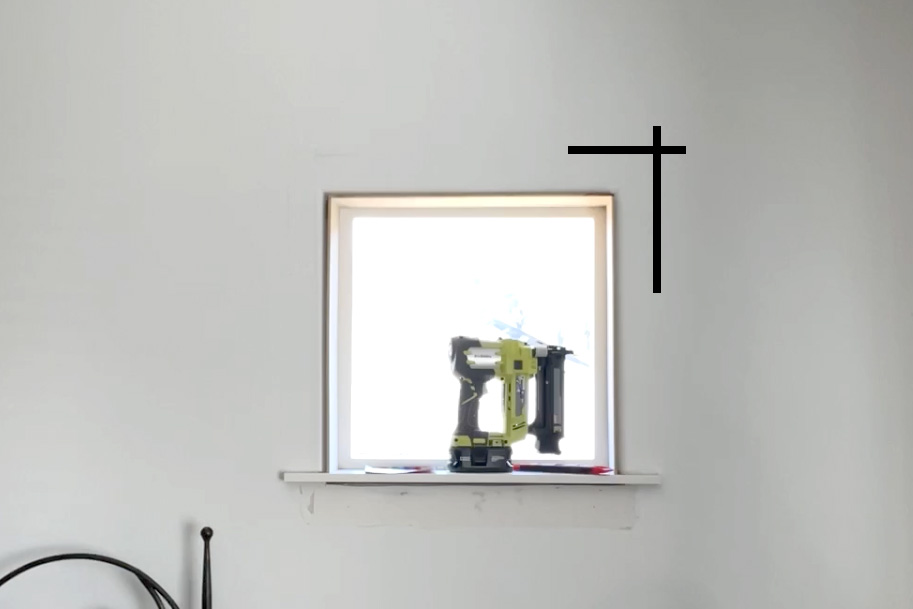
Attach the top interior casing piece to the window. I used liquid nails and 1 1/4″ brad nails to secure.

Now that you have the top piece installed, you can add the window sill. Make sure the sill level and add any shims if needed. Secure with 2″ brad nails.
With those two pieces installed, you can now take the height measurements for the left and right pieces. Cut those to size and secure.
Take your trim and but it up against your interior casing pieces. Make a mark on the wall on the outside of the scrap trim. Then take the measurement from the line to the bottom of the window sill. This will be your left and right trim measurements. Measure across the left and right to get your top piece.
Note: depending on the trim style you pick, your measurements will vary.
Cut your boards to size and miter the corners at 45 degrees. Install using 2″ brad nails and then you’ll be ready for the finishing part: wood filling, sanding, caulking, and painting.
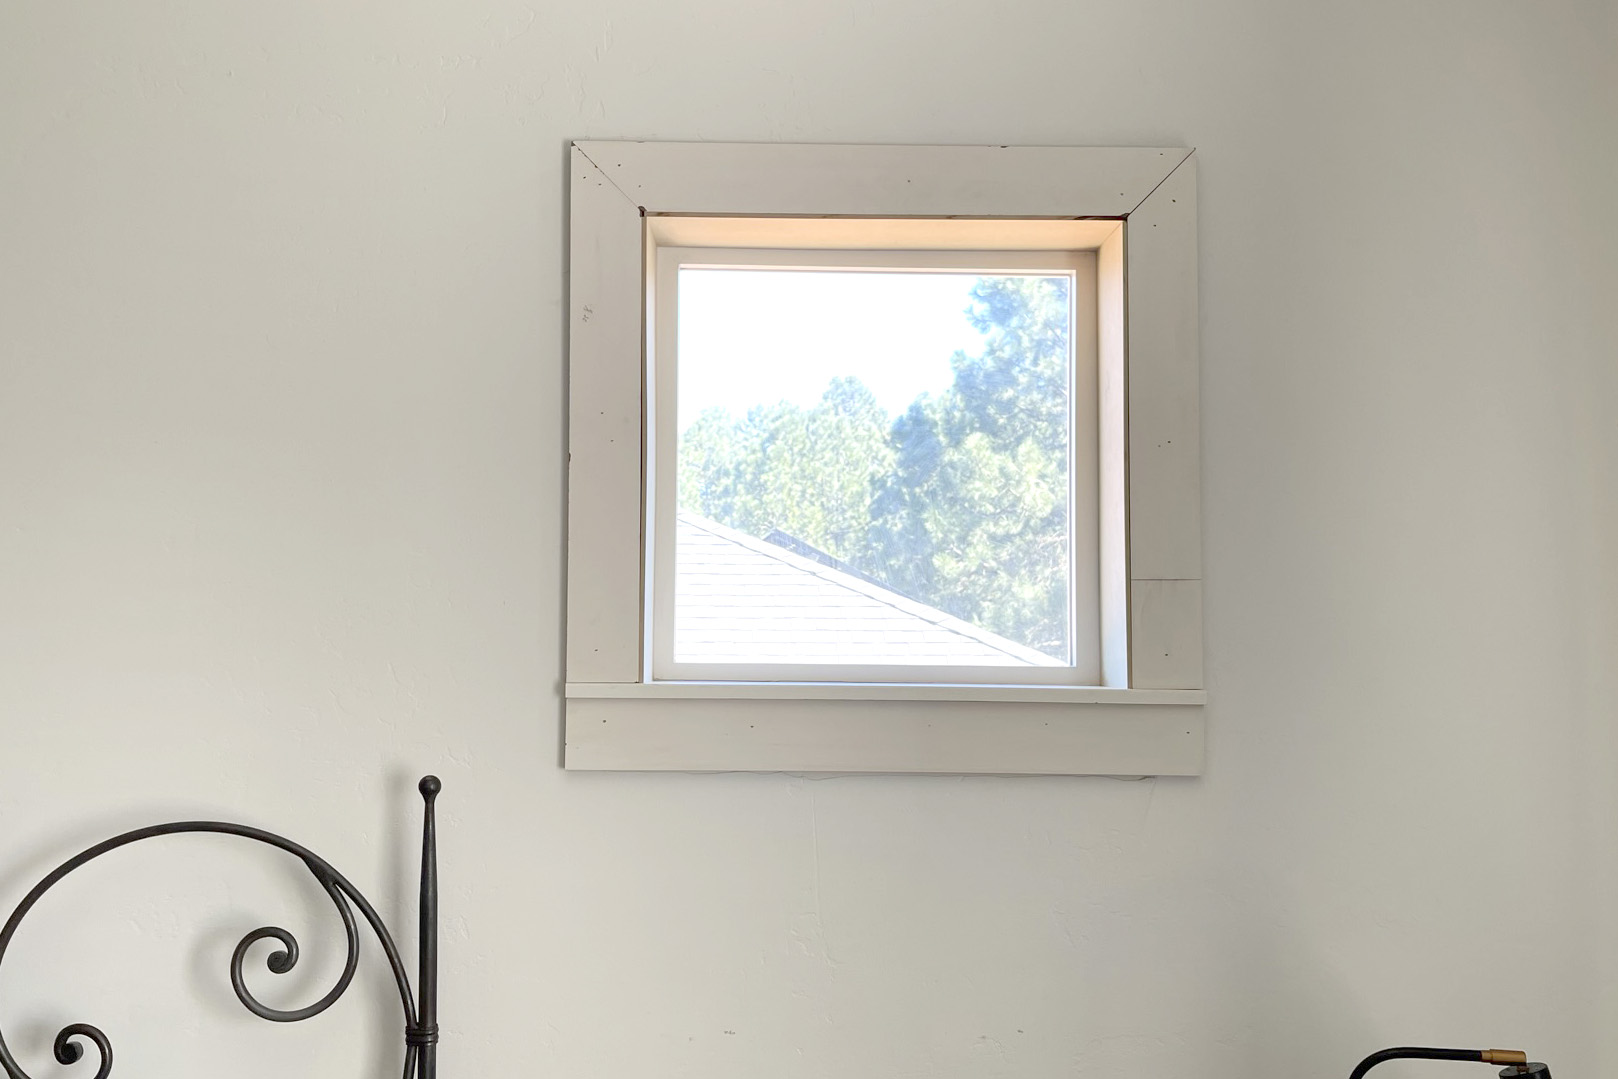
Bye bye bullnose corners!
I hope you found this tutorial helpful. If you have any questions, feel free to leave a comment or DM me.
Shop the Post:

*Disclosure: This post may contain affiliate links. If you purchase a product, I may earn a small commission at no additional cost to you. Thank you for supporting my blog.
Related Posts


Hi, I’m Tiffany!
I’m so glad you’re here. I hope you’ll see this space as a source of inspiration and encouragement to take the first step in making your home a place you want to be, wherever that may be.
You can expect to find approachable DIY projects and tutorials, opinions on home design, and all the fun stuff that comes up in-between.
