As a beginner DIYer, I couldn’t quite grasp what I needed to do to make a cabinet look built-in, until I worked through the process. I studied so many tutorials, but I am such a visual person that I needed to physically be doing the project to understand what the heck I was doing. It’s actually pretty easy once you break it down, which I did for you here.
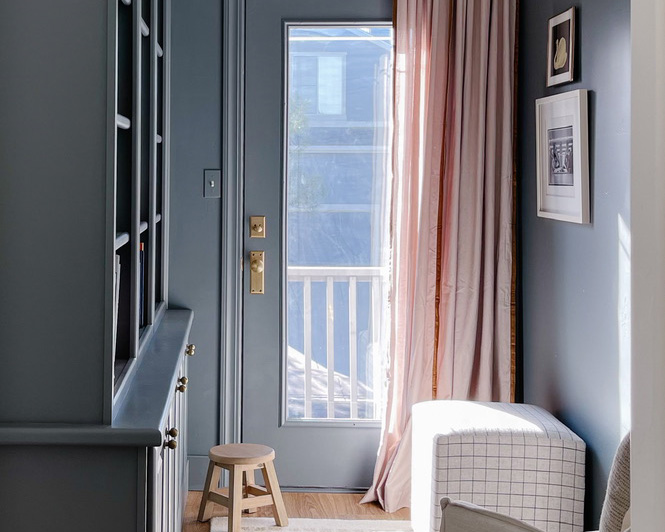
This project was my first real “build” for the Spring 2022 One Room Challenge. I transformed this dead space in our upper level into a cozy, color-drenched reading nook. It makes me happy to see my girls curled up in the chair, nose in a book.
Some other tips to mention:
- Use a laser level to help align your blocks on the ceiling and walls. You can also use other wood, like 2x4s, depending on what you have available. Try to hit studs if you can for extra sturdiness.
- Walls and ceilings are never straight, so I added a piece of 1×4 trim to the top to cover the gaps and scribed it to the ceiling. This is a faux crown that adds a nice detail.
- The picture lights were shipped to me as hardwire, but I didn’t want to spend the money to hire an electrician to hardwire when I knew we wouldn’t be using it that often. So I converted them to a plug-in and have them connected to an Alexa device.
I love how grand the bookshelves look now, like it was always meant to be this way.
Shop the Post:
*Disclosure: This post may contain affiliate links. If you purchase a product, I may earn a small commission at no additional cost to you. Thank you for supporting my blog.

Hi, I’m Tiffany!
I’m so glad you’re here. I hope you’ll see this space as a source of inspiration and encouragement to take the first step in making your home a place you want to be, wherever that may be.
You can expect to find approachable DIY projects and tutorials, opinions on home design, and all the fun stuff that comes up in-between.


