

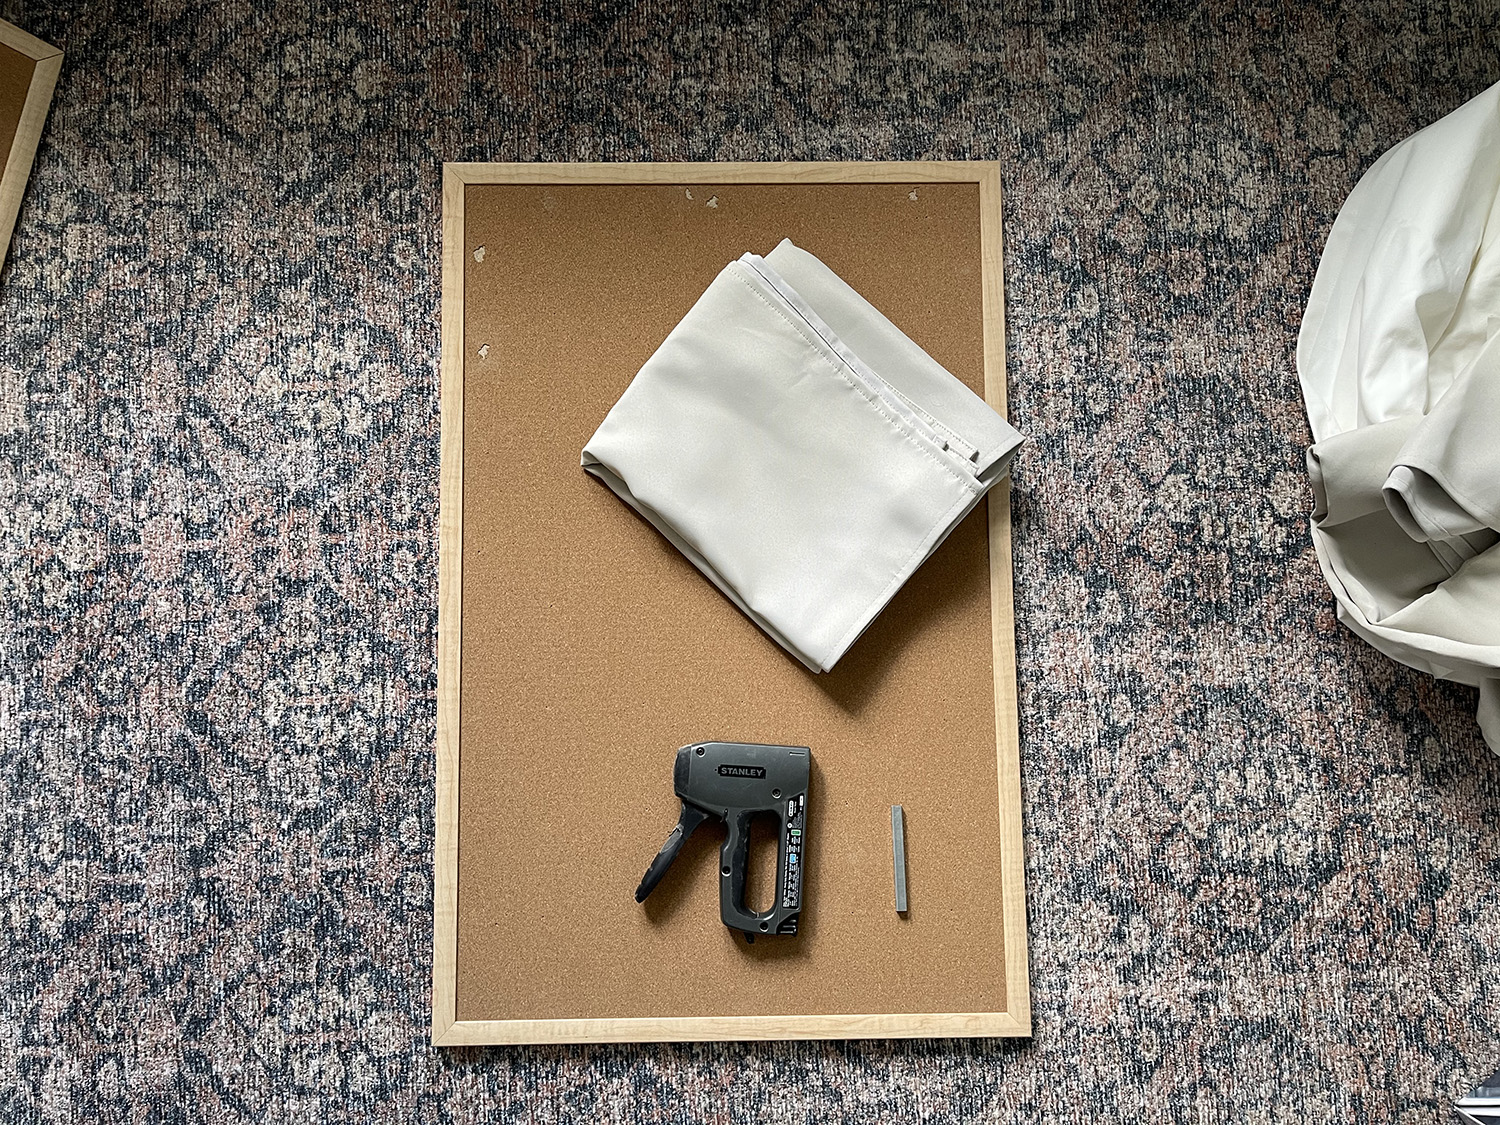
This DIY has been a year in the making! I picked up these two cork boards off of FBMP (check as college gets out, everyone is getting rid of them). As you can see, some of the cork is missing, but I knew I was going to cover them in linen anyway.
I’m using some faux linen curtains I had around the house. These were previously used in our bathroom to cover a window that let a lot of light in back when we had a newborn in our room. They were just the right size to repurpose for this project.
The steps are really easy, but I’ll outline them here for you.
Materials
- Cork board
- Staple gun
- 1/4″ staples (I would have used 1/8″ staples, I just didn’t have any)
- Scissors
- Fabric of your choice
- Iron (if needed)
- Drywall anchors and screws (for hanging)
- Painter’s tape (for hanging)
Steps
- Iron your fabric/material, if needed.
- Cut fabric to size, leaving about 4″ around the perimeter of your cork board.
- Staple fabric along the edges, pulling tight.
That’s really all there was to it! I finished this project in about 30 minutes one afternoon and I’m kicking myself that I didn’t do it sooner.
Hanging the Pinboards
To hang the pinboards, I measured the length of the console table I was going to hang them over and subtracted the width of the board (x2) + 1″ between the boards.
60″ (console table length) – 46″ (board width) – 1″ (space between two boards) = 13″
Then I took that number and divided it by 2, giving me 6.5″ of space on the left and right side of the boards.
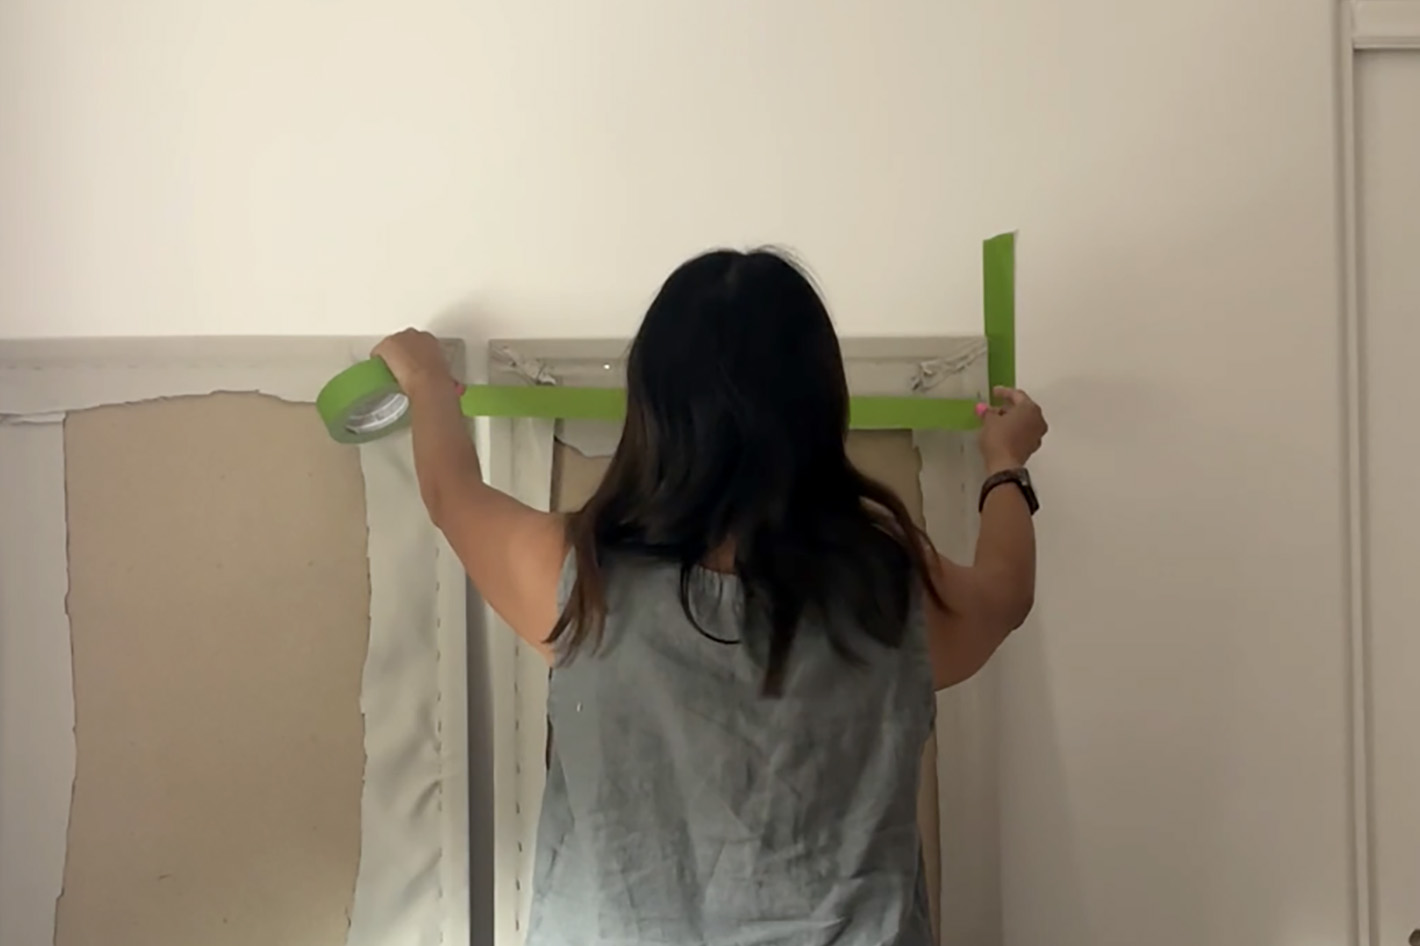
Using painter’s tape, I marked the outside edge off. Then I took another piece of painter’s tape and placed it on the back of the board where the hanging holes were, equal to the width of the board and marked where the holes were.
Using a laser level, I marked the horizontal line on the wall where I wanted my hardware to be installed. The hardware was about 2.5″ below the top of the board, so here’s how I measured where to place that line. You can also eyeball it too.
35″ (board height) – 2.5″ (distance to hanging hole) + 6″ (distance above console table) = 38.5″
I placed my level line at 38.5″ above the console table and then transferred the piece of painter’s tape to that line.
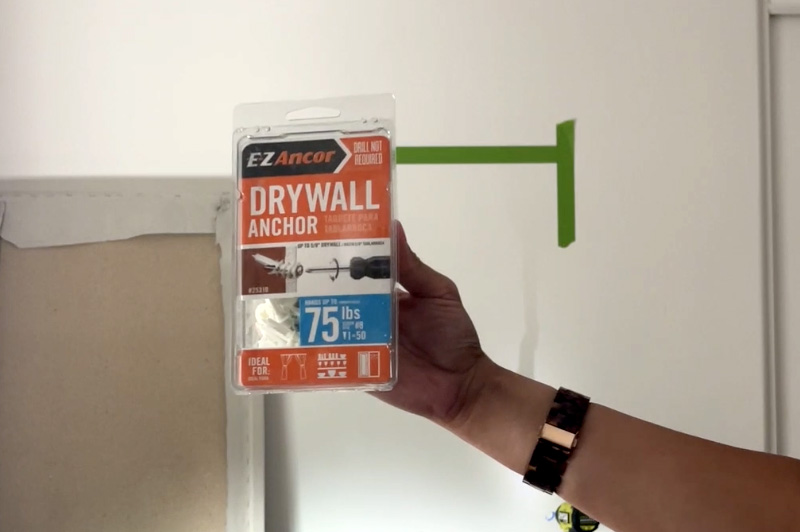
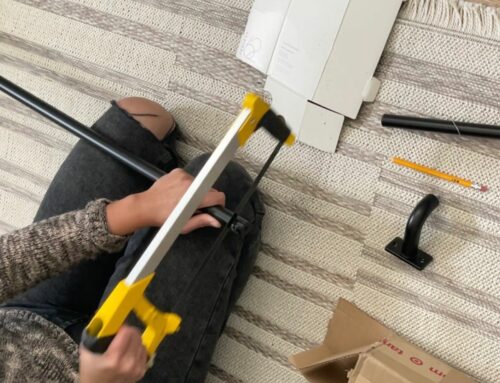
Next I drilled pilot holes, added my favorite drywall anchors, and secured the screws. Then the boards popped right on!
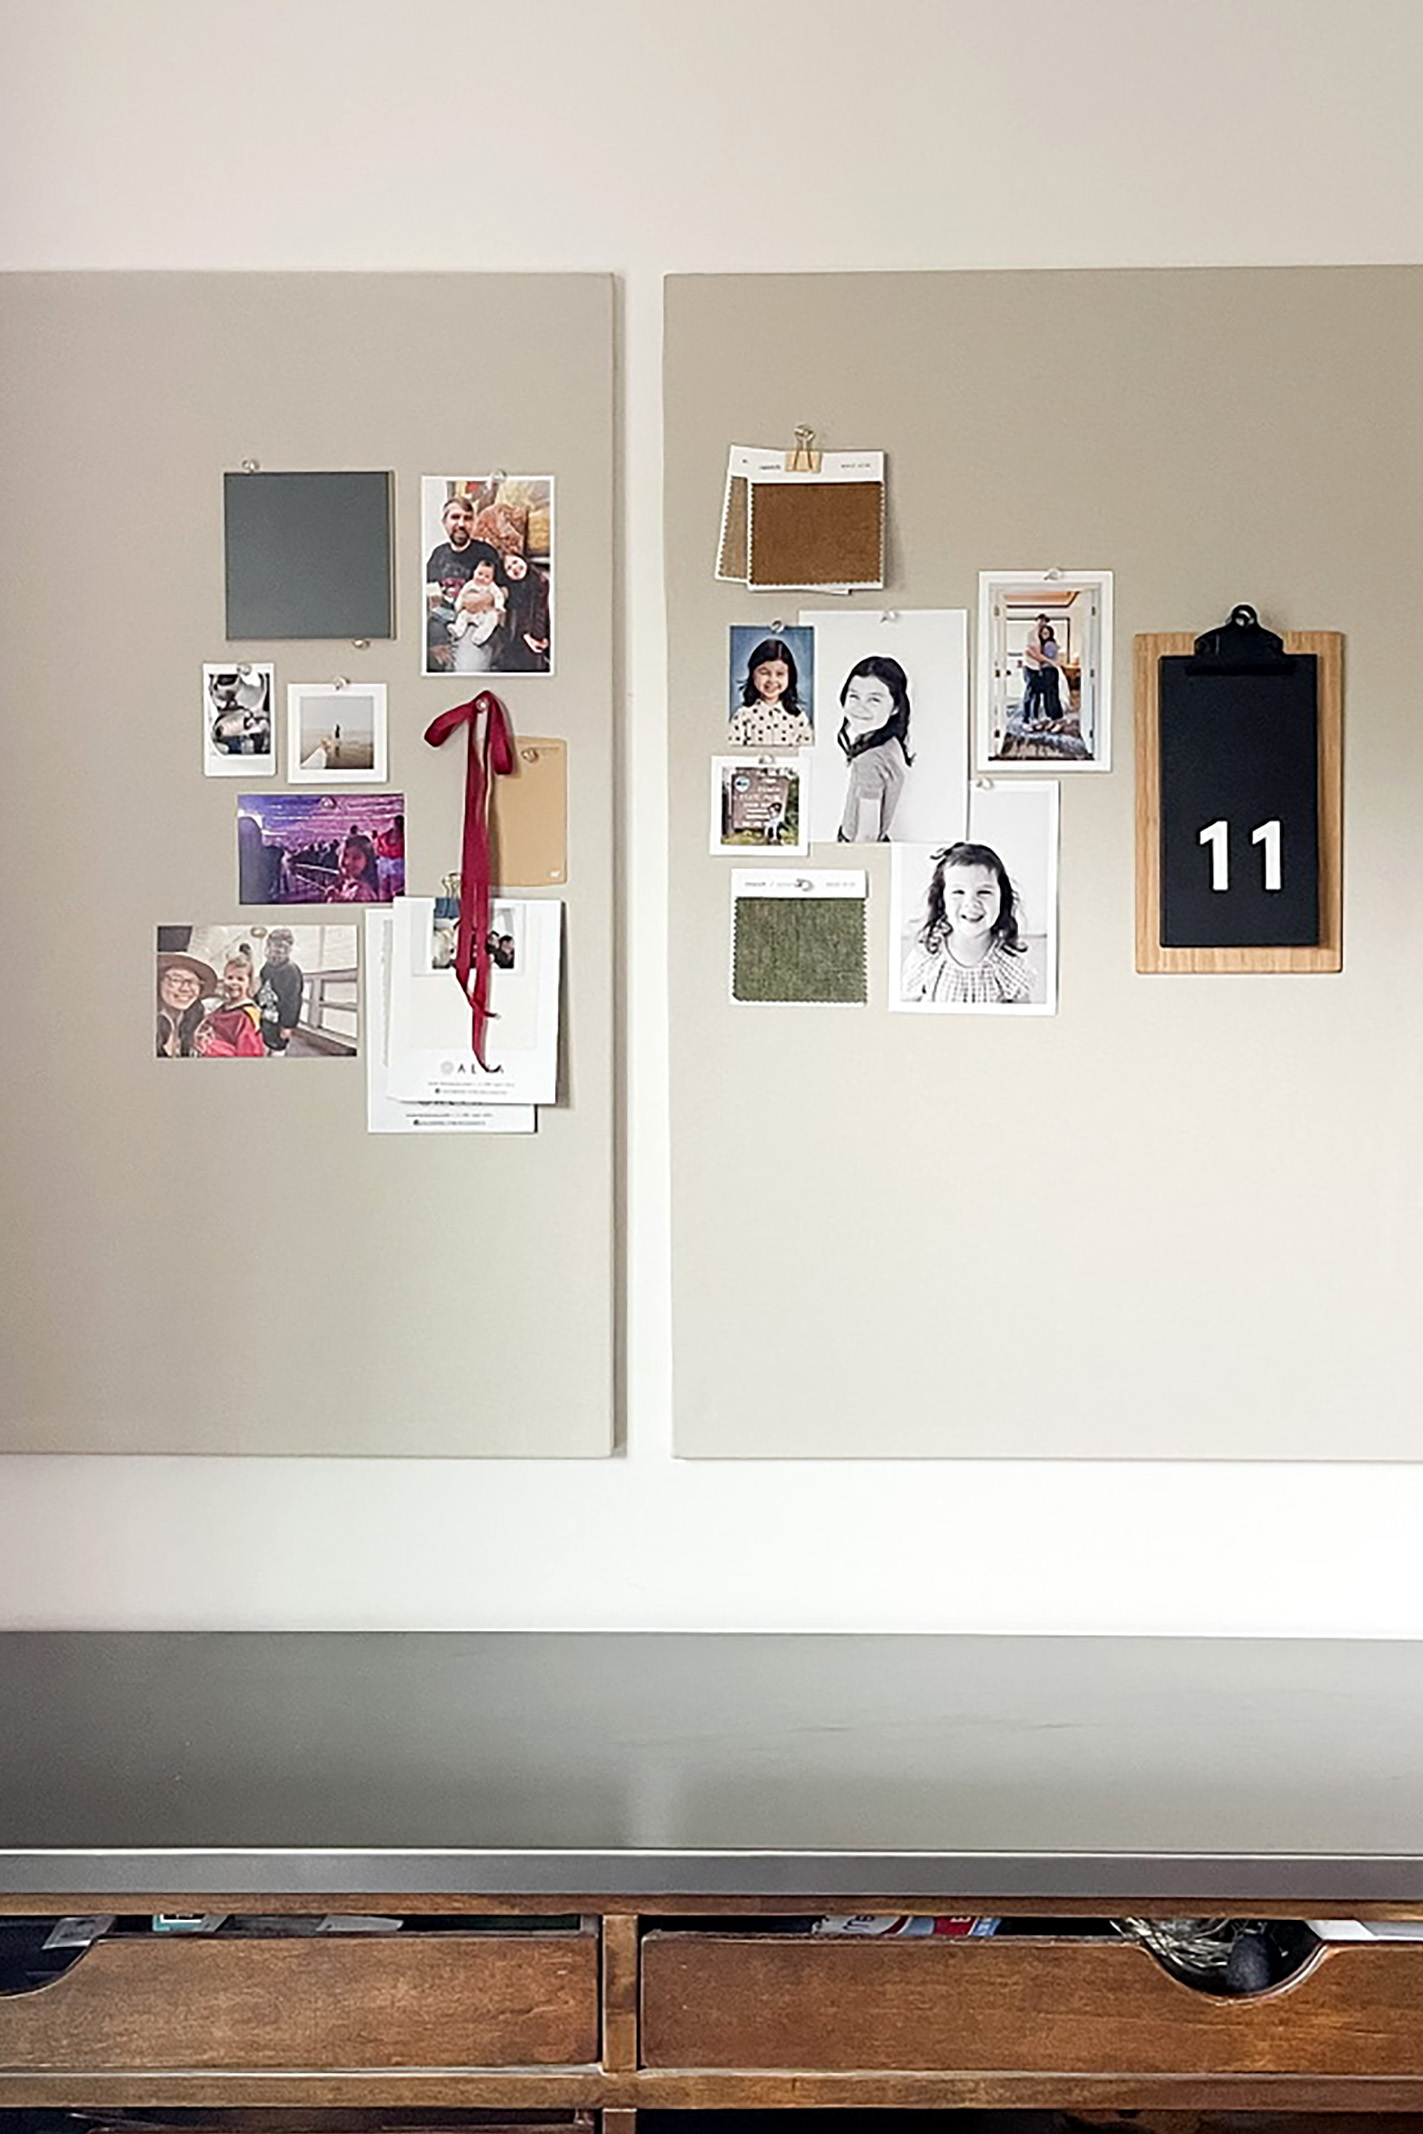
Here’s the final look. I’m so happy that the stacks of photos, samples, and inspo now have a home in my office.
There’s not much to share in terms of sources since everything I used I already had, but here are the curtain panels I used and my favorite anchors.
Shop the Post:

*Disclosure: This post may contain affiliate links. If you purchase a product, I may earn a small commission at no additional cost to you. Thank you for supporting my blog.
Related Posts

Hi, I’m Tiffany!
I’m so glad you’re here. I hope you’ll see this space as a source of inspiration and encouragement to take the first step in making your home a place you want to be, wherever that may be.
You can expect to find approachable DIY projects and tutorials, opinions on home design, and all the fun stuff that comes up in-between.
