
I built a bench. I repeat, I BUILT A BENCH!
A couple of weeks ago when I decided I wanted to take on the end of bench project for DIY For a Cure week, I had no plan. I had never made pocket holes on my own, built any type of furniture, or upholstered anything.
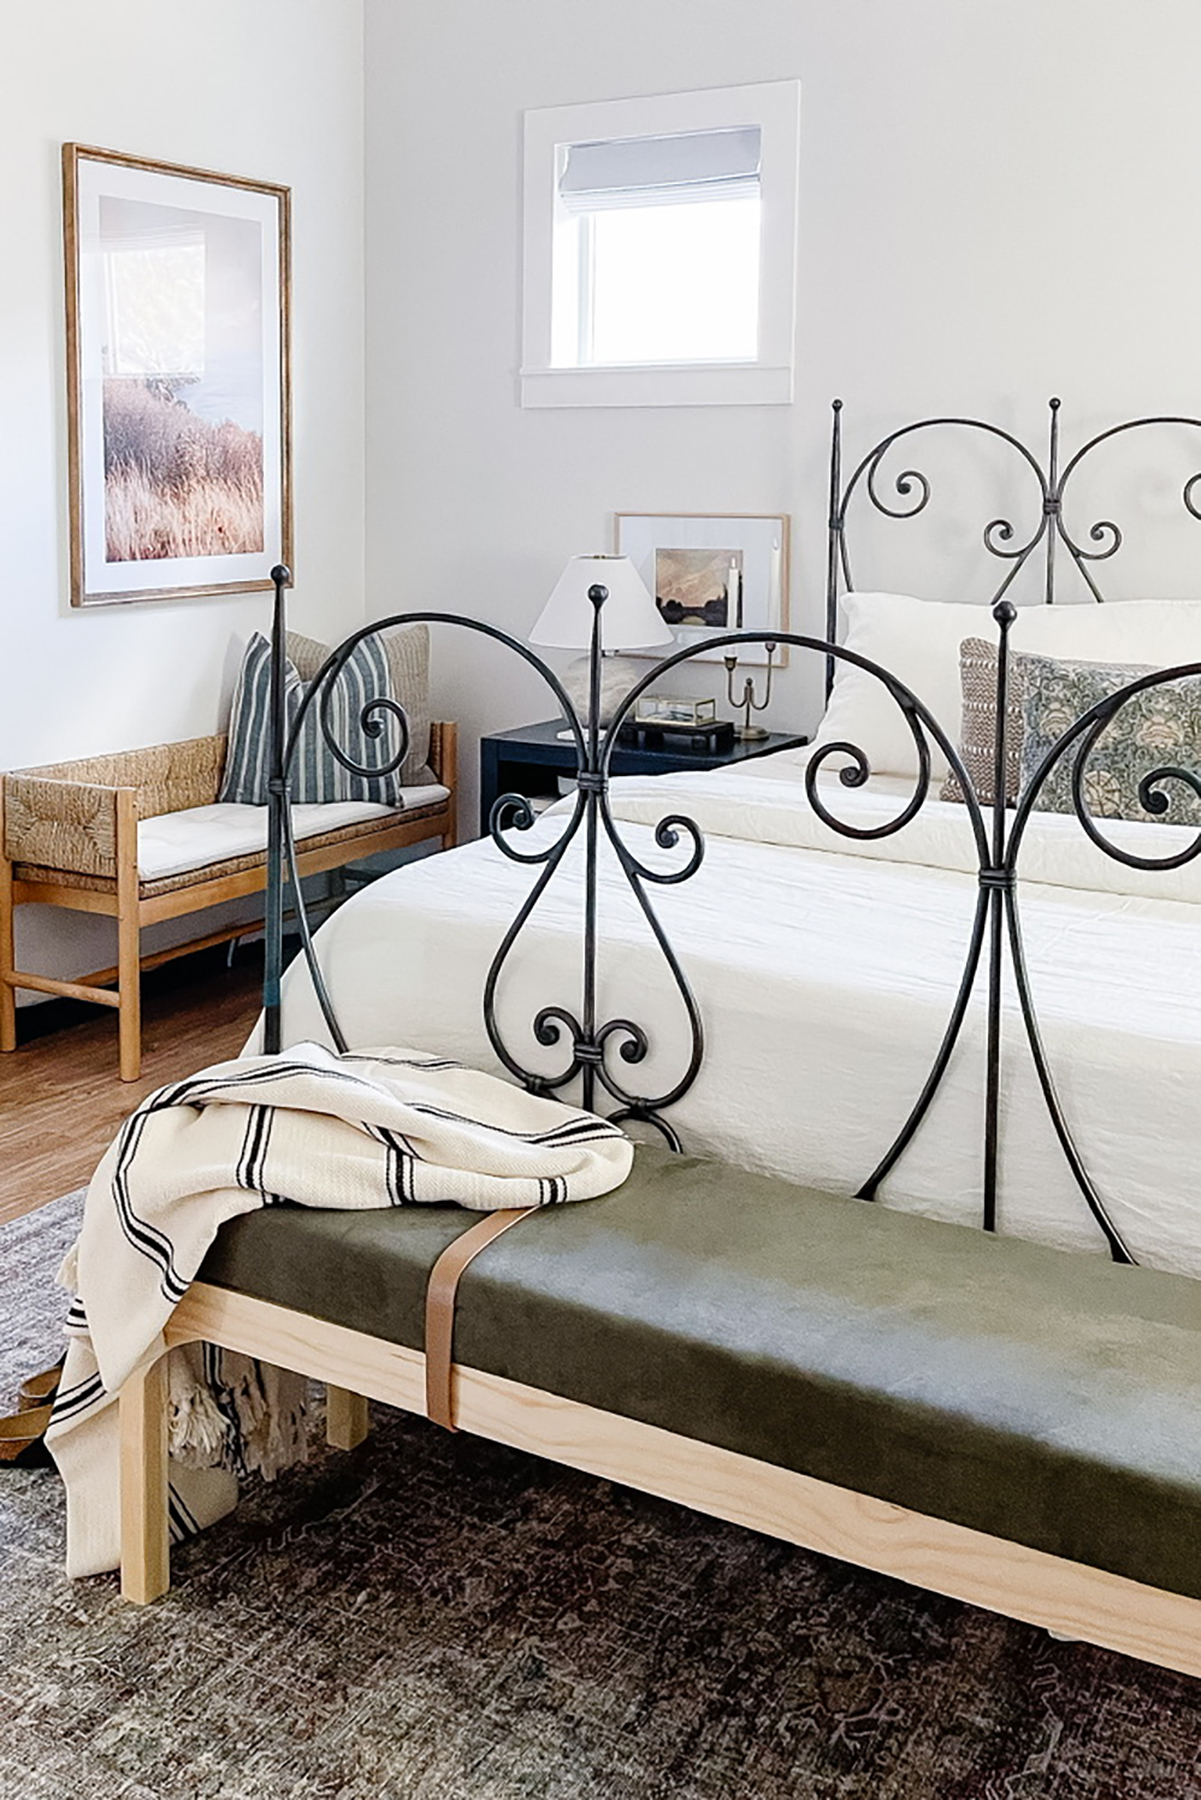
While there are several changes I still want to make (textile colors still aren’t working quite well yet, but textures are good!) and things that still need work (baseboards, window treatments), I’m choosing to celebrate progress. I am both shocked and proud that I pulled this off. The ultimate validation is hearing my husband shout, “WHOA! Is that the new Studio McGee bench? The new CLJ bench?” from upstairs when he first saw it. I know he was 99% making fun of me, but he was actually impressed with the build and the little curve detail I added. Then he asked if he could sit on it… it passed the sit test!
Alright, so here’s how I built it. I shared the process on Instagram and saved everything in a highlight if you want to catch up there with video.
Supplies:
- (2) 1x3x8′ select pine boards
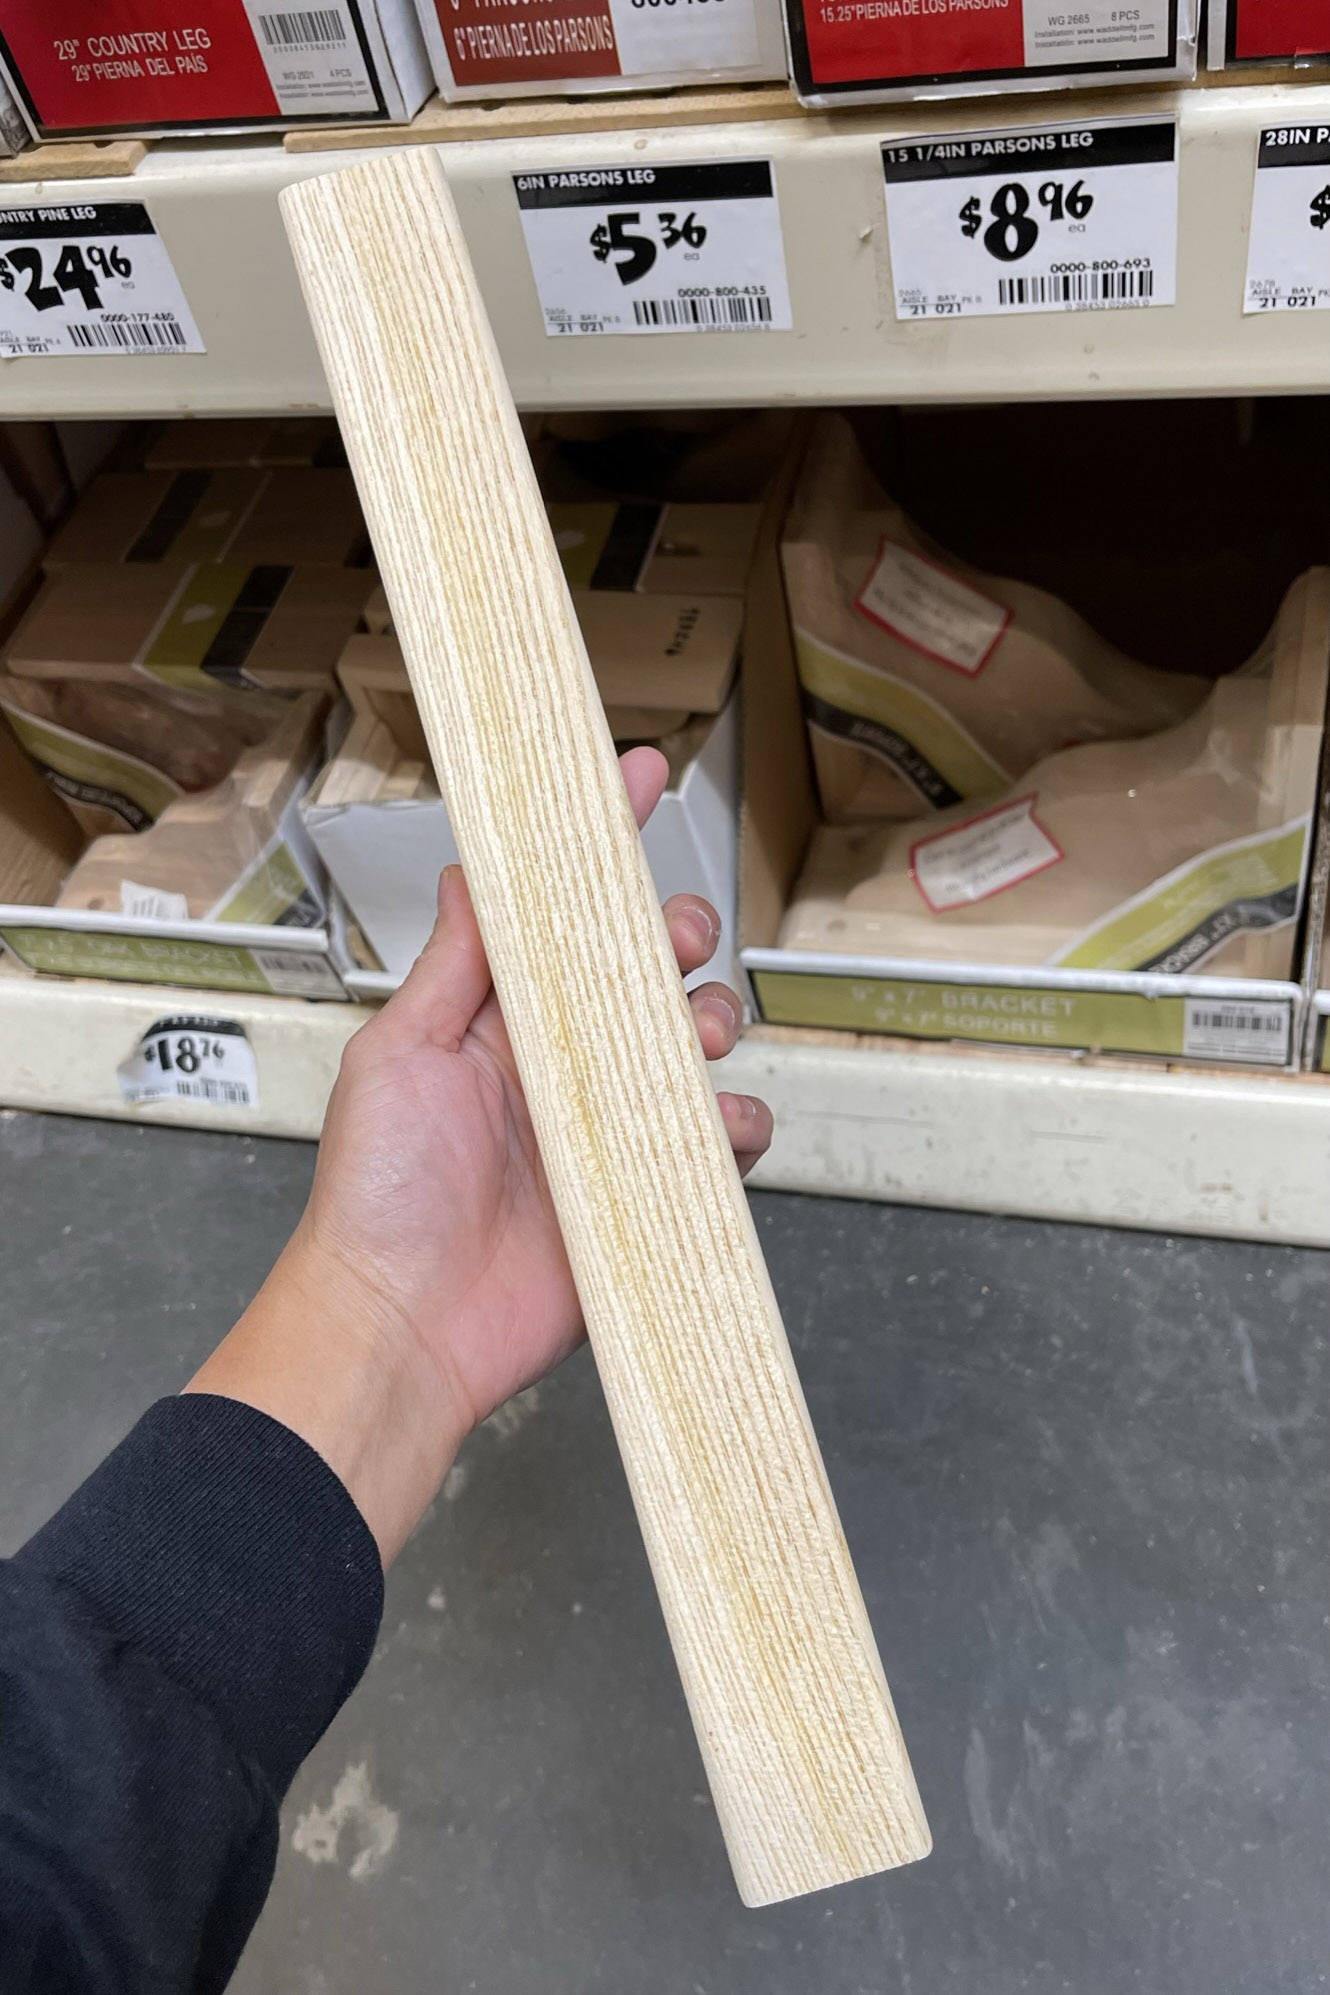
- (4) table parsons legs 15.4″
- 1/2″ plywood
- 3″ foam cushion
- Batting
- Fabric for cushion
- Wood glue
- Wood filler
- Sandpaper
- Pocket hole screws
- Brad nails
- Staples
- Spray adhesive (I used Gorilla)
- Stain (if using)
- Polyurethane (to seal)
- Leather roll (optional)
Tools:
- Table saw (could also have wood cut at hardware store or use circular saw with guide)
- Miter saw
- Jig saw
- Brad nailer
- Kreg jig pocket hole system
- Clamps
- Clamping squares
- Staple gun
SUPPLIES WILL VARY BASED ON THE LENGTH AND WIDTH OF YOUR BENCH. THESE ARE THE SUPPLIES I USED TO BUILD A BENCH FOR A KING BED.
Steps:
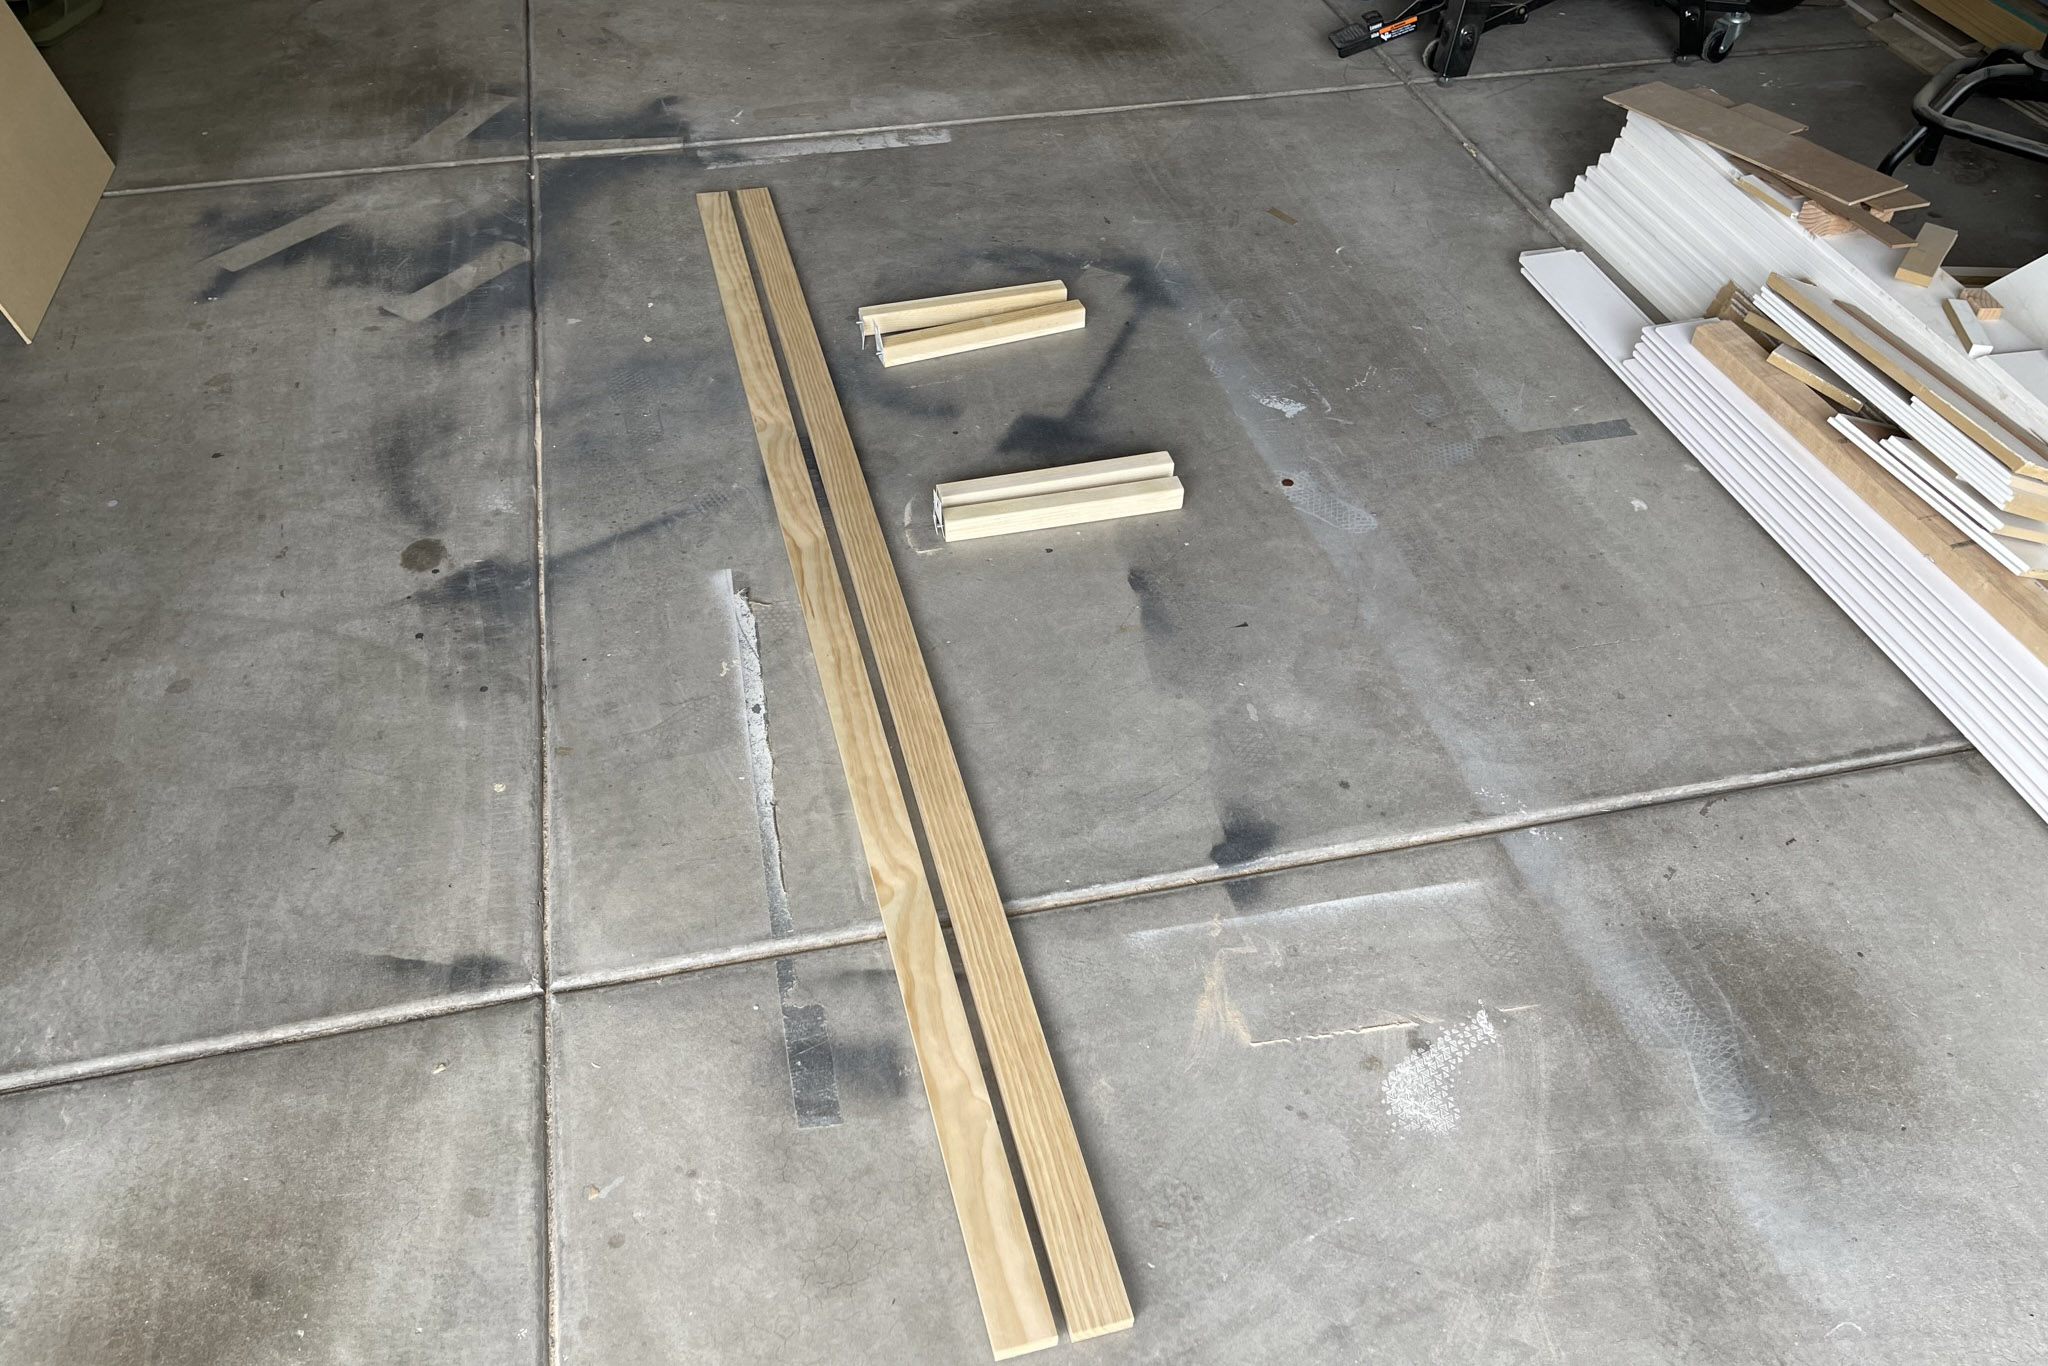
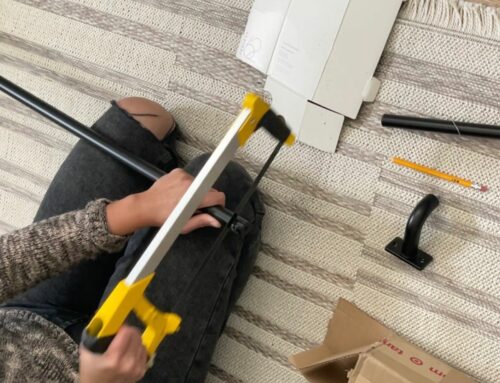
I went to my local Home Depot and found these 15 1/4″ parsons table legs that were the perfect height. I wanted my bench to be about 18″ tall, and when I add the 3″ foam cushion, it will be perfect. They had only four left so I took that as a sign I should buy the pre-made legs.
I also picked up two pieces of 1x3x8′ select pine boards. Each board gives me one short piece (sides), one long piece (front/back), and enough scrap for the details and extra support blocks that you’ll see later.
The first step is to cut your boards to size. The rough dimensions I used for my bench (sized for a king bed): 66″ wide, 18″ high, 16″ deep
- My long pieces: 66″ – 3″ (width of leg x2) = 63″
- My short pieces: 16″ – 3″ (width of leg x2) = 13″
Here’s a quick dry fit of the pieces!
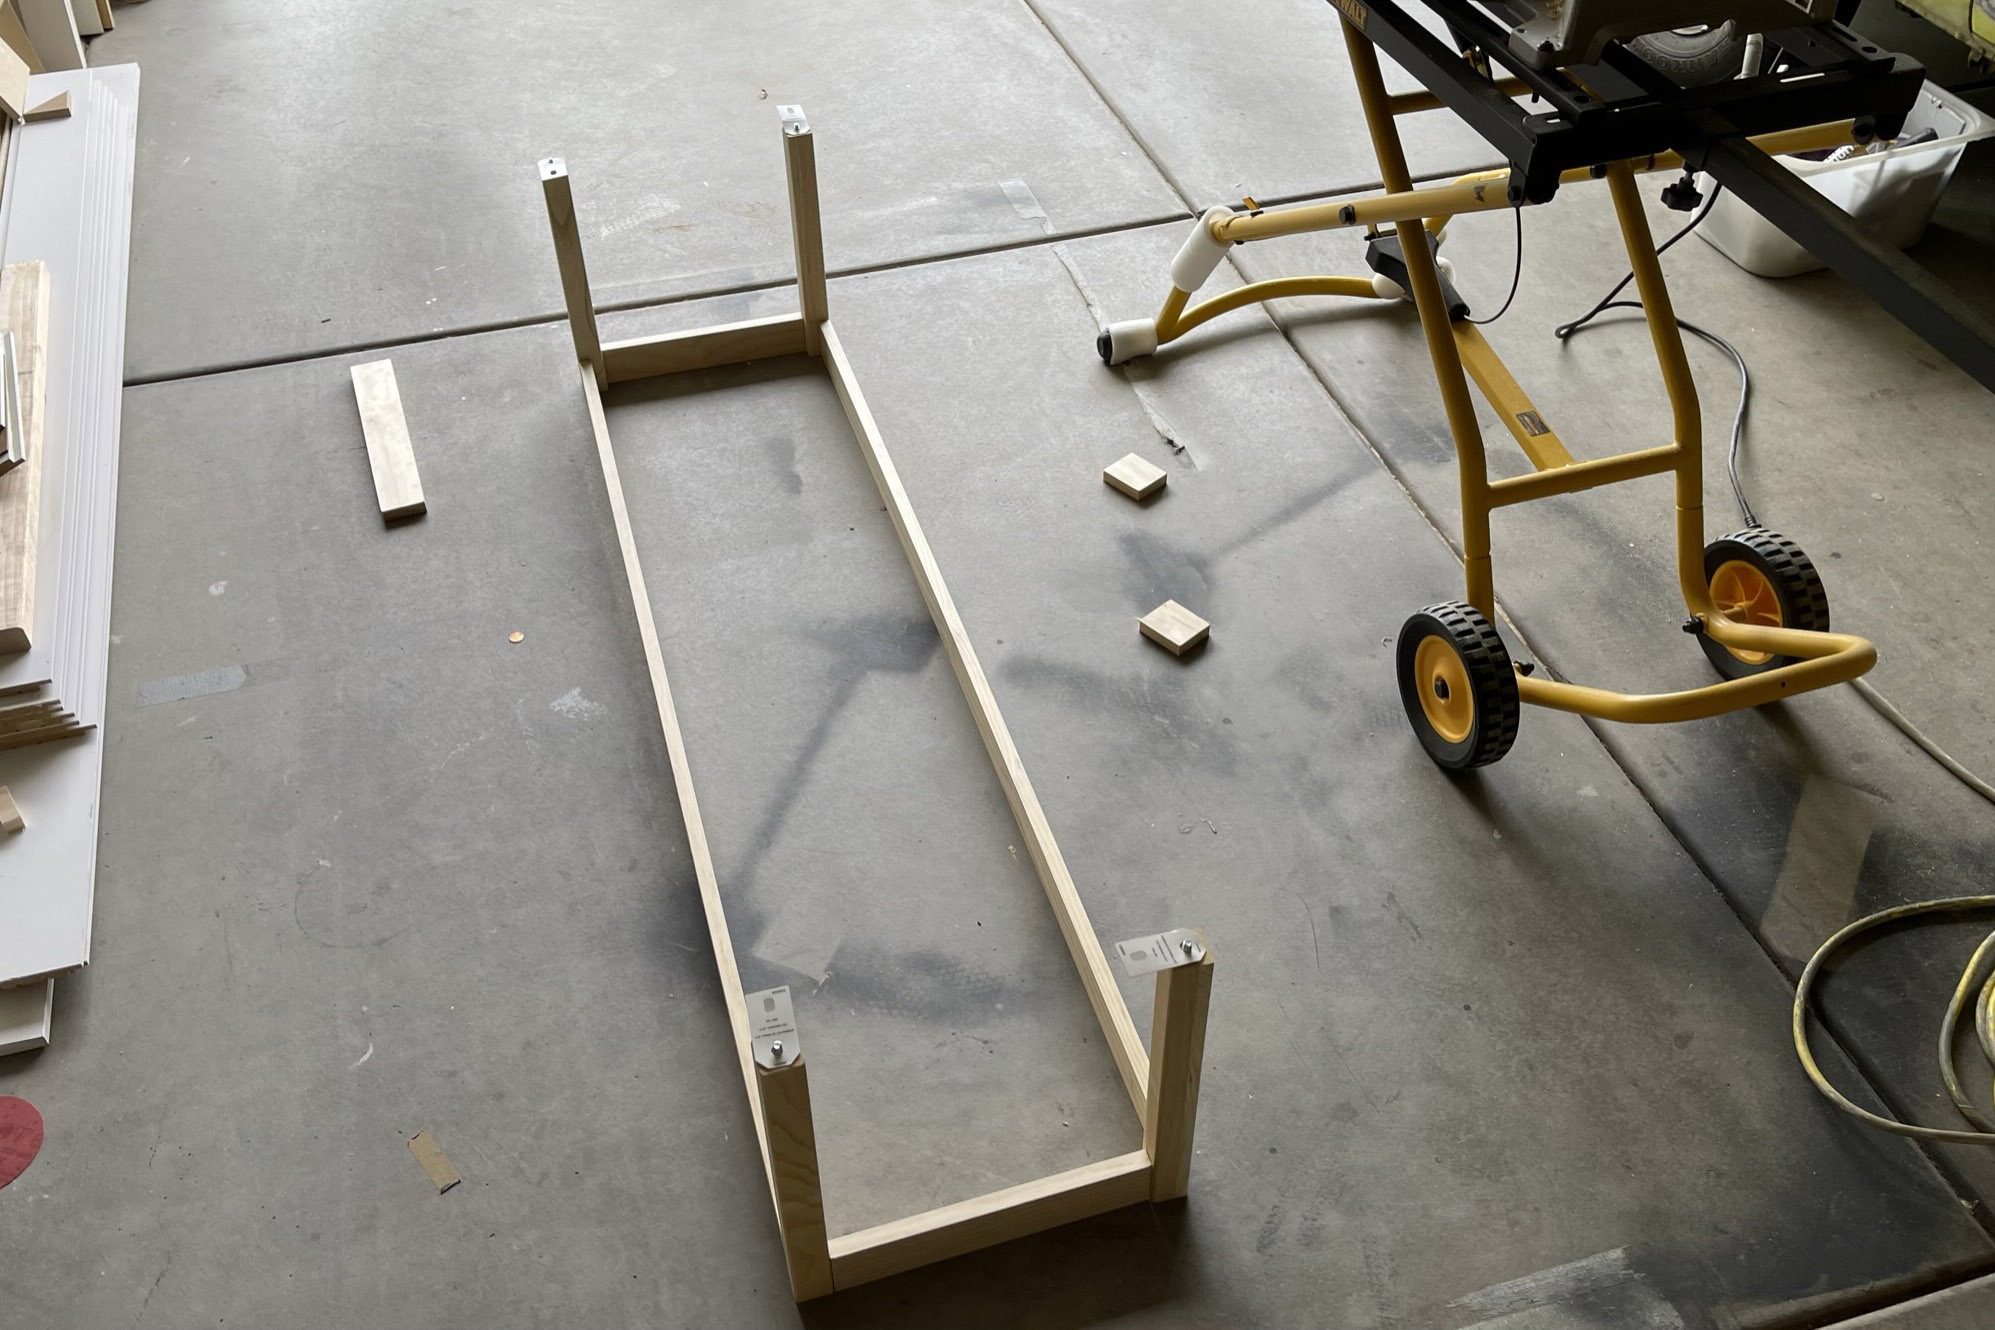
I used a kreg jig to create pocket holes to join the pieces to the legs. For extra support, I added another small scrap block on top with wood glue and nails and another pocket hole secured to the legs.
The three pieces in the middle are extra support pieces made from scrap wood. This is necessary due to the bench length.

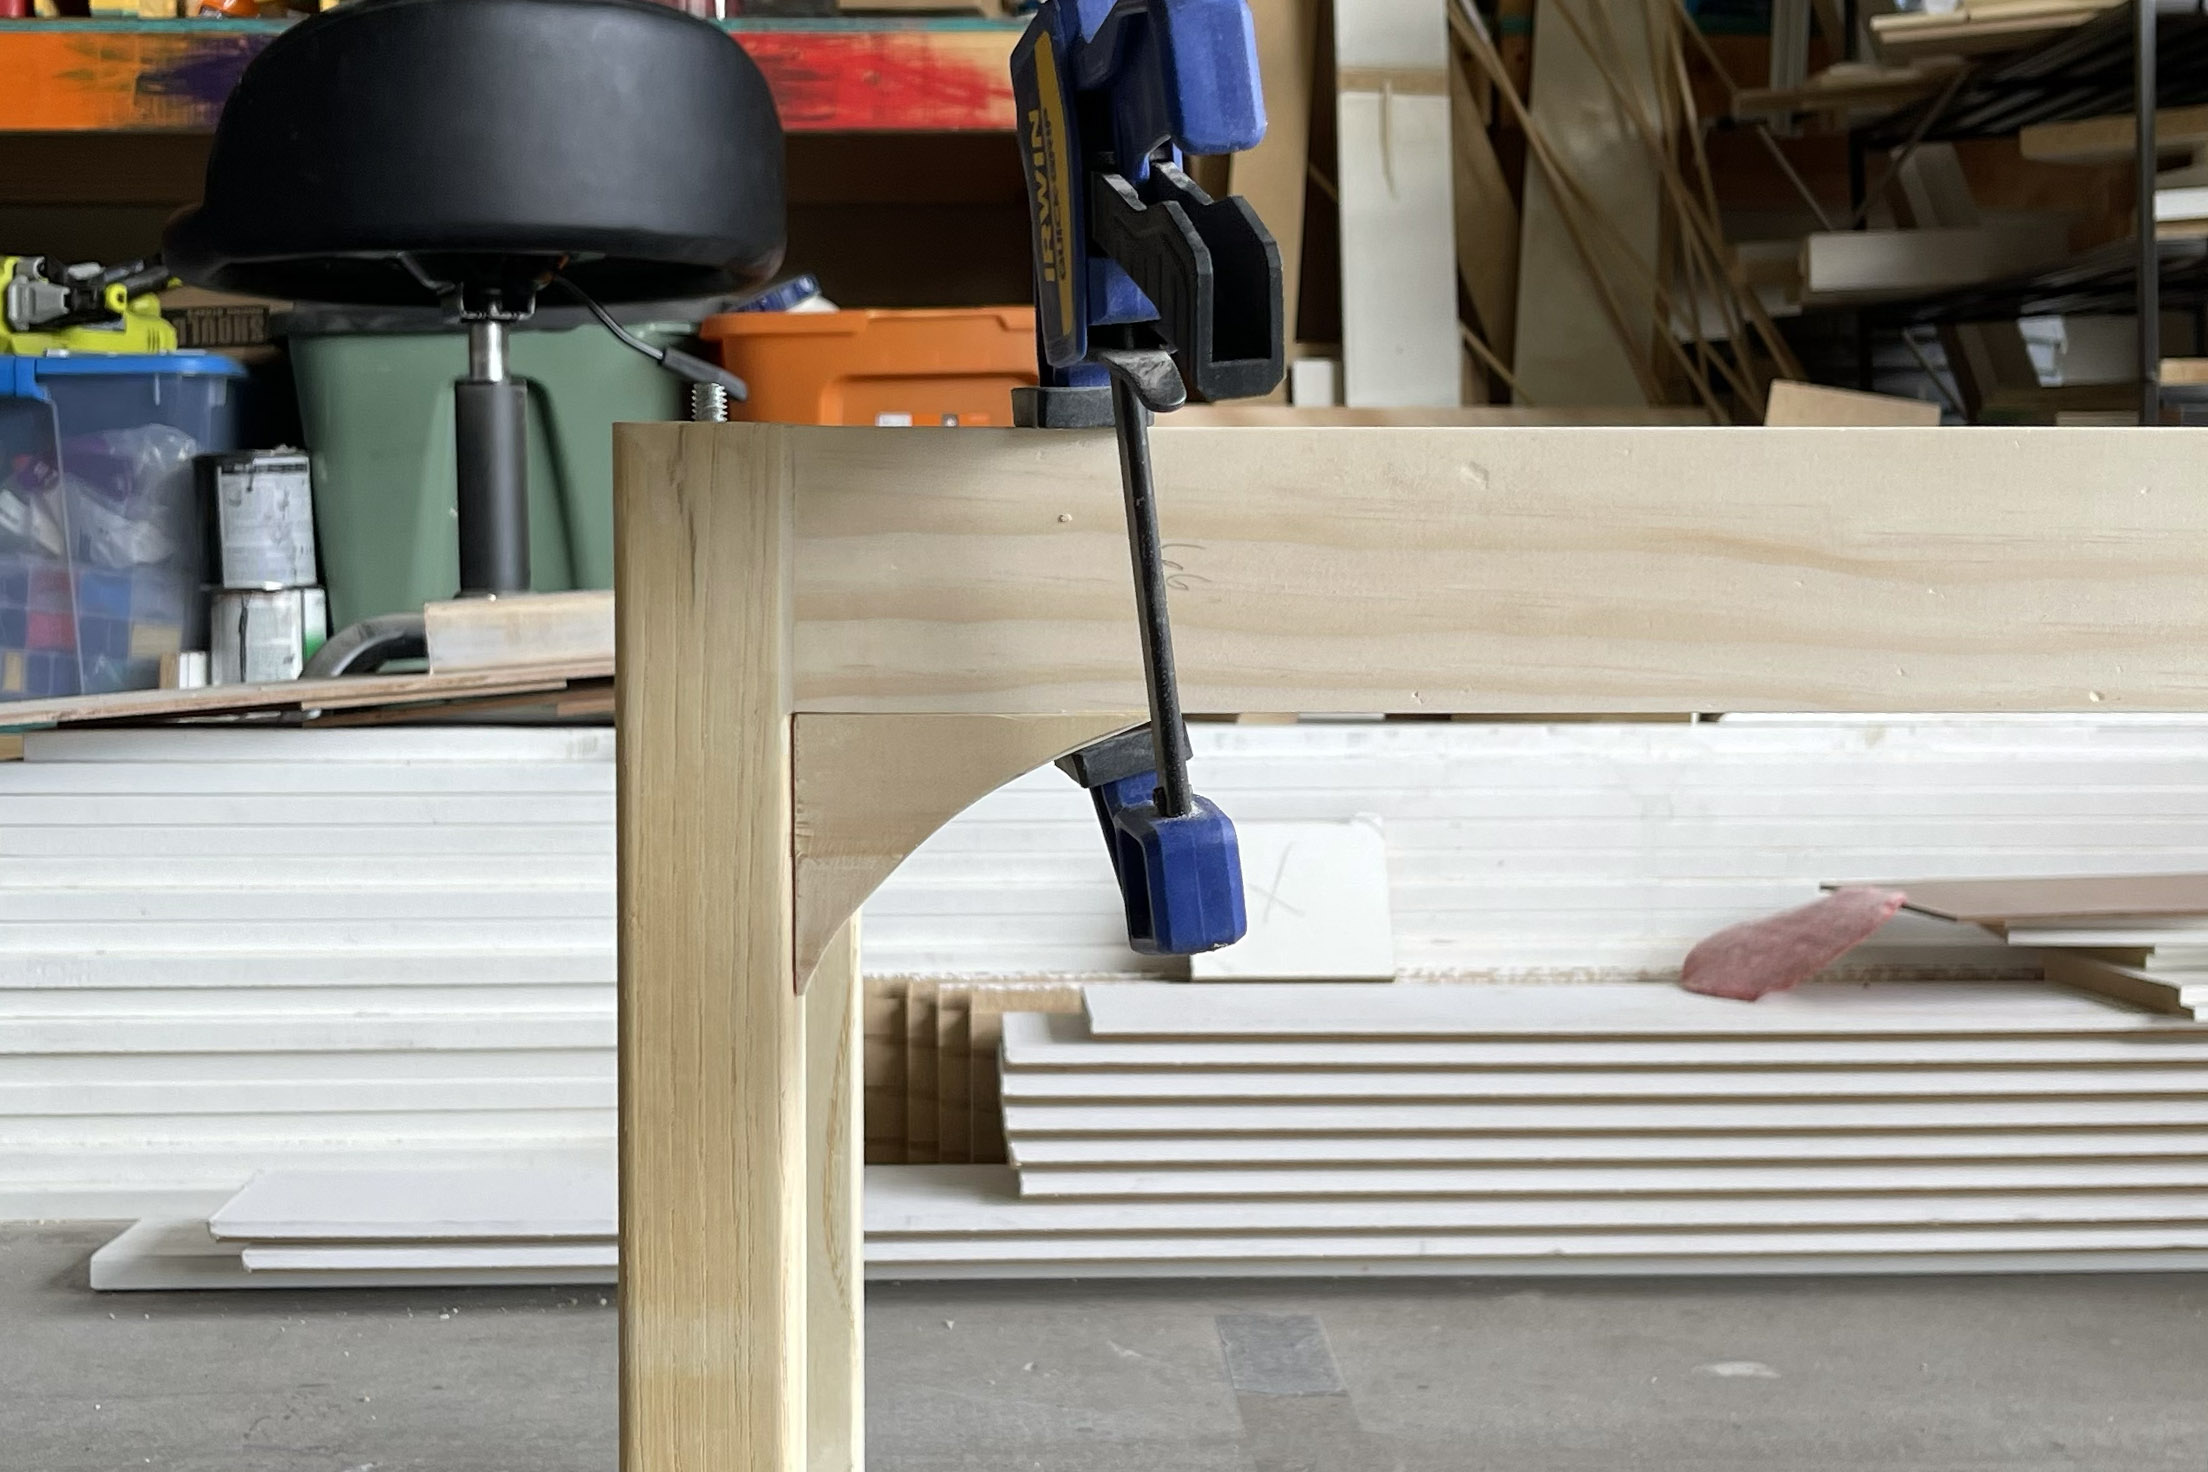
On a whim, I decided to add this small little detail piece using leftover scrap from the main pine boards. I used a random degree finder I found in the garage that had the shape I wanted and traced it on the wood. Then I used a jig saw to cut it out and attached it with wood glue and nails.
Everything got a layer of wood filler on all of the seams on the outside of the bench and sanded down with 220 grit the next day after it had some time to harden.
Now on to the cushion.
I had two pieces of half sheet plywood already at home, so I decided to work with that vs purchasing a full sheet of plywood and having it cut at the store. I ripped my boards to size, minus 1/2″ to account for a 1/4″ reveal all around. I added batting (1/4″ thick) and that will expand the size of the overall cushion. I didn’t want it to hang over the bench at all so I made sure to consider that detail.
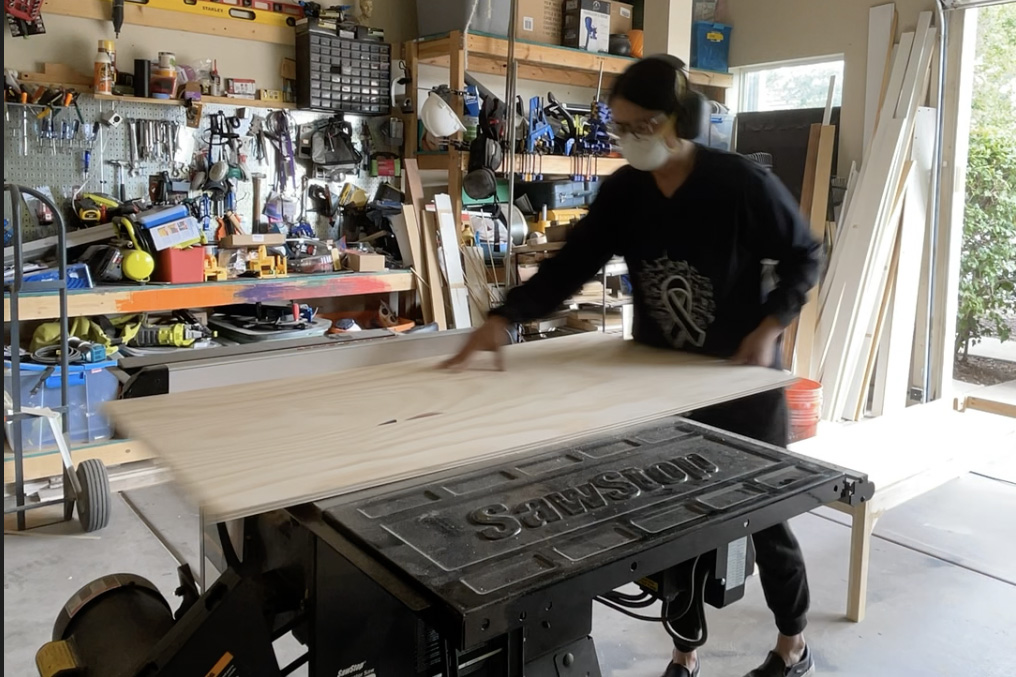
Next I joined the pieces together using pocket holes and screws. You can skip this step if you have a full piece of plywood.

Using 3″ foam cushion, I traced my plywood board on it and cut it out using a jig saw. I’ve seen tutorials say to use an electric knife or a serrated bread knife, but the jig worked well for me. I just needed to cut both sides since the blade didn’t quite reach all the way through the foam.
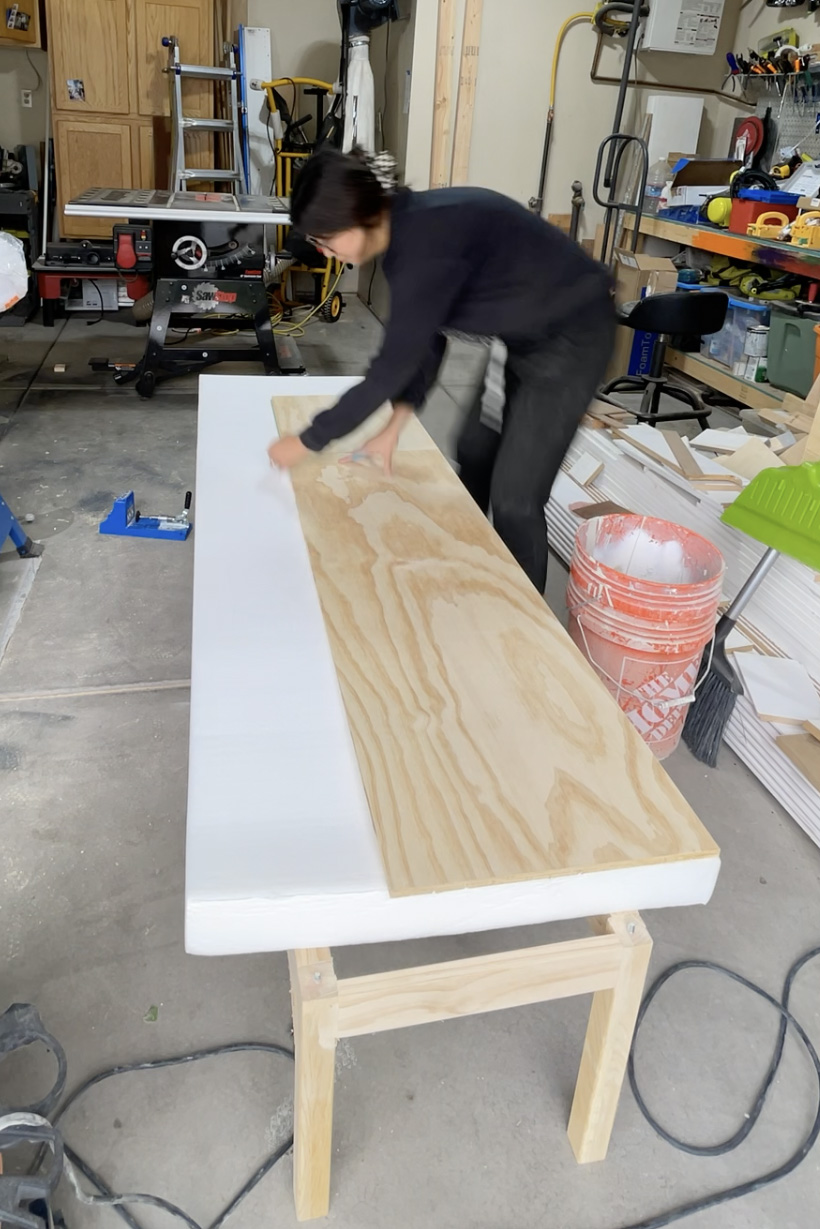
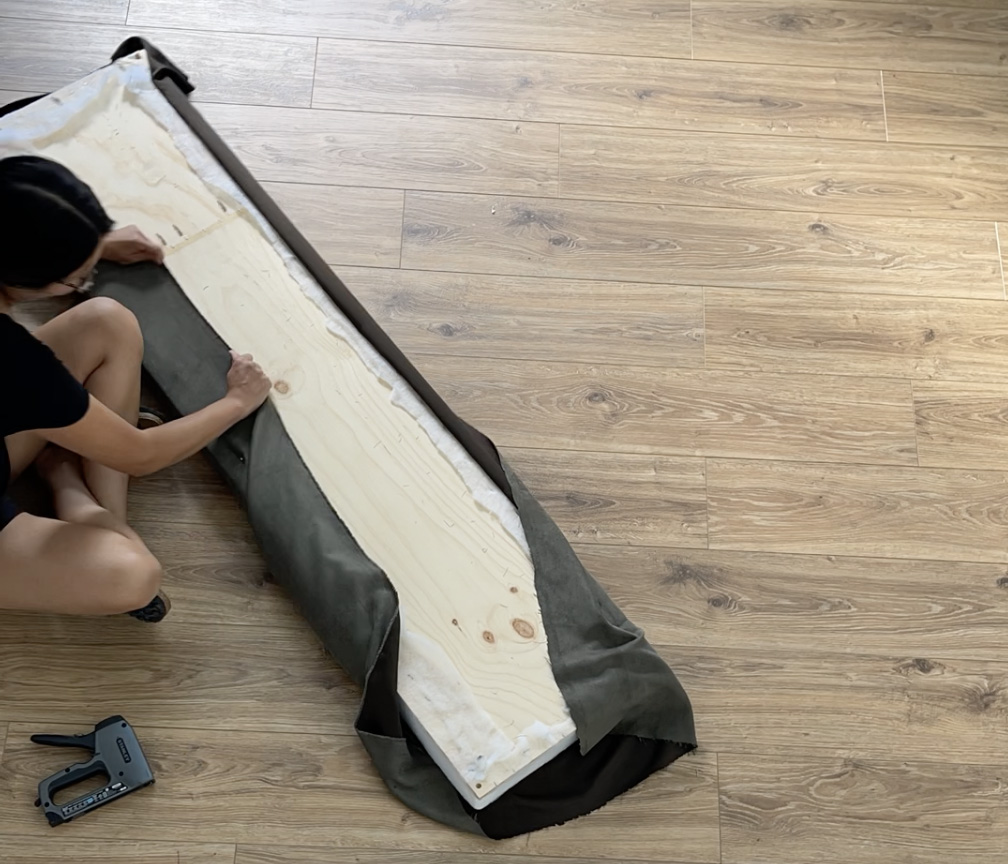
Once that’s cut, use spray adhesive to attach the foam to the plywood. Then take your batting and wrap it around tightly (be careful not to pull too hard or the batting will rip) and use a staple gun to attach to the plywood. The batting is key here to getting that nice, smooth, upholstered look for the cushion.
Finally, repeat this process using the fabric of your choice! I was going to use a velvet curtain panel but found this deep green suede at my local JoAnn’s store last minute. Be sure to pull the fabric nice and tight and be mindful that your lines line up if you’re using a pattern.
I had a roll of leather leftover from a previous project and thought it would be a perfect detail to add here. I simply wrapped the leather around the cushion and secured on the underside with a small screw.
The last step is to stain your bench base and add a coat of poly for protection. Then secure your base to the cushion using screws from underneath.
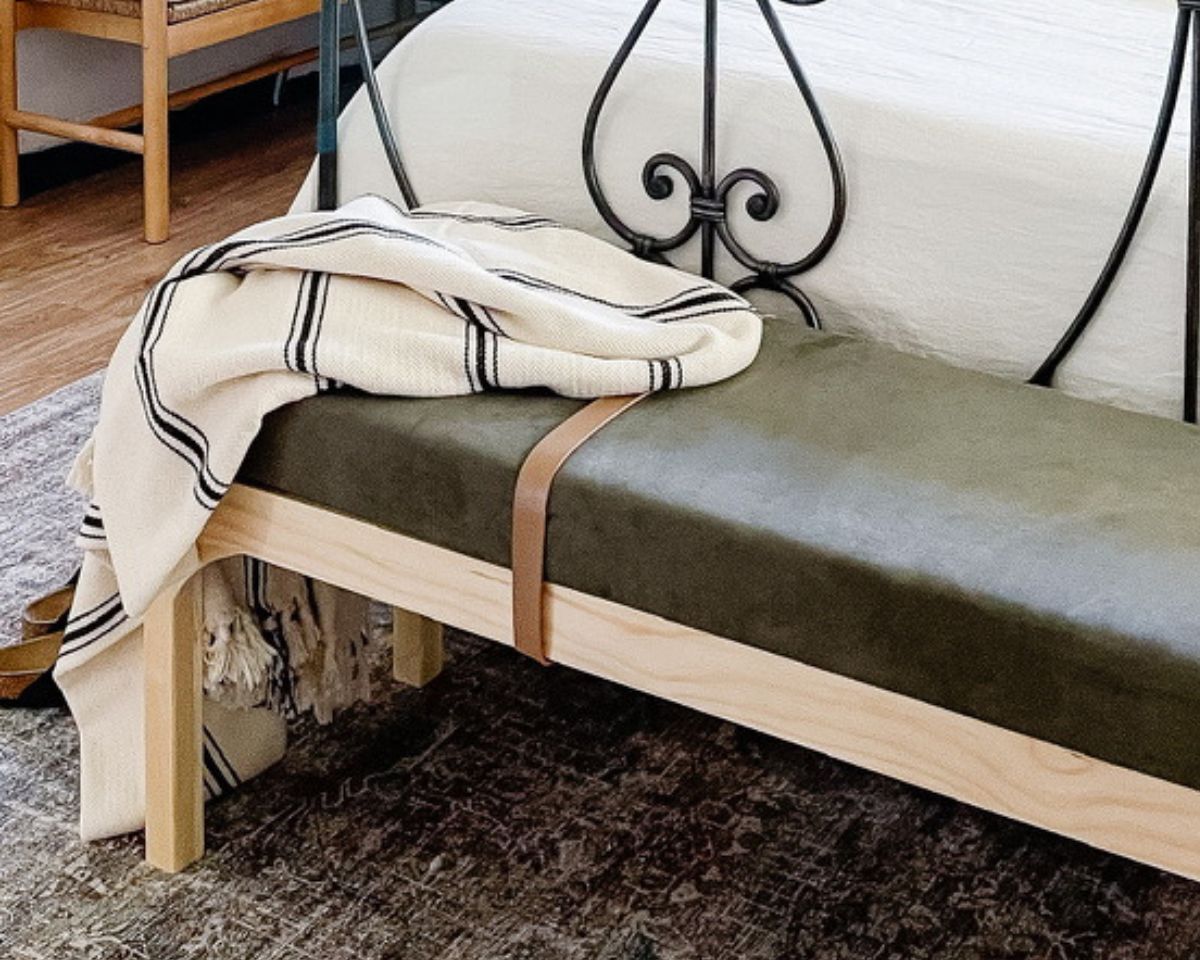
Give yourself a big ‘ol pat on the shoulder because you just built a bench!
I hope you enjoyed following along for this project in support for @diyforacure. DIY For A Cure is a movement to bring awareness to childhood cancer through creating, making, and DIY. The goal is to raise funds to further cancer research for Neuroblastoma and Acute Myeloid Leukemia.
I made many mistakes throughout this project, but problem-solved and learned a lot along the way. Committing to this project and DIY For a Cure helped push me to the finish line. Thank you for showing up for the kiddos with your generous donations and support!
For more information on the DIY For a Cure movement, click here.
Shop the Post:

*Disclosure: This post may contain affiliate links. If you purchase a product, I may earn a small commission at no additional cost to you. Thank you for supporting my blog.
Sources:
- Large art framed by Framebridge
- Bench
- Lamp
- Thin wood frame
- Brass box
- Candlestick holder
- Flameless flickering taper candles
- Bedding (use TIFFANY10 for 10% off)
- Rug
- Blanket/throw
- Roman shades
Related Posts

Hi, I’m Tiffany!
I’m so glad you’re here. I hope you’ll see this space as a source of inspiration and encouragement to take the first step in making your home a place you want to be, wherever that may be.
You can expect to find approachable DIY projects and tutorials, opinions on home design, and all the fun stuff that comes up in-between.
