

I needed a little motivation to continue the work on our garage workshop, so I registered for the One Room Challenge to give me some deadlines to work towards. This will be my 4th time participating!
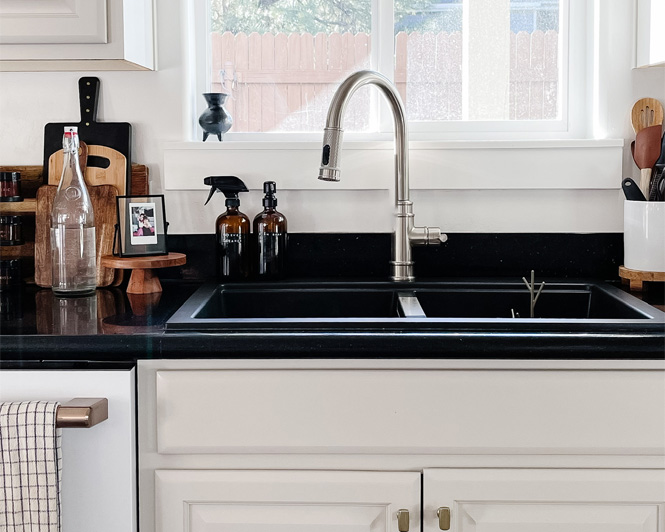
I haven’t officially shared anything about the garage on the blog until now, but you can catch up on highlights and some build reels over on Instagram.
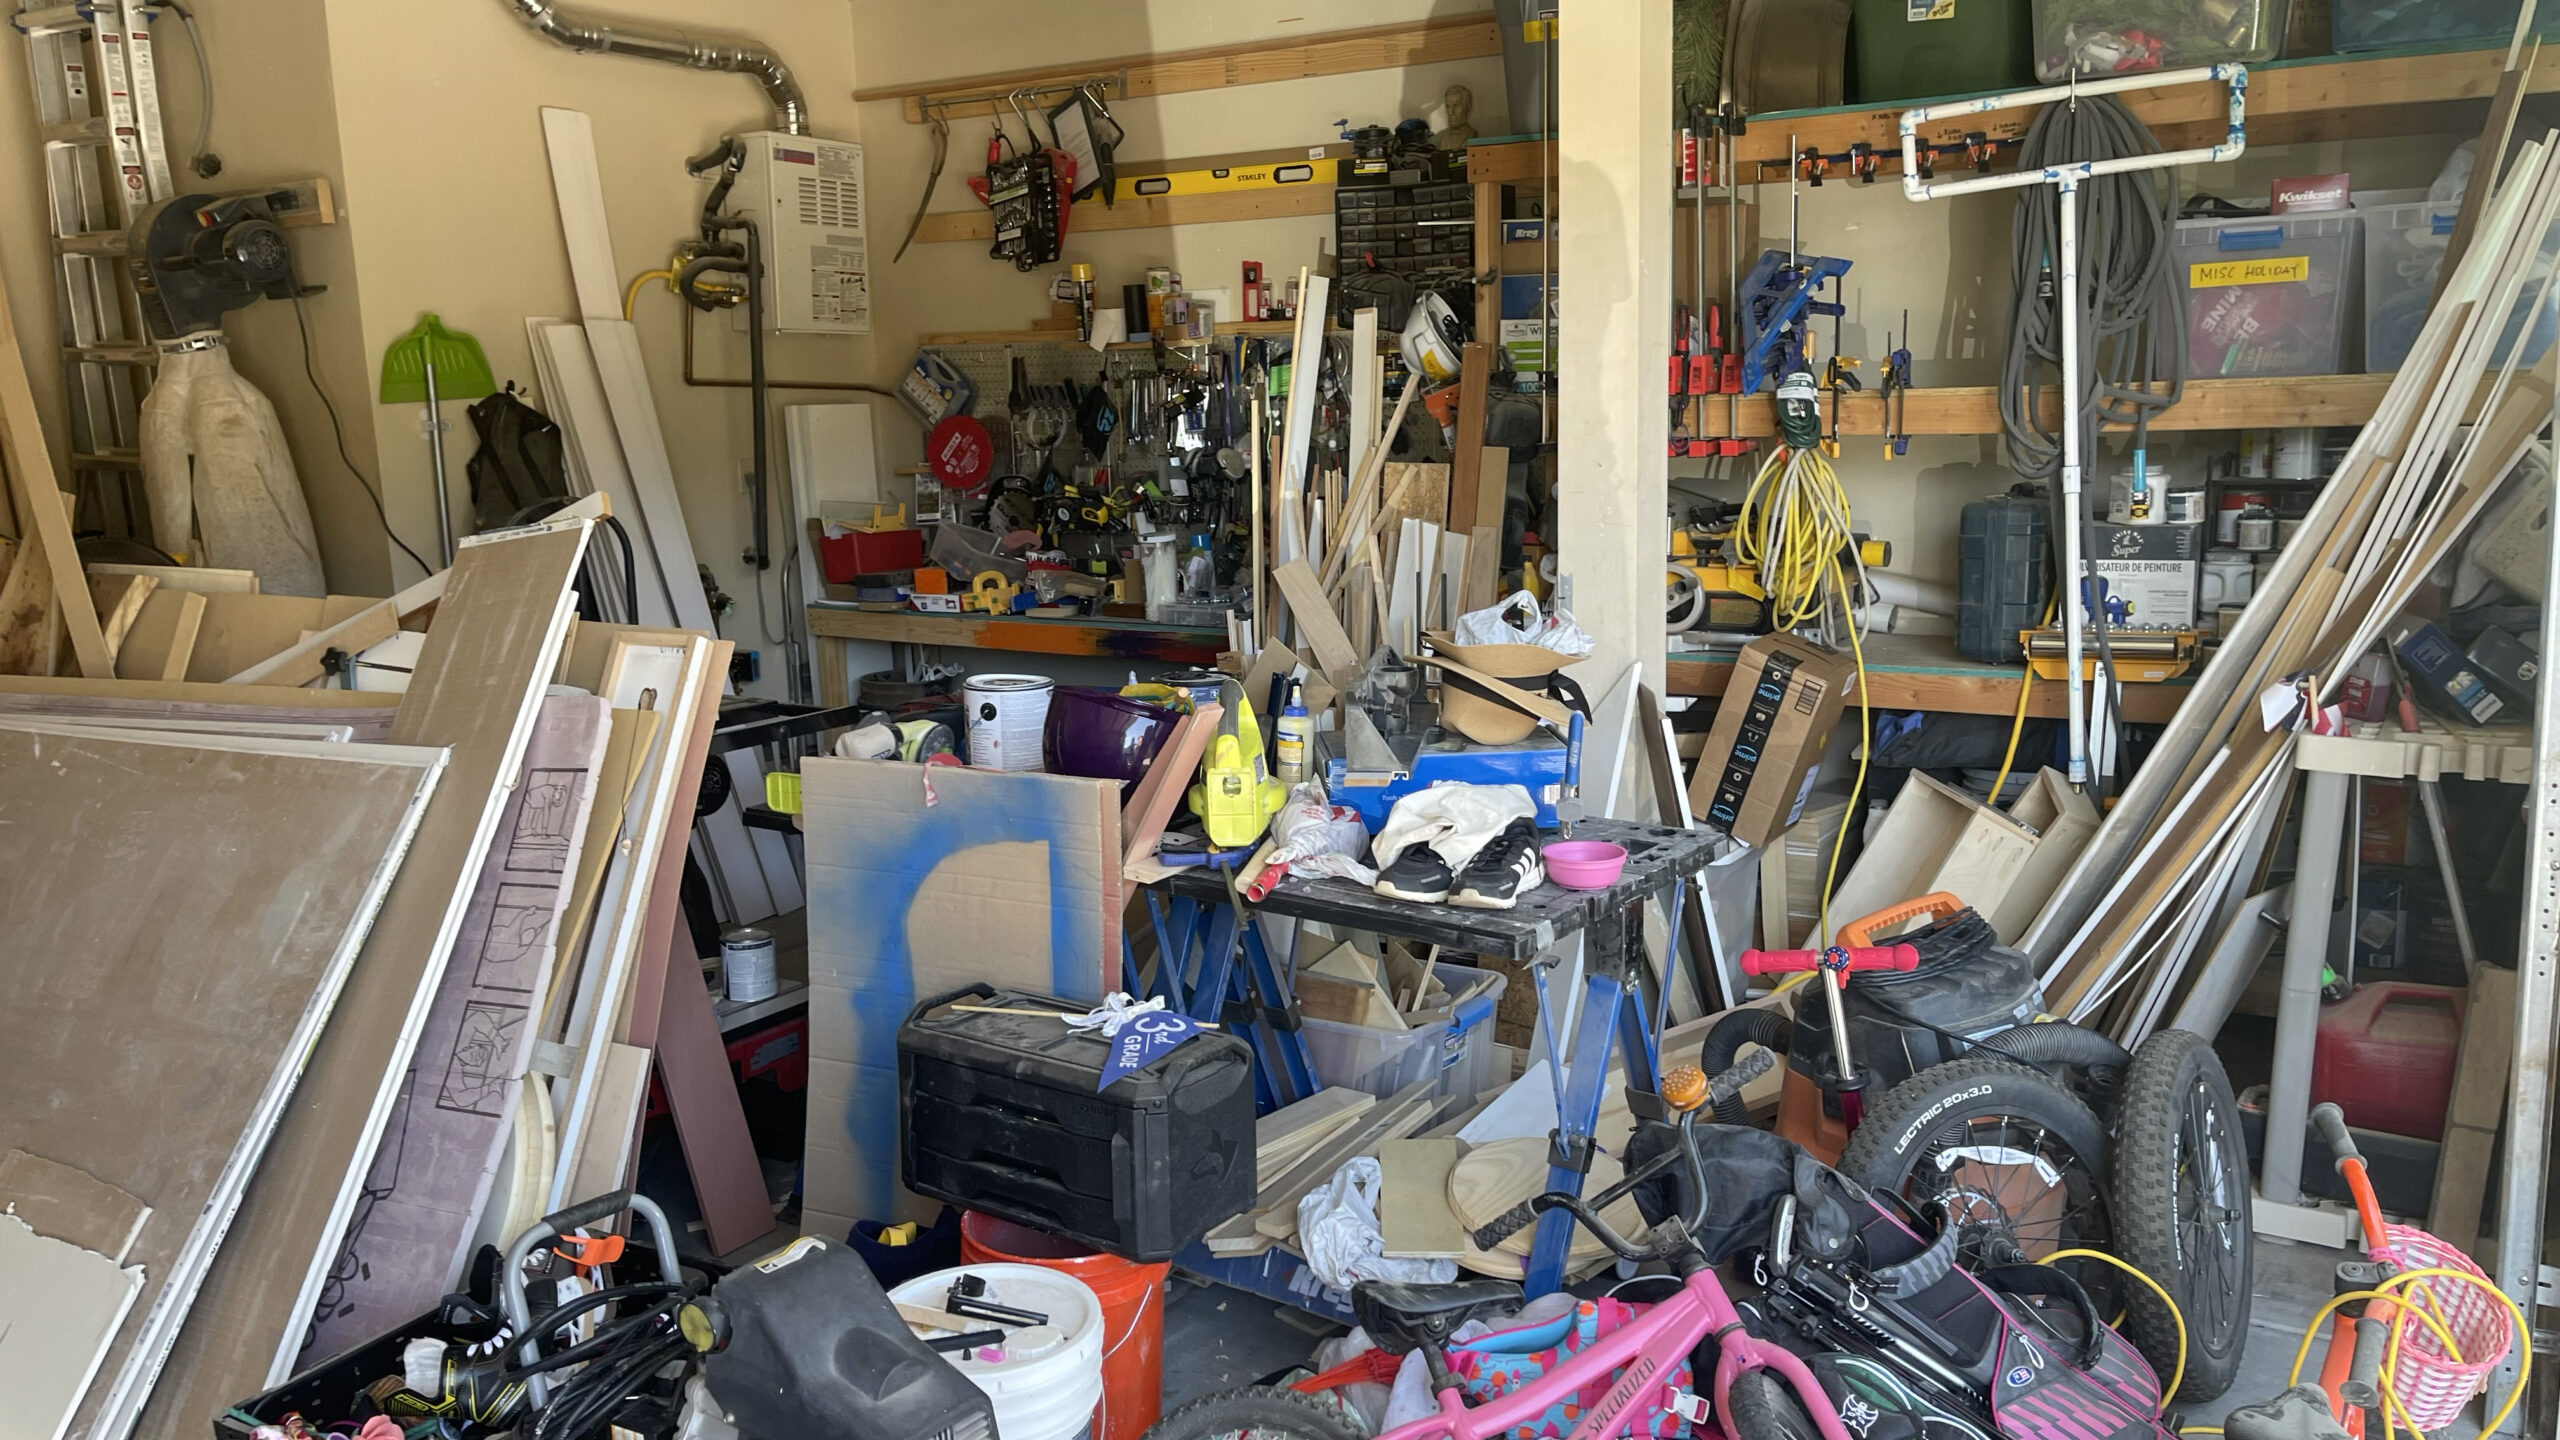
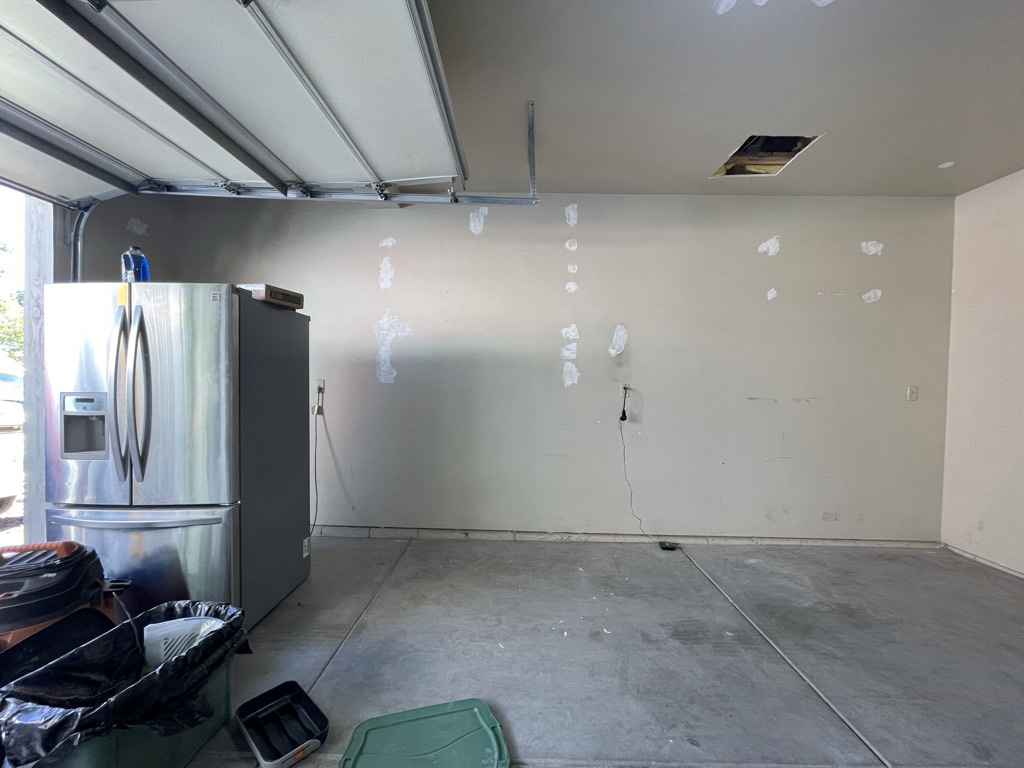
Here’s a look at the before:
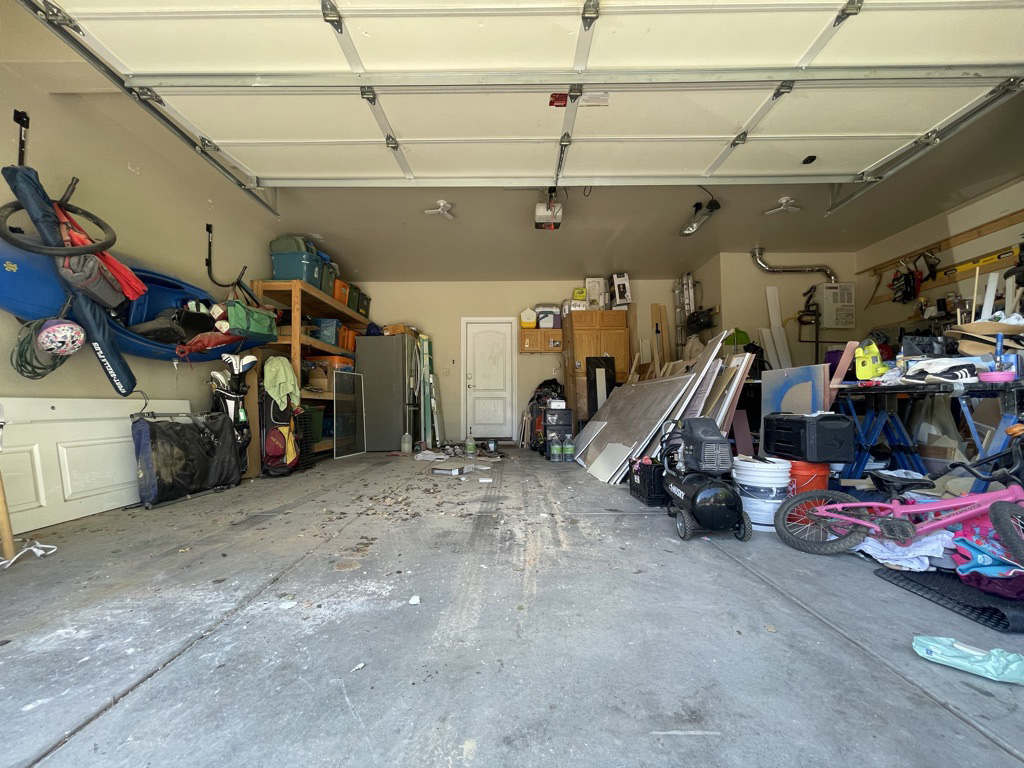
We started this project in September 2023, where we cleared out the entire garage, rented a U-Haul to temporarily house our belongings, and hired out the floor coating in the garage.
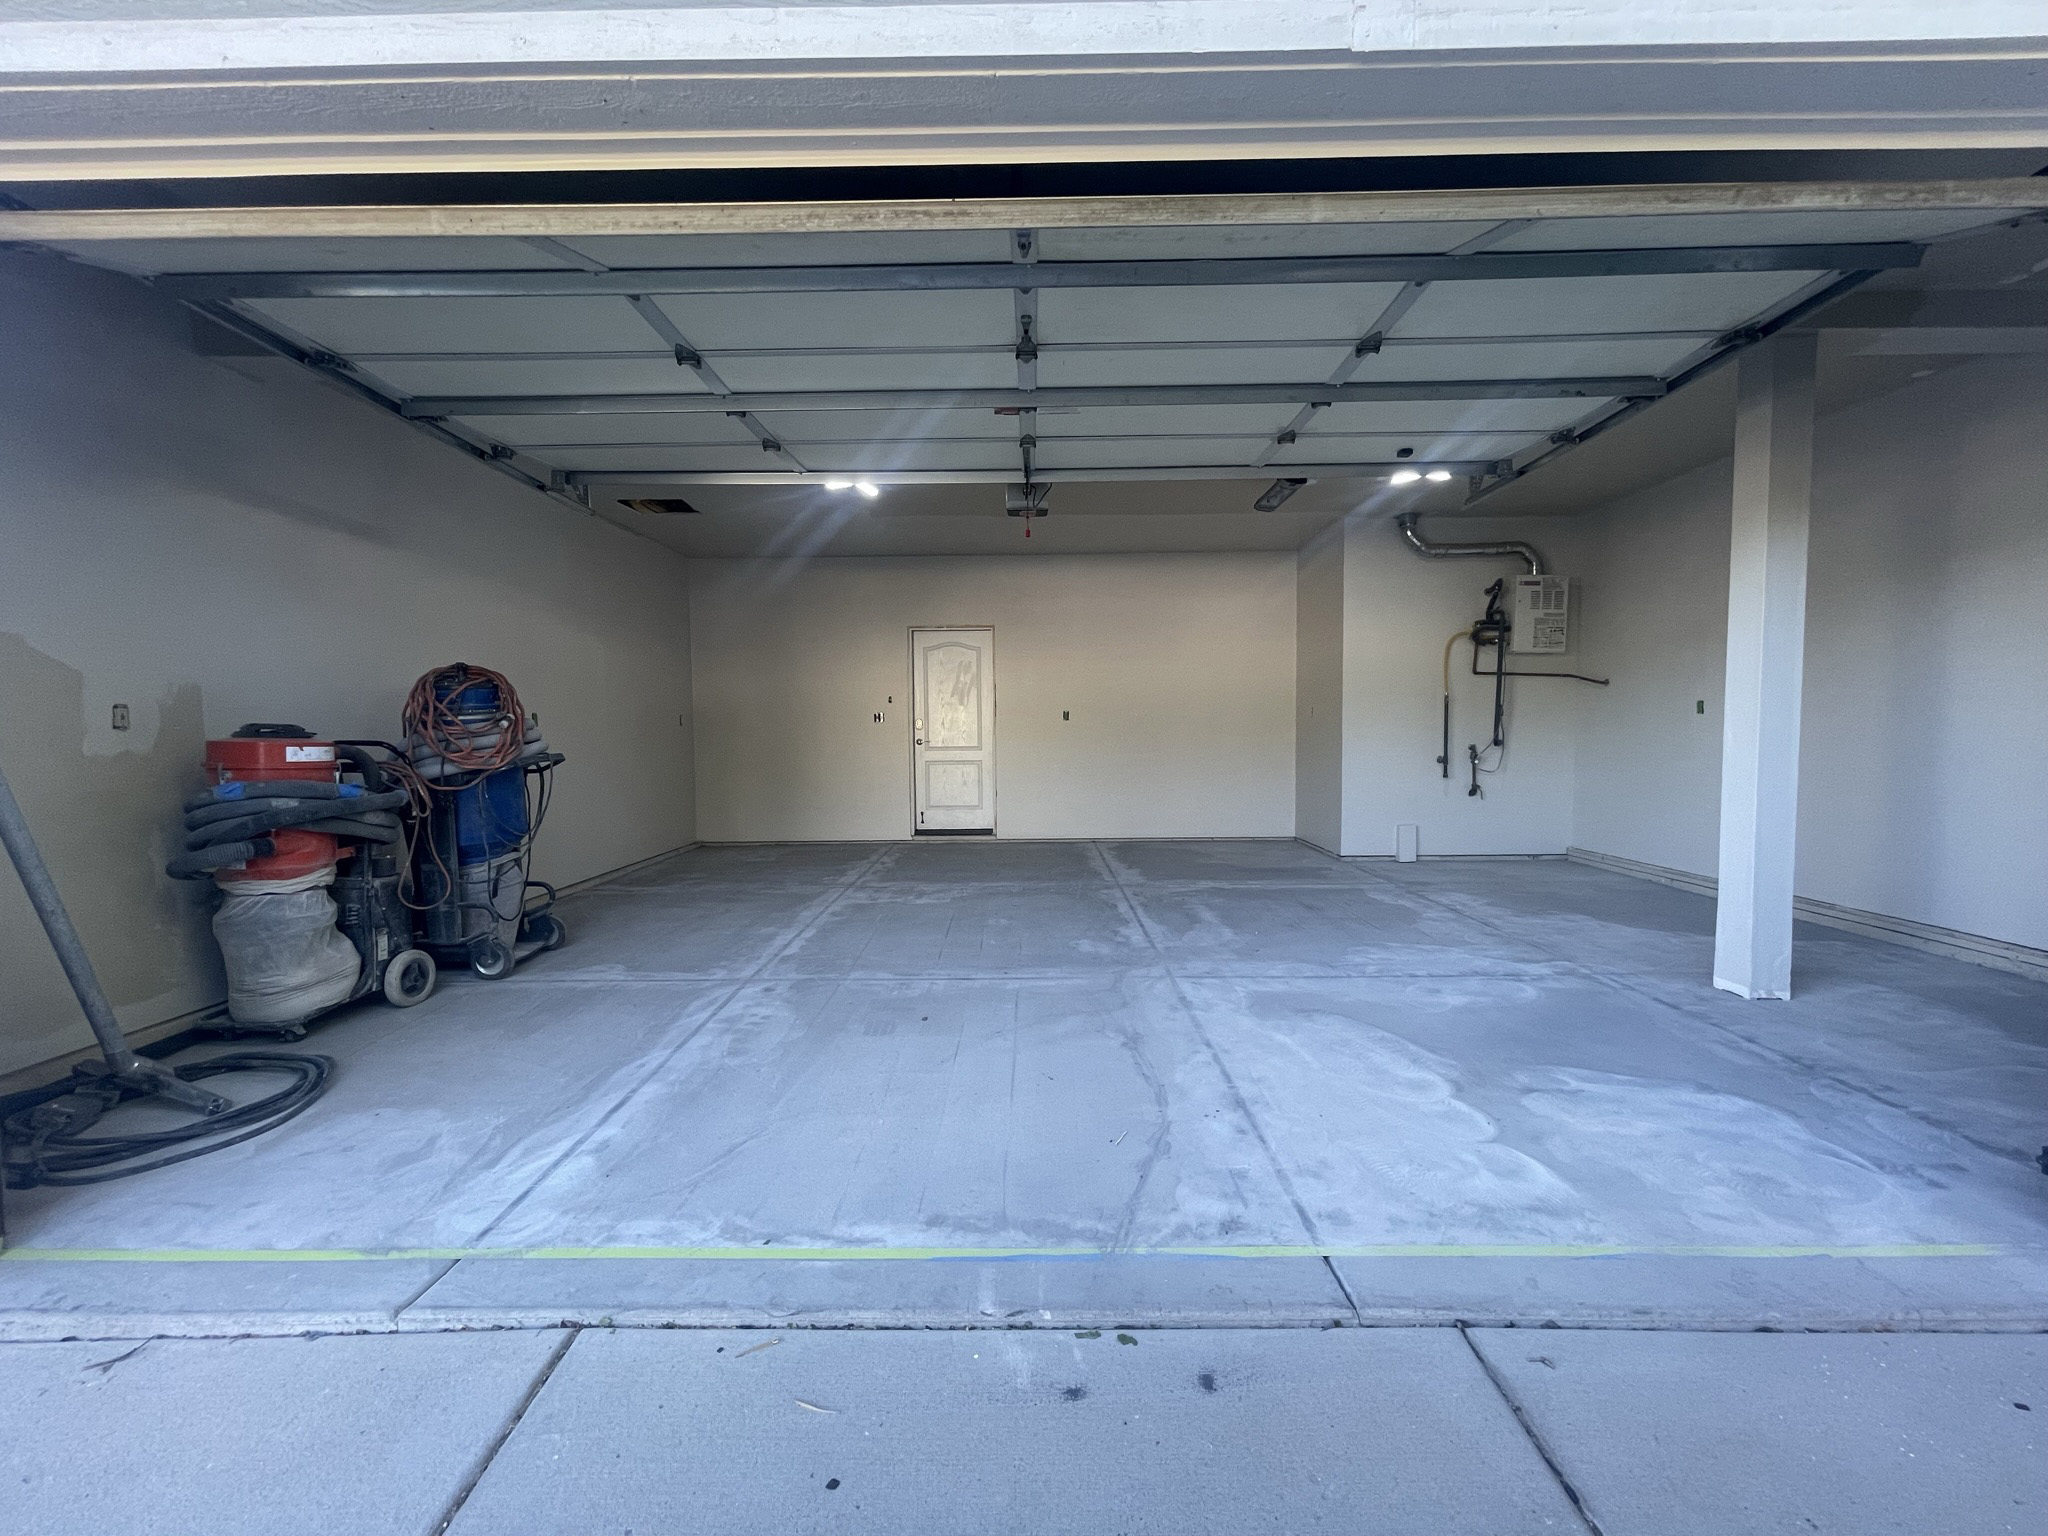
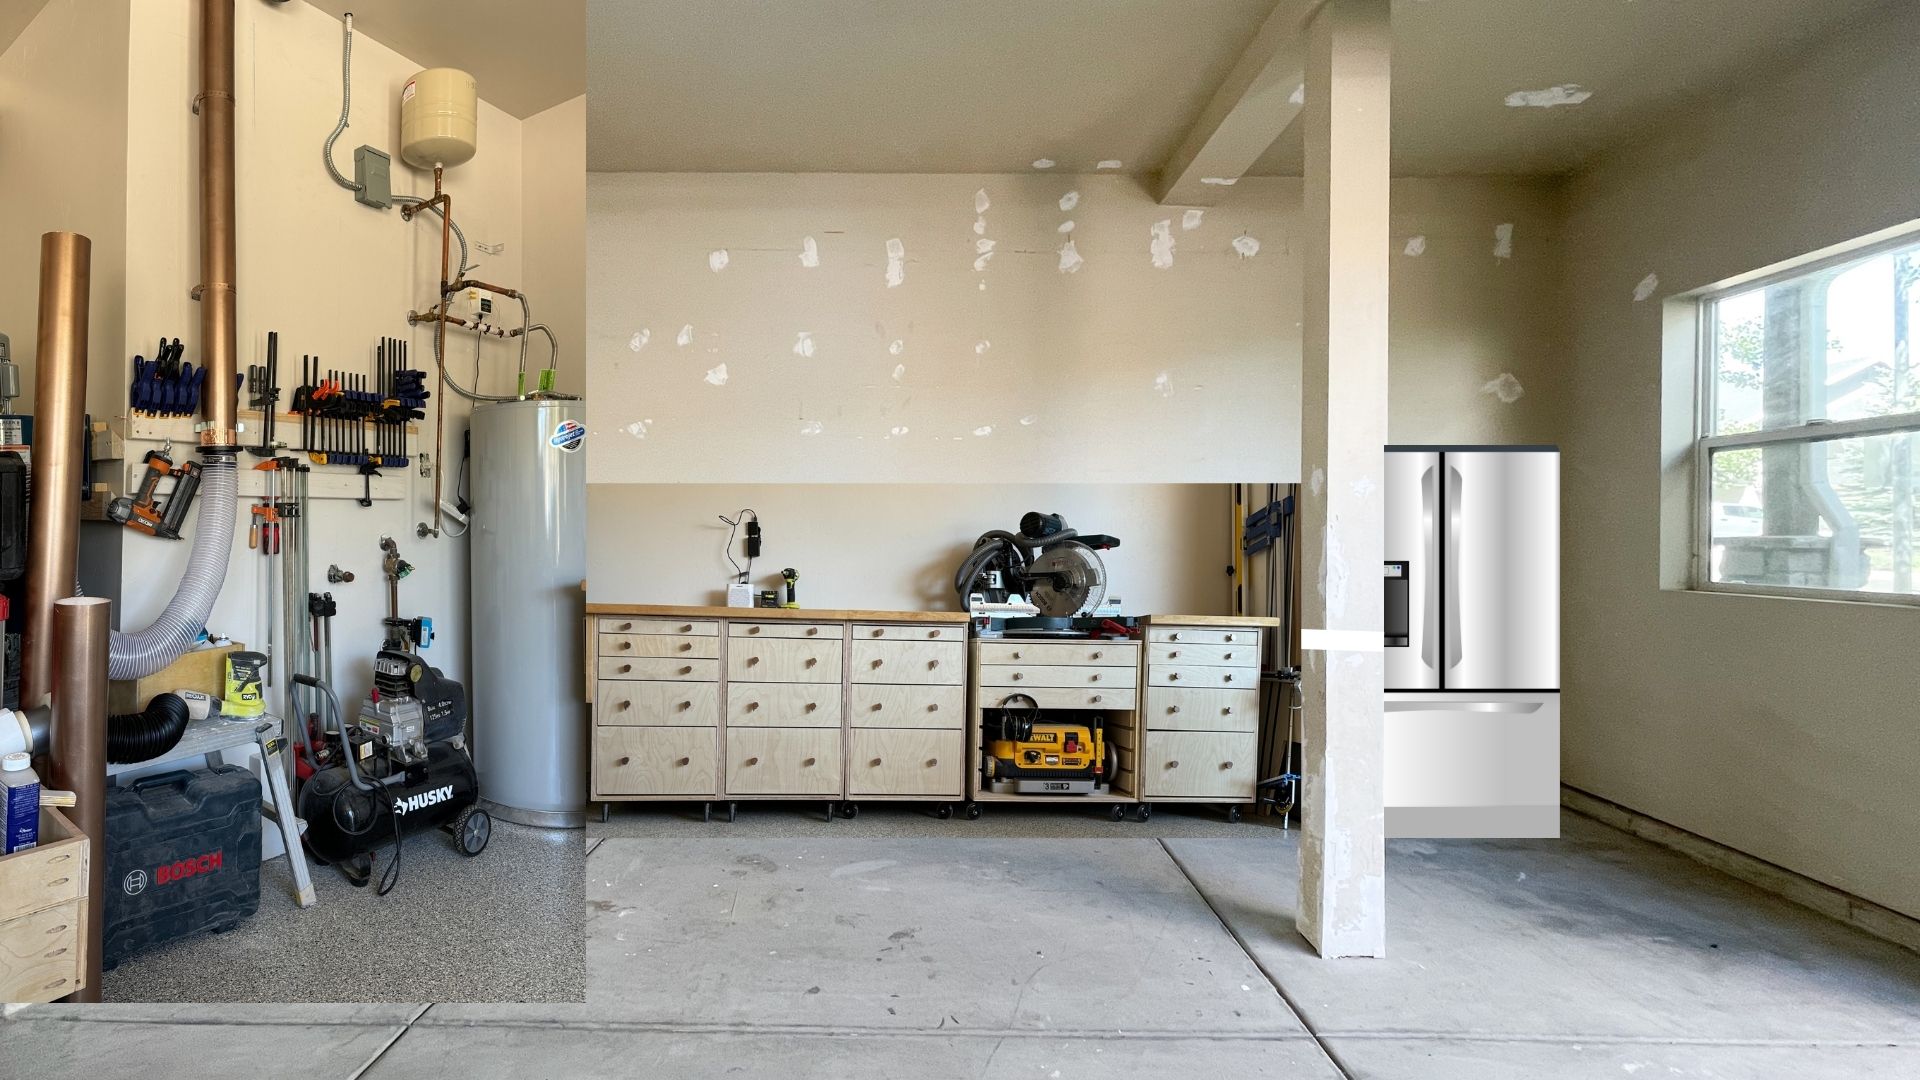
Here’s what it looked like after patching the walls and before paint and floors.
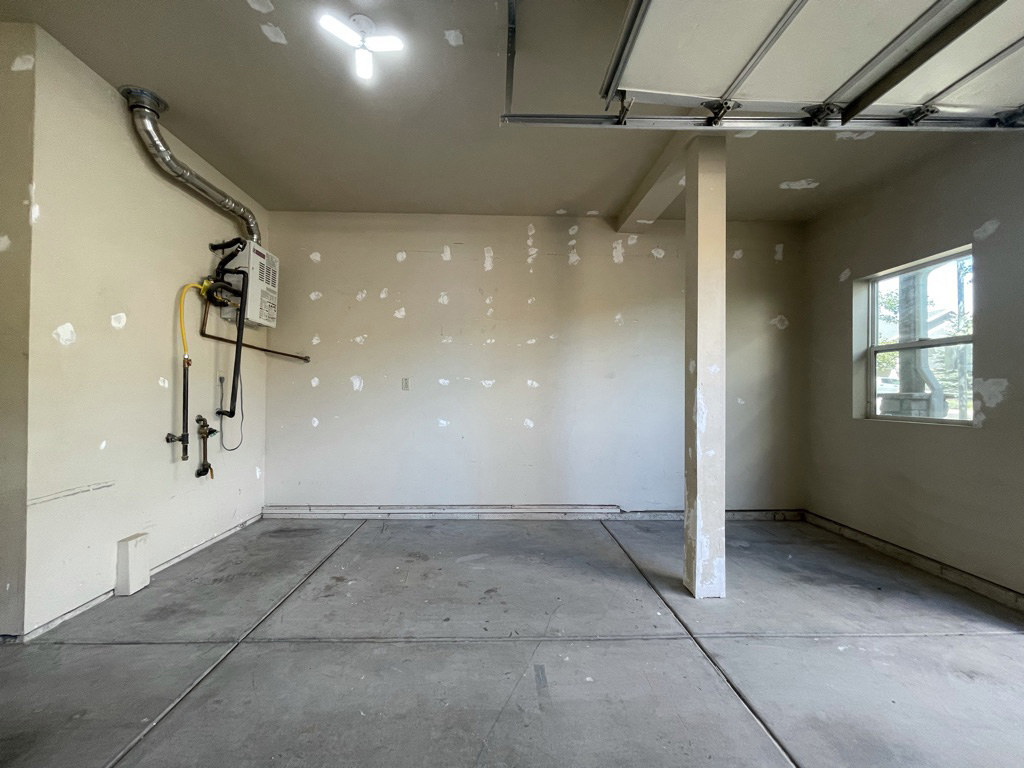

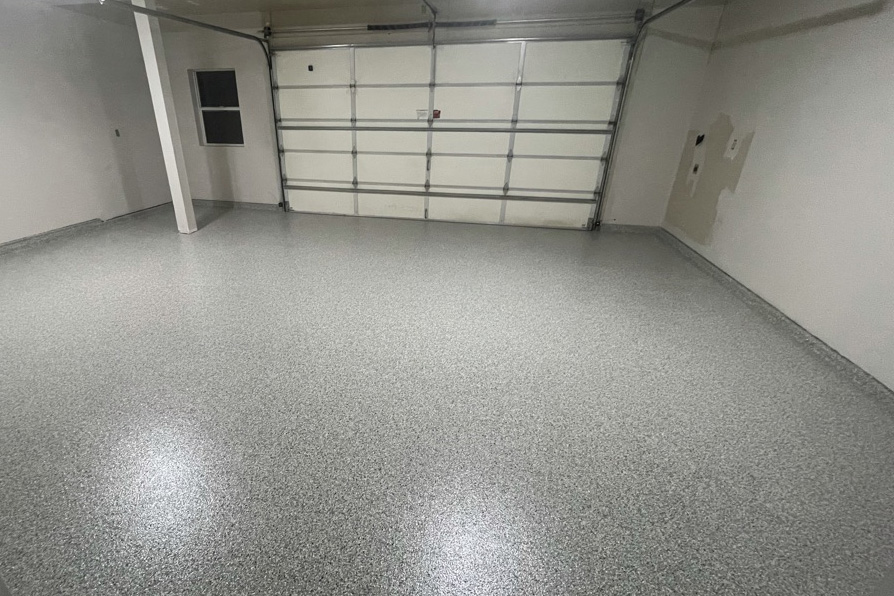
We gave the walls and ceiling a fresh coat of paint using leftover paint we had from painting the exterior of the home.
The flooring and paint already made it feel like a whole new space. We purchased a dust collection system over Black Friday and got that installed before the holidays.
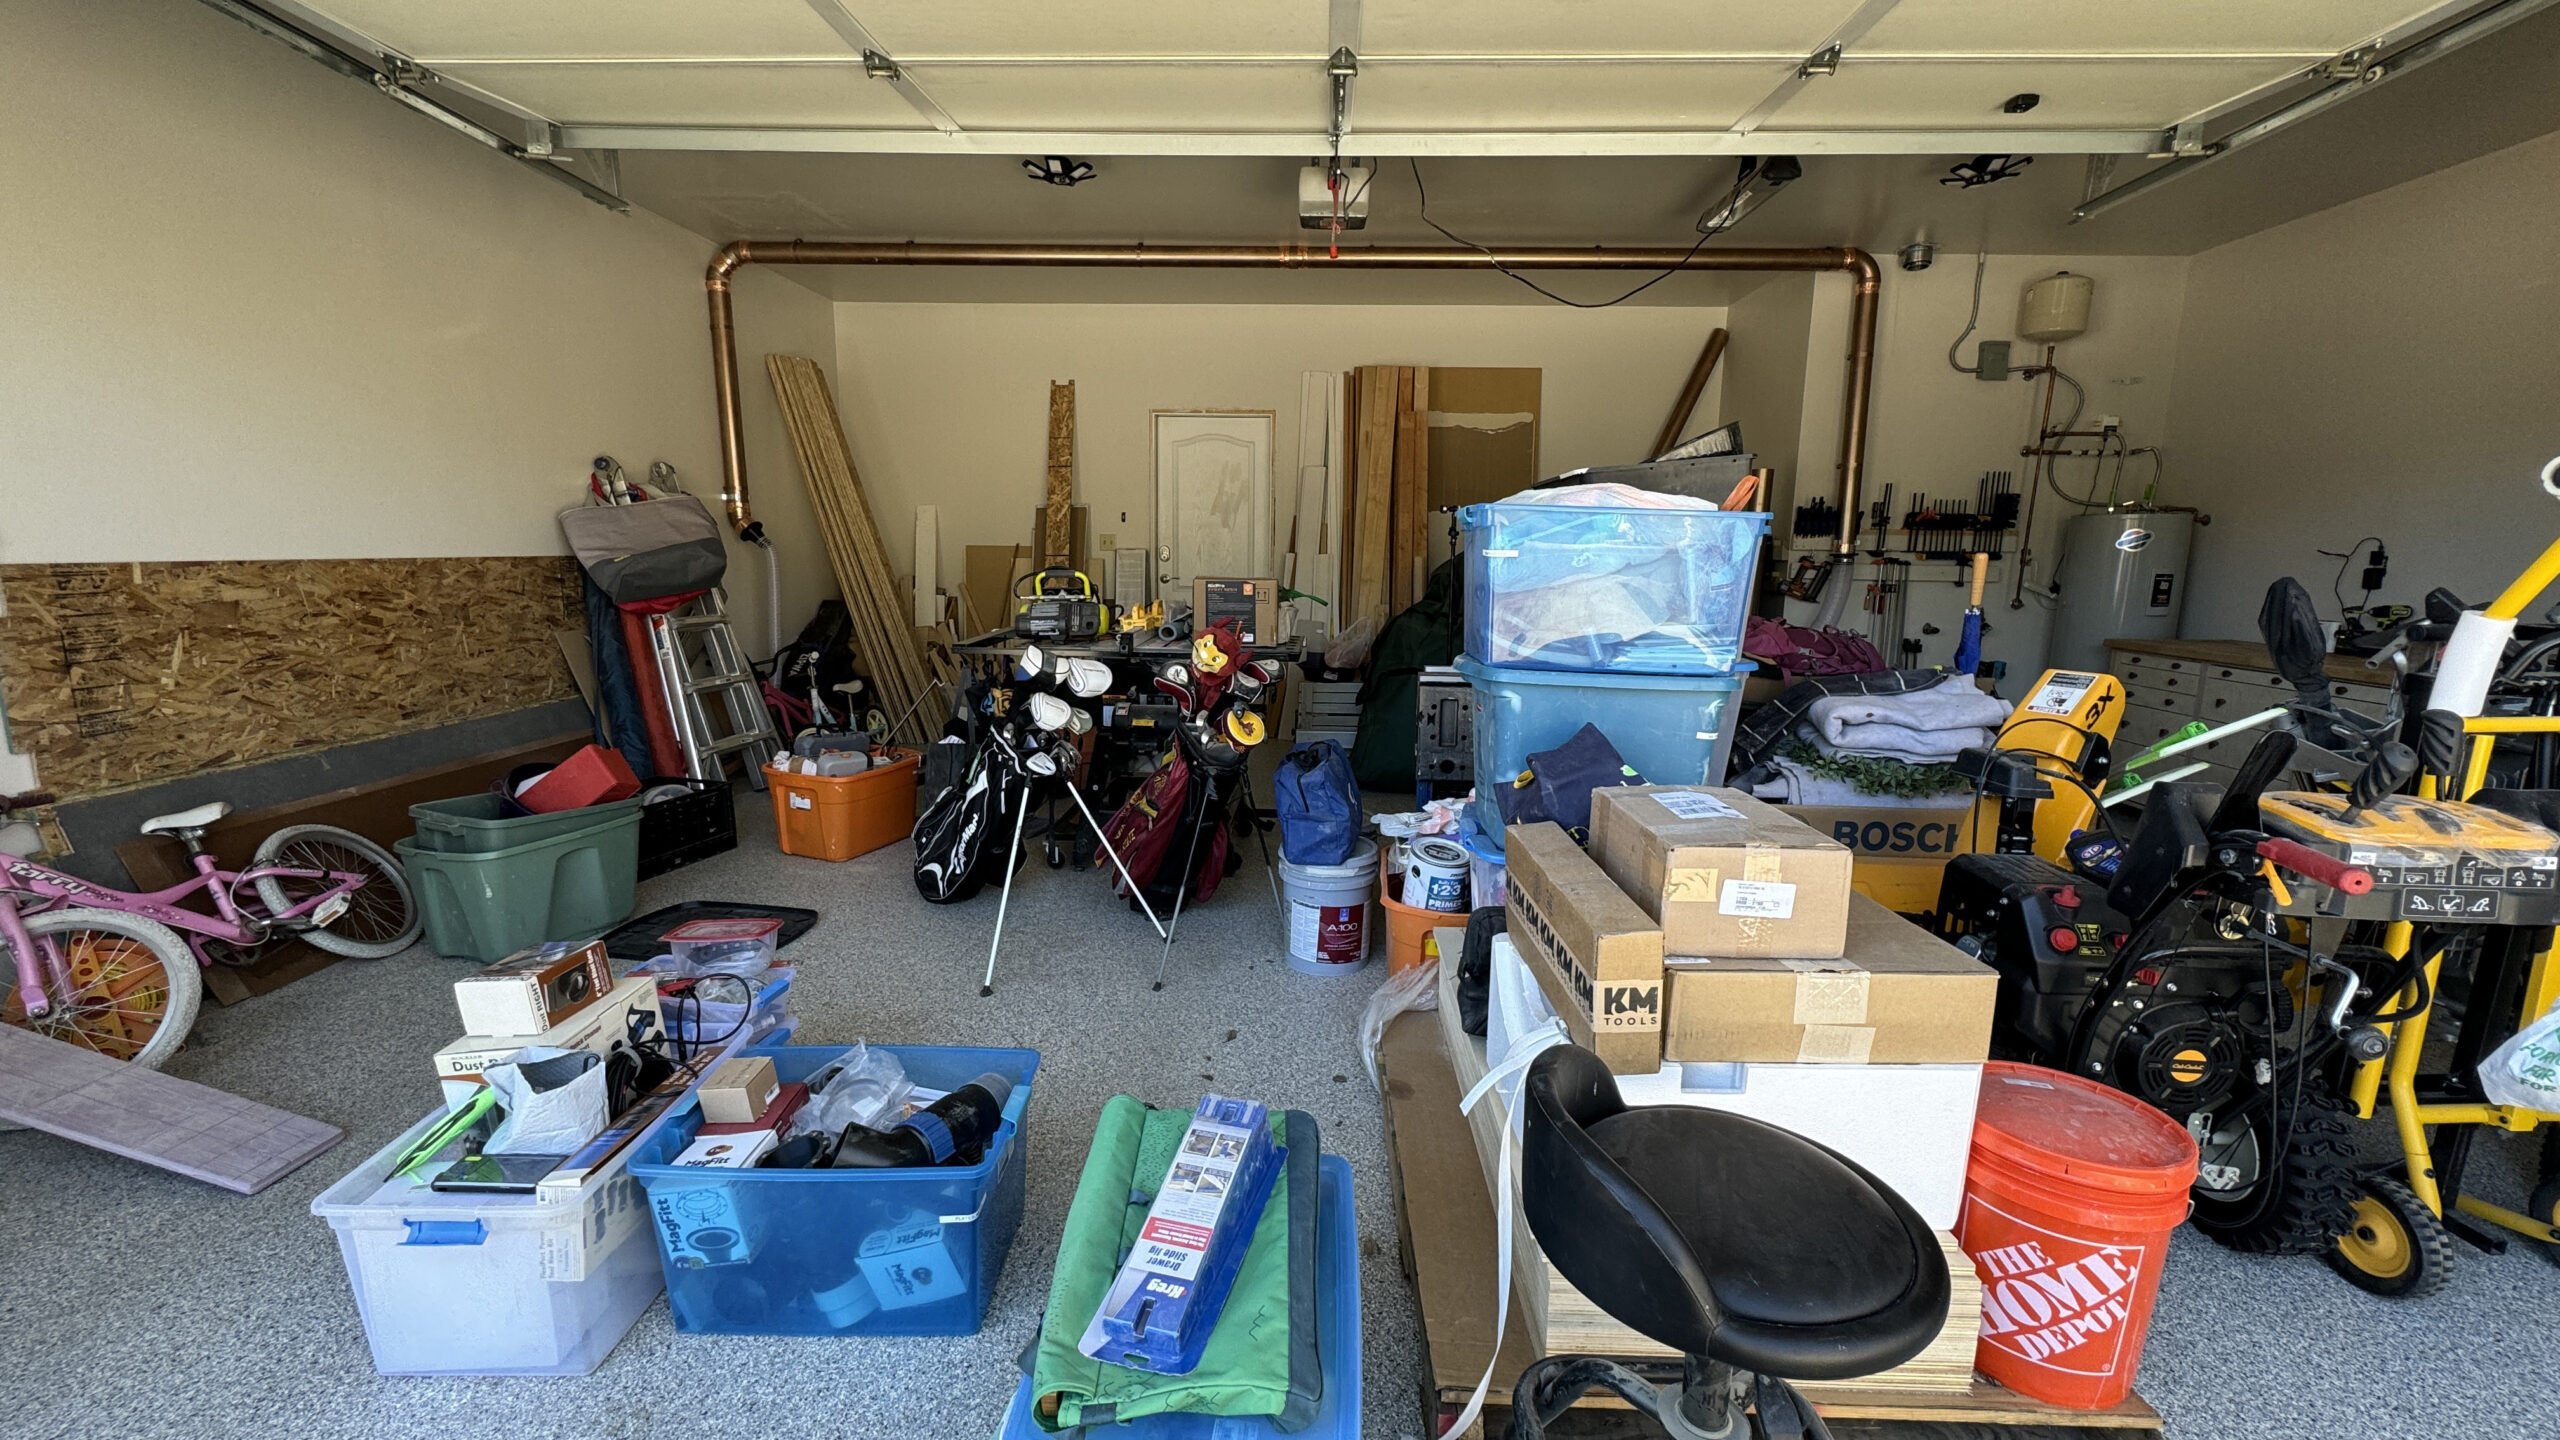
The garage sat like that for a bit while life in youth sports got busy, winter came, and it was too cold to be out there.
My husband has been spearheading a lot of the work in the garage. He designed the piping system that we are using to manage the sawdust situation in the garage. I will share more in-depth what that looks like and how we did it at a later time, but that’s going to be really nice to have a cleaner space to work in. Not to mention the other benefits of not breathing in all of that garbage.
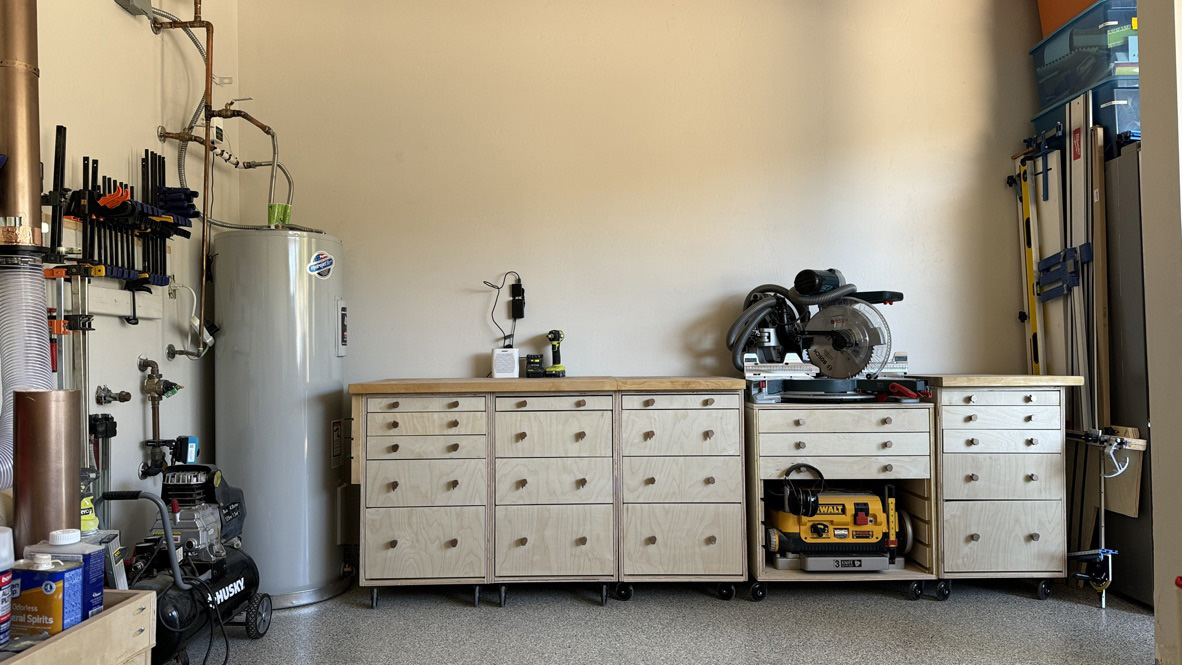
Another cool part of the garage will be the mobile workstation, that will also dub as our miter station. It’s built out of five sets of drawers that are all moveable.
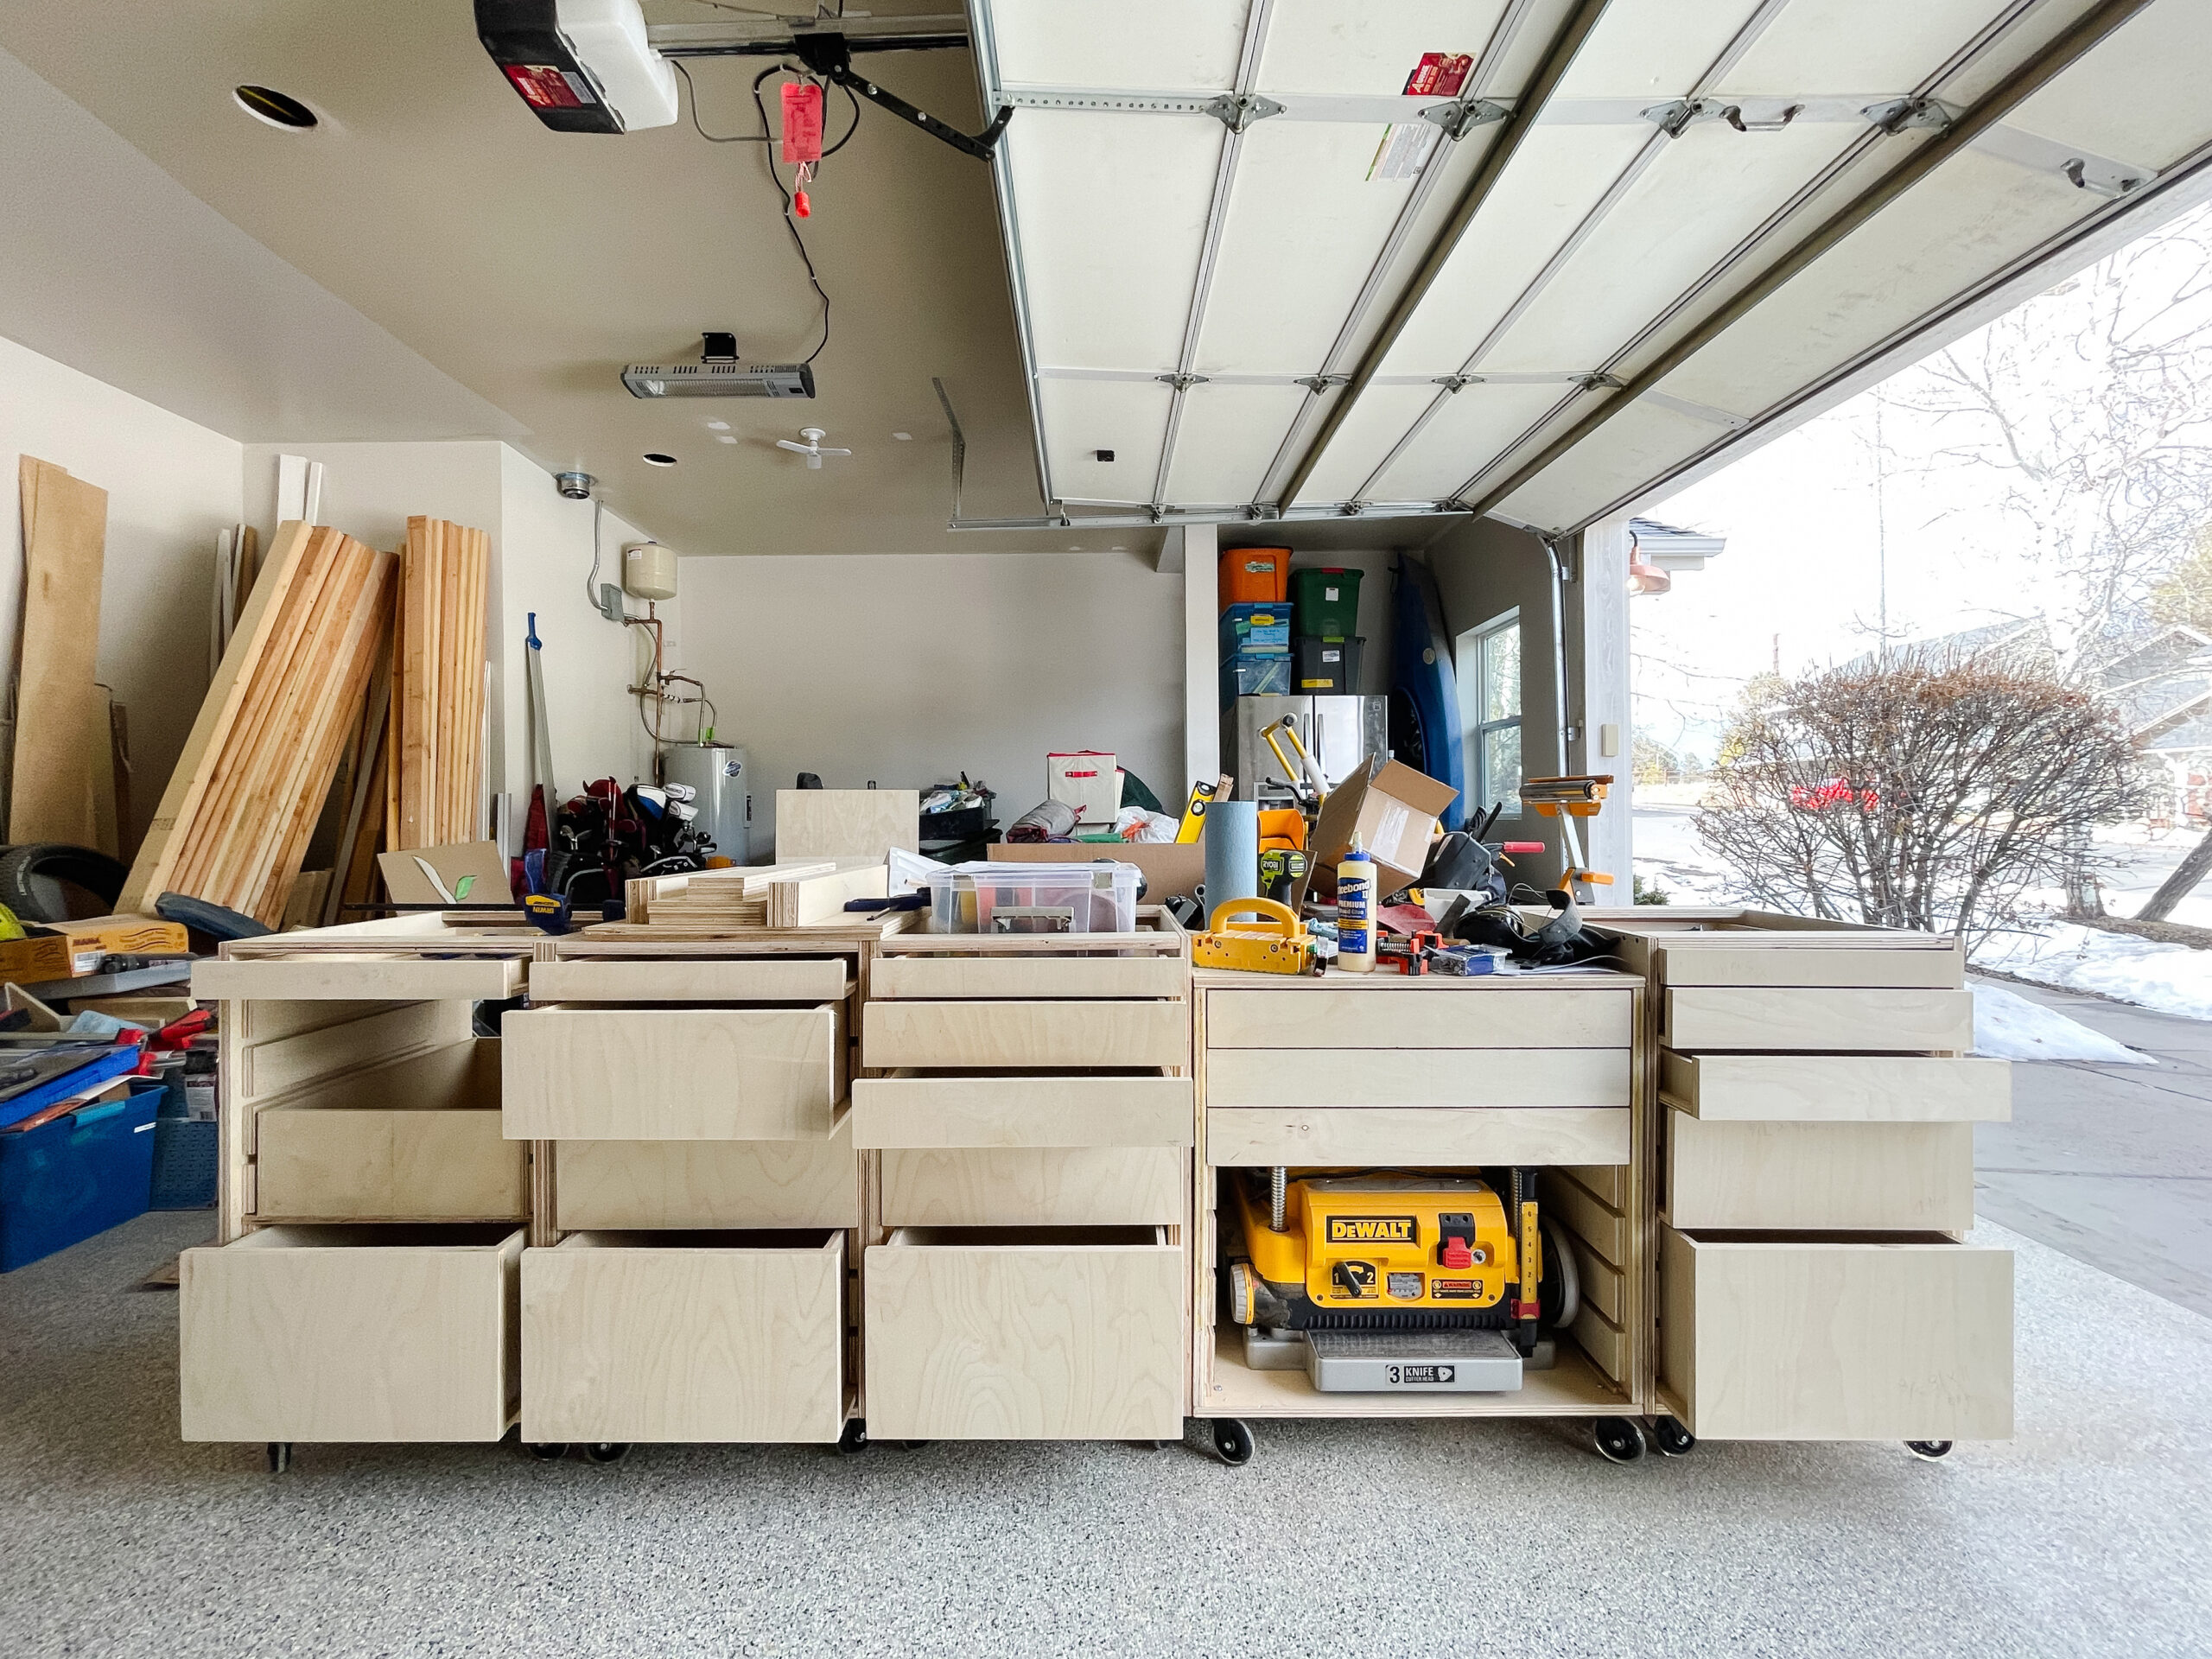
The next thing we had to decide on was the drawer hardware. We debated between integrated handles, simple wood knobs, pulls … but because we have 22 drawers that are pretty wide, we would need to purchase 42 pieces. That adds up quickly!
Brandon had an idea to make drawer pulls using our 3D printer. He designed it to fit a standard screw, used our silhouettes from Disney, and made drawer pulls!
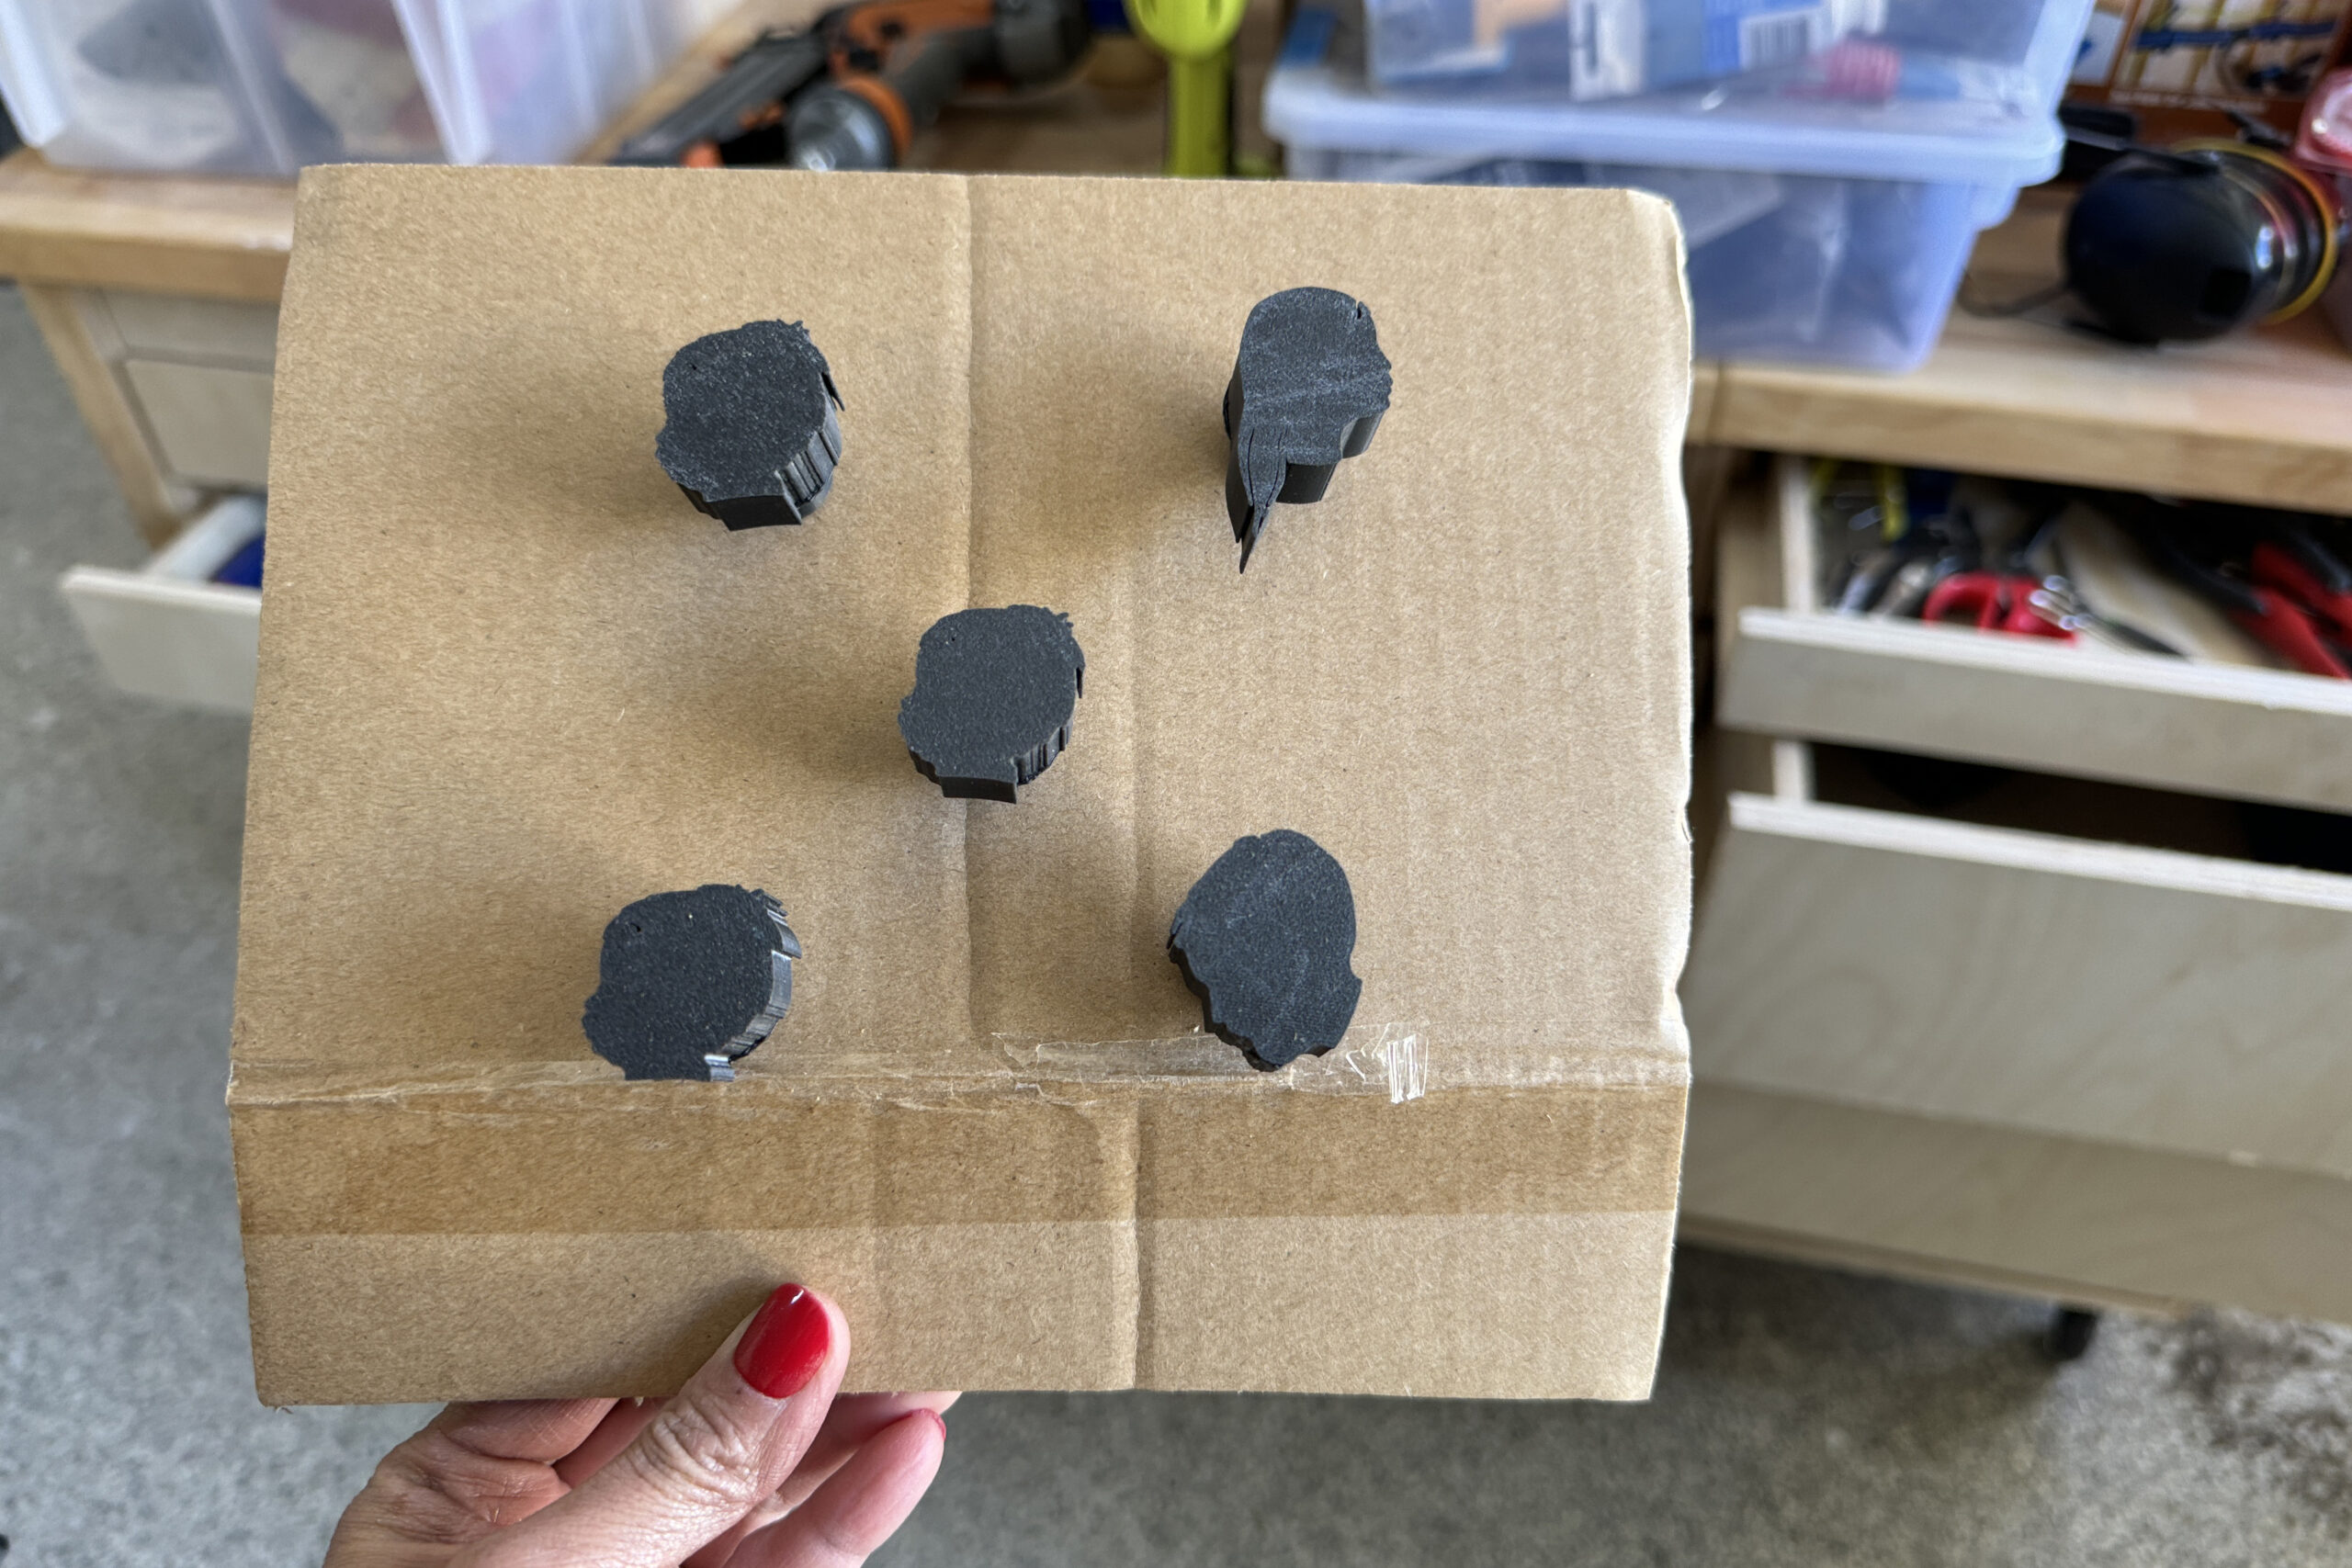
I’ll be honest, I was skeptical about the idea at first, but after seeing them all done, I think they’re the coolest. I then spray painted them a copper color and Brandon got them all installed.
Before we decided to makeover the garage, we had shelves built from 2x4s and particle board. All of that got dismantled and we kept all of the materials. We decided that instead of throwing it away, we’ll reuse it by building a french cleat wall hanging system for storing everything off of the ground.
Here are some mood board/drawings of what we have in mind:
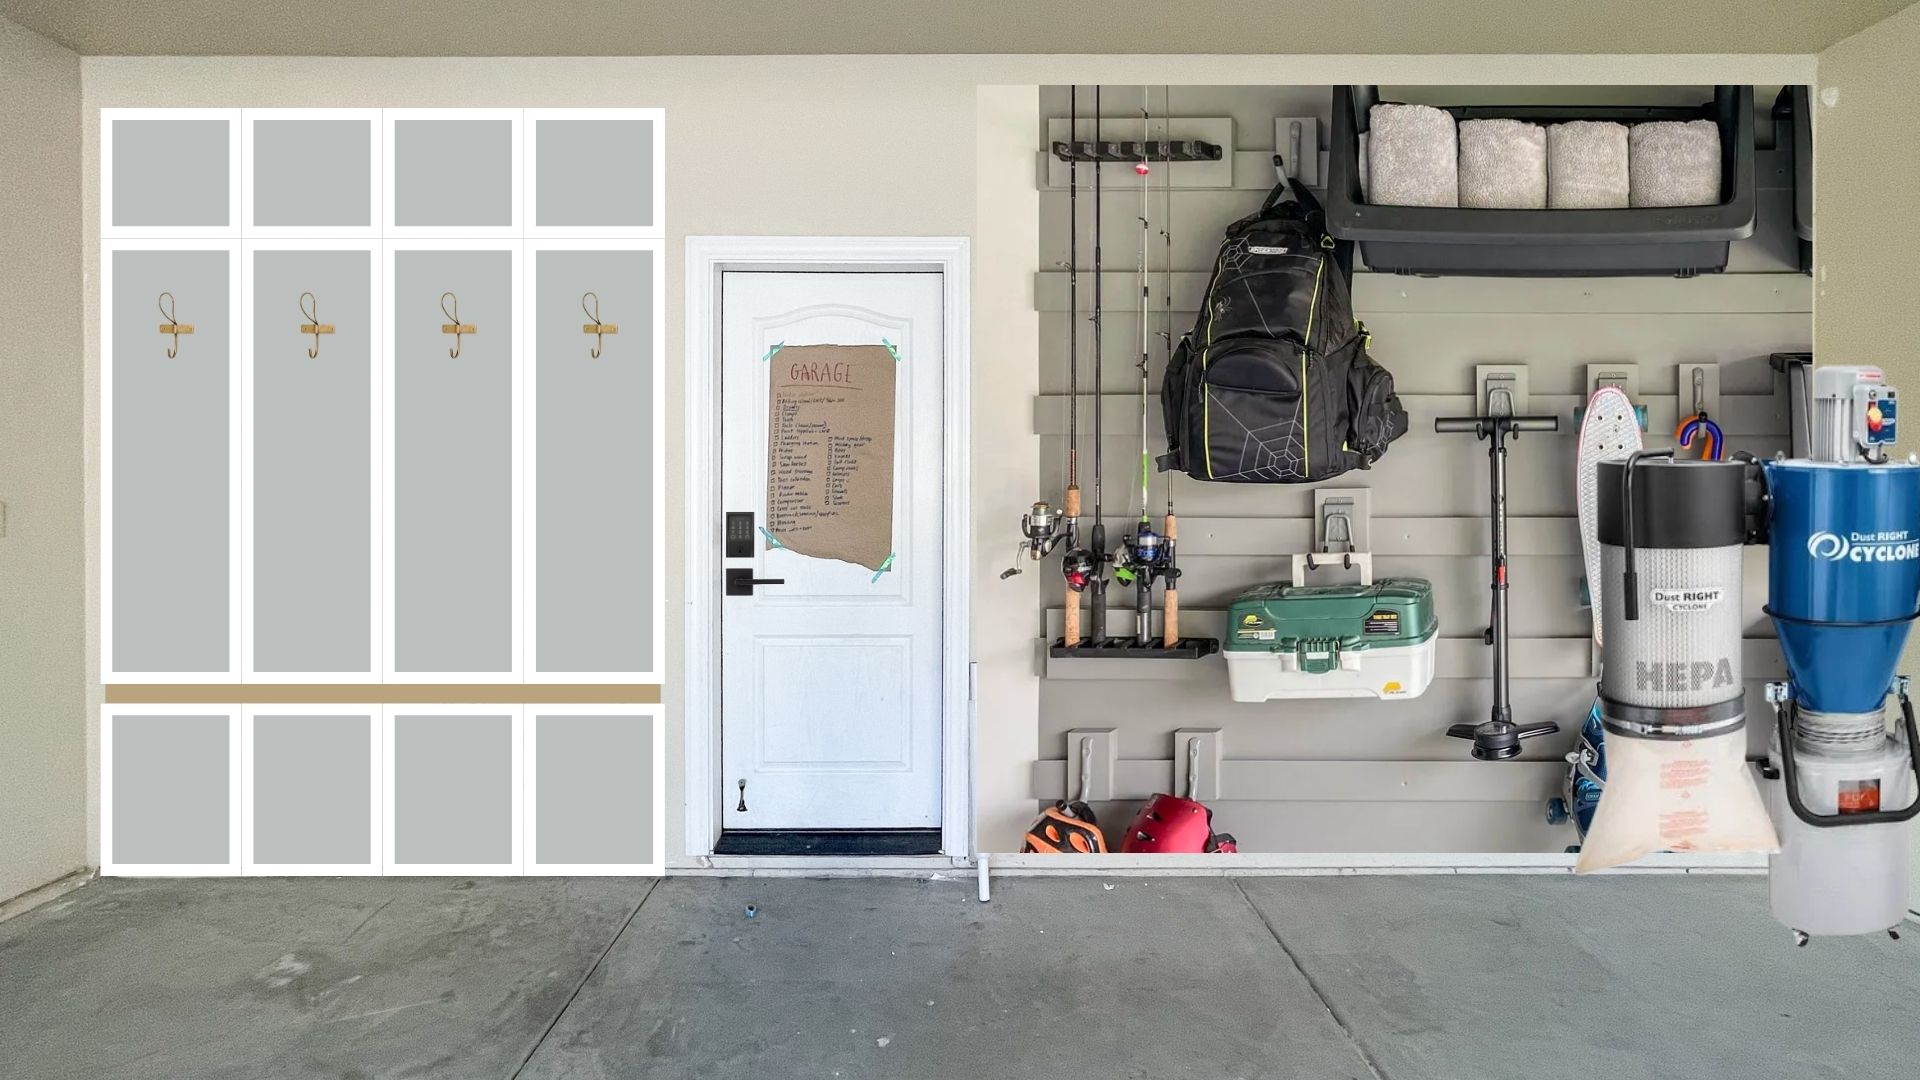
We did look into some of the slat wall systems available, but ultimately we did not want to be locked into a specific system that required us to purchase all of the accessories from that brand. It gets expensive. With the french cleat system, it’s basically the same thing, but we can customize all of the hooks and specific storage solutions we need.
The last piece of this project will be building a drop zone/mudroom of lockers by the front door. We don’t have any kind of storage or space inside our home for this and it’s a functional upgrade that we really can use with the snow.
I’m really looking forward to getting this project done!
Shop the Post:

*Disclosure: This post may contain affiliate links. If you purchase a product, I may earn a small commission at no additional cost to you. Thank you for supporting my blog.
Related Posts


Hi, I’m Tiffany!
I’m so glad you’re here. I hope you’ll see this space as a source of inspiration and encouragement to take the first step in making your home a place you want to be, wherever that may be.
You can expect to find approachable DIY projects and tutorials, opinions on home design, and all the fun stuff that comes up in-between.
