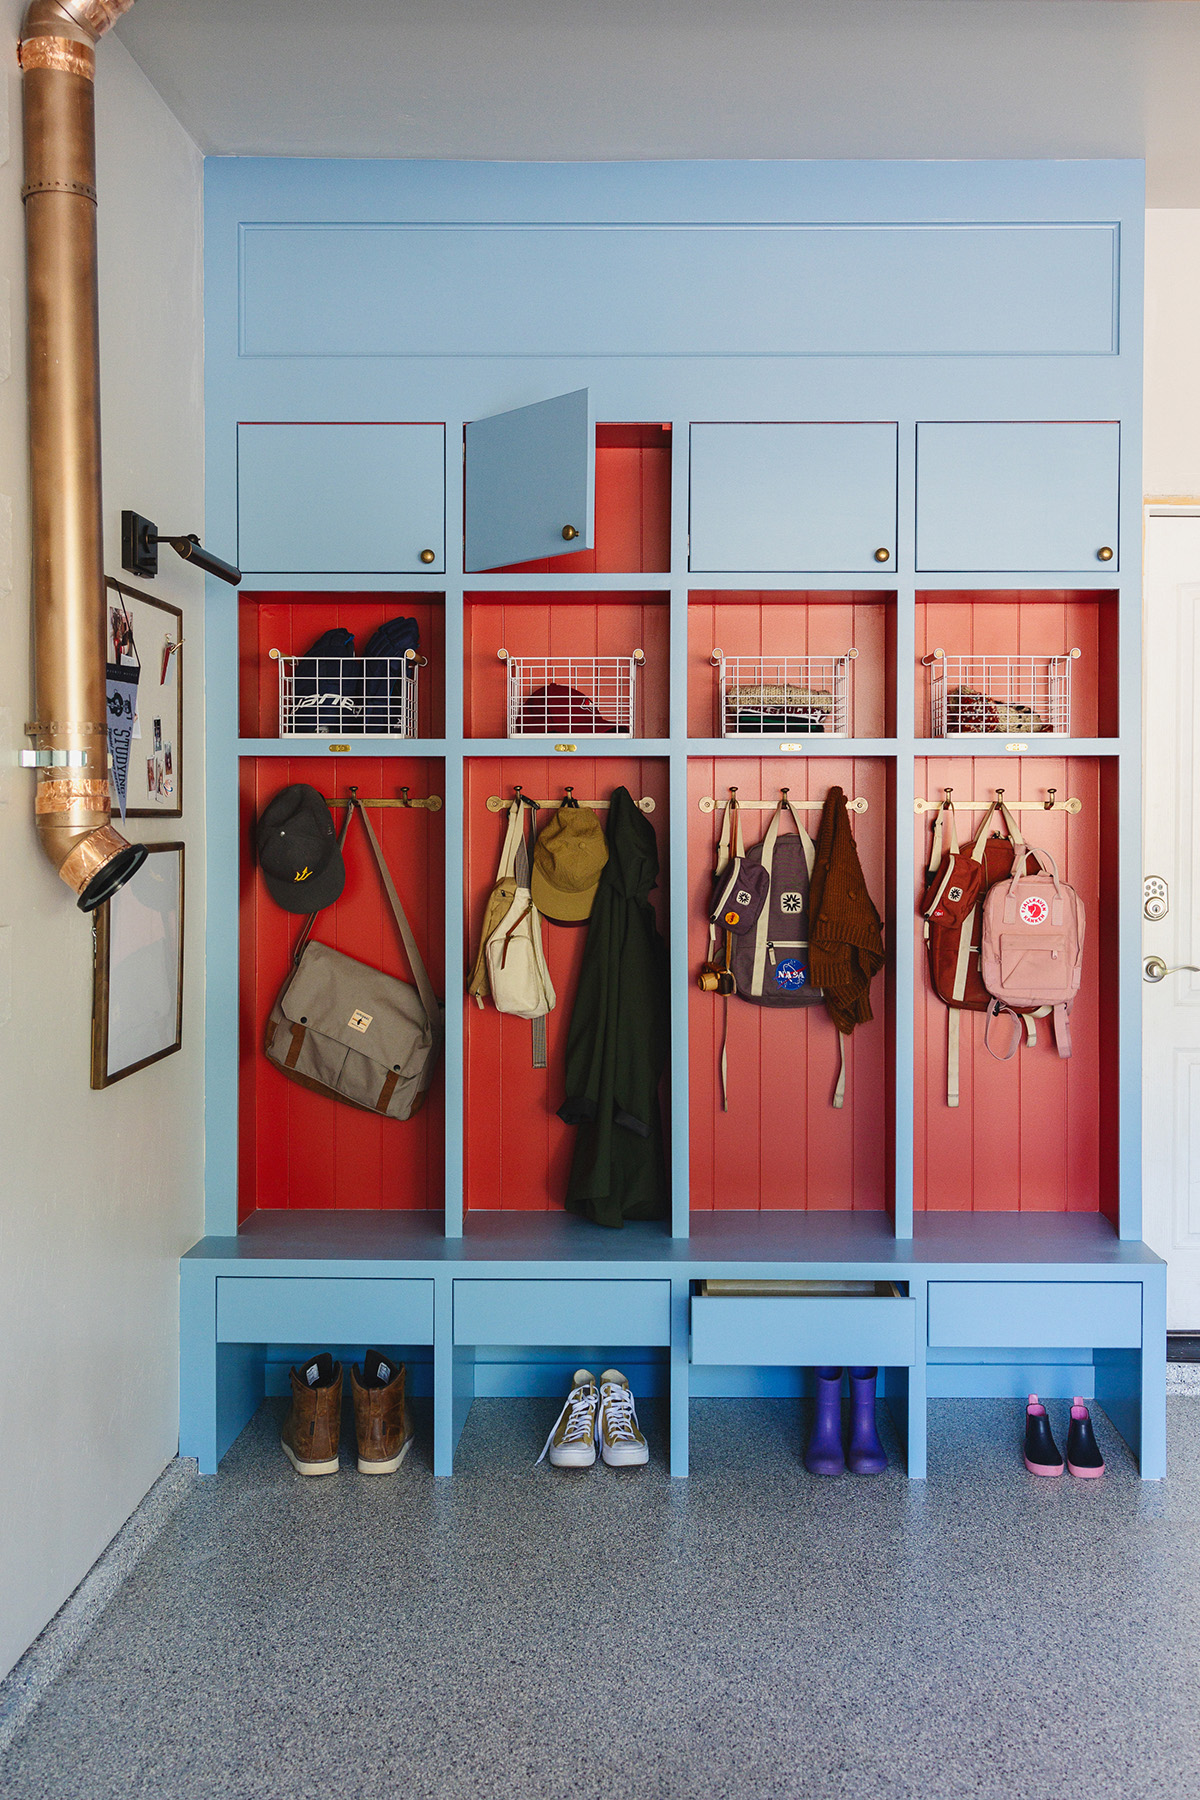
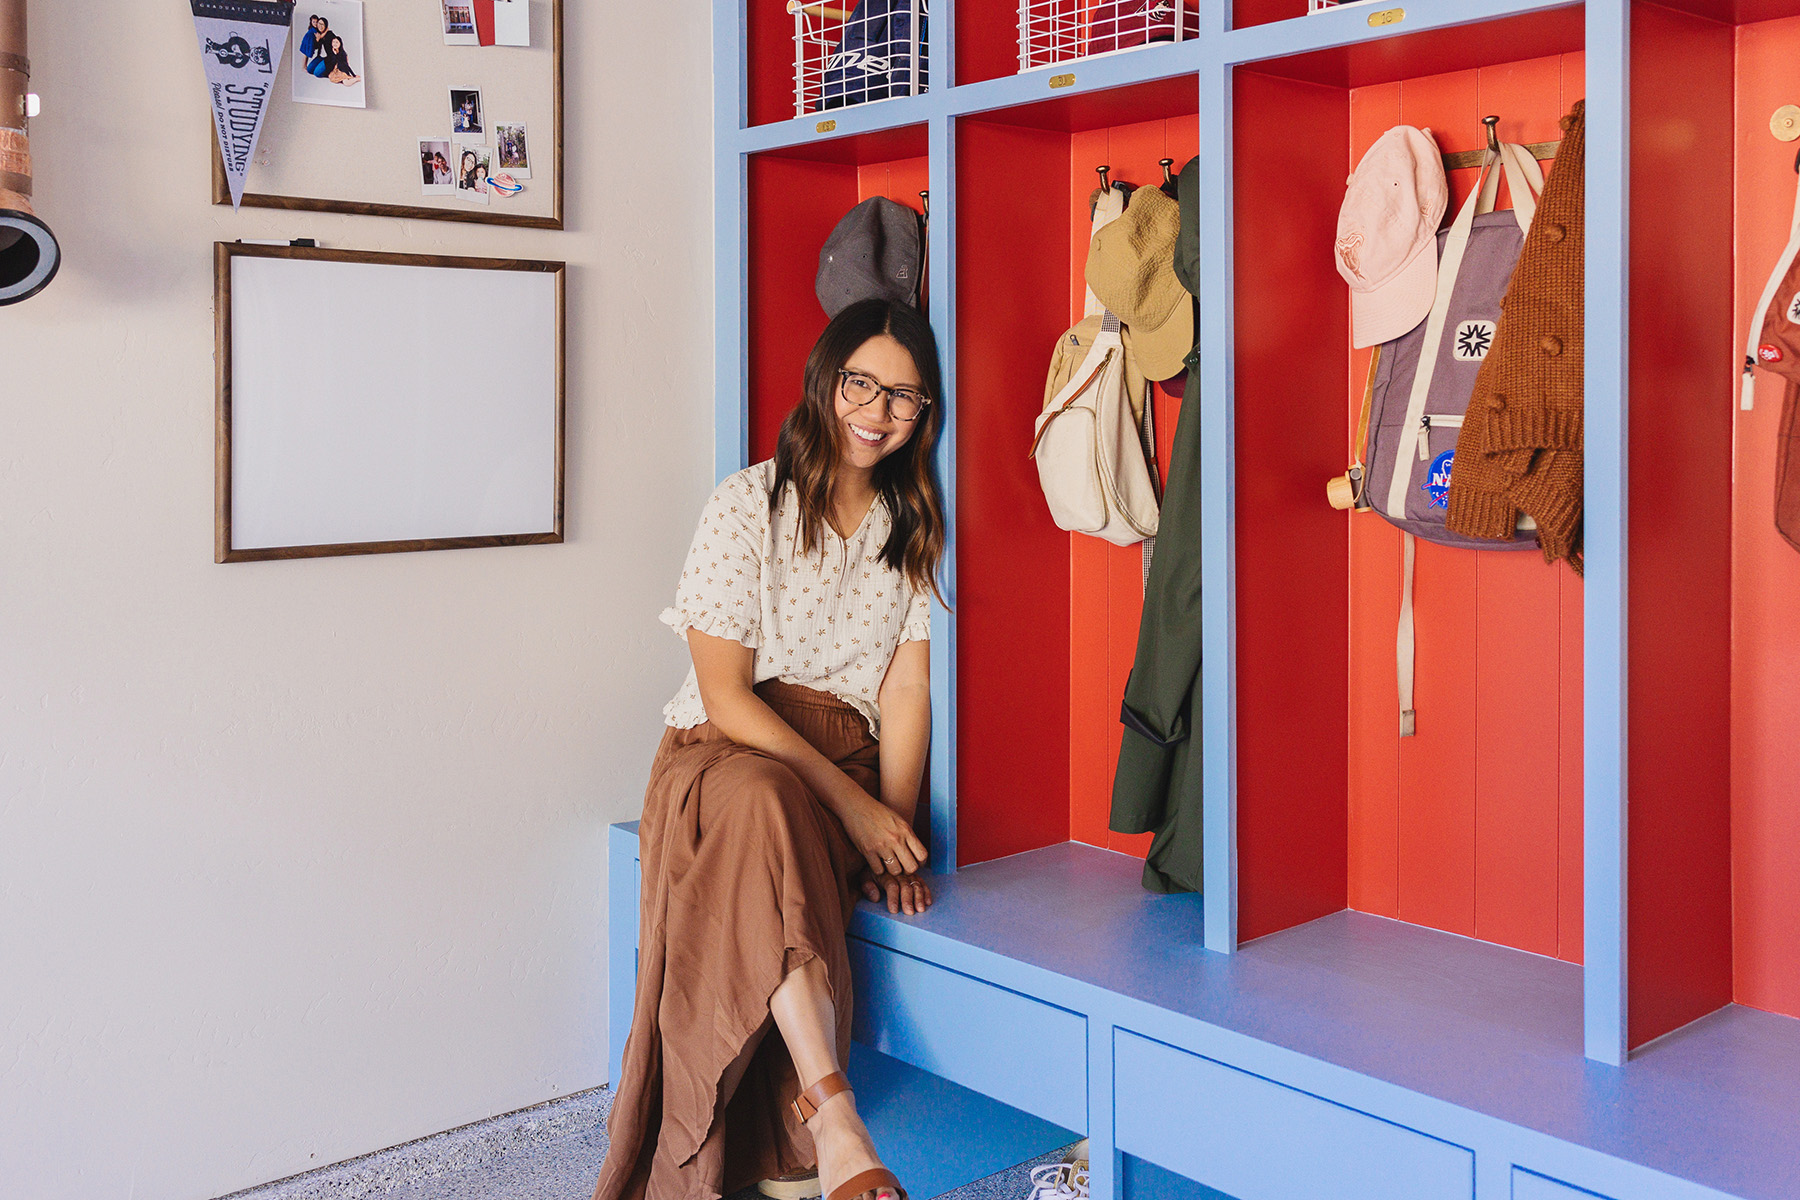
I’m smiling ear-to-ear as I write this post because I finally get to show you the finished mudroom lockers! I could not get this red + blue color combo out of my mind, but I was hesitant about picking a paint color that did not fit the color palette of the rest of our home.
When I started planning the lockers as part of our garage makeover, the plan was to continue the exterior paint colors inside, since it’s a continuous view when the garage is open. But I kept getting served red + blue inspo images from the algorithm and I couldn’t not try it. I decided the garage was a good space to experiment.
And look at how perfect it turned out!
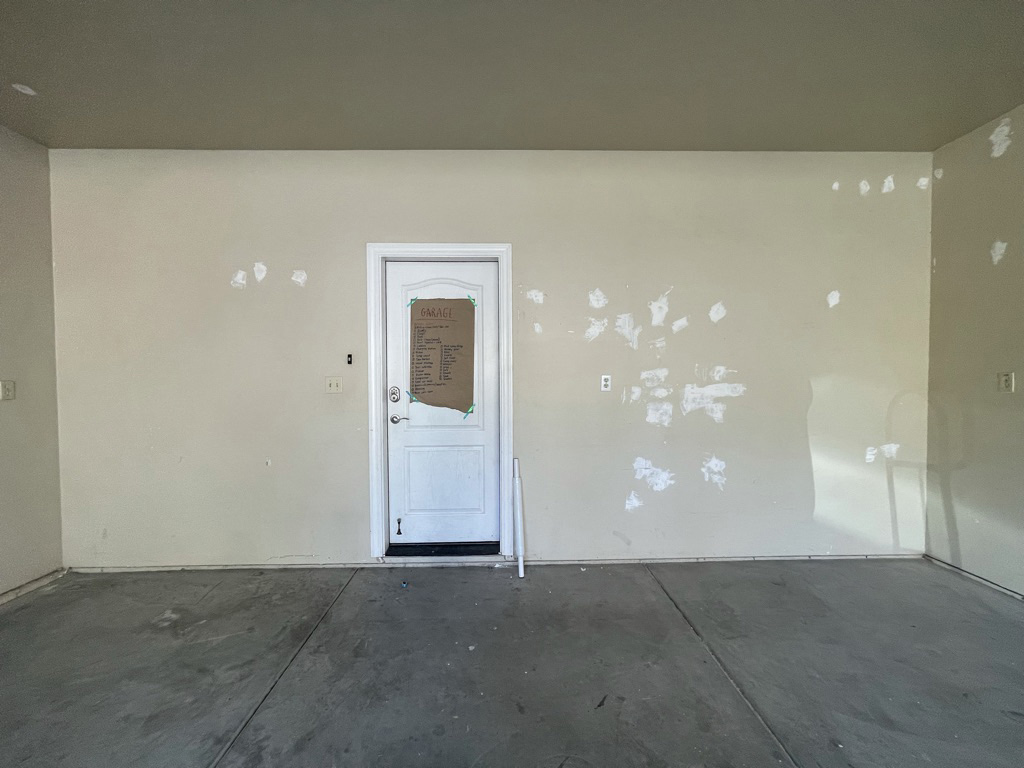
As a reminder, here is where we started:
I’m so glad I chose the fun colors. It’s easy to stick with neutrals, but there’s something incredibly satisfying about making a statement. I’ve added color in other spaces of our home with lamps, pillows, and art, but the lockers were just screaming for a main character role.
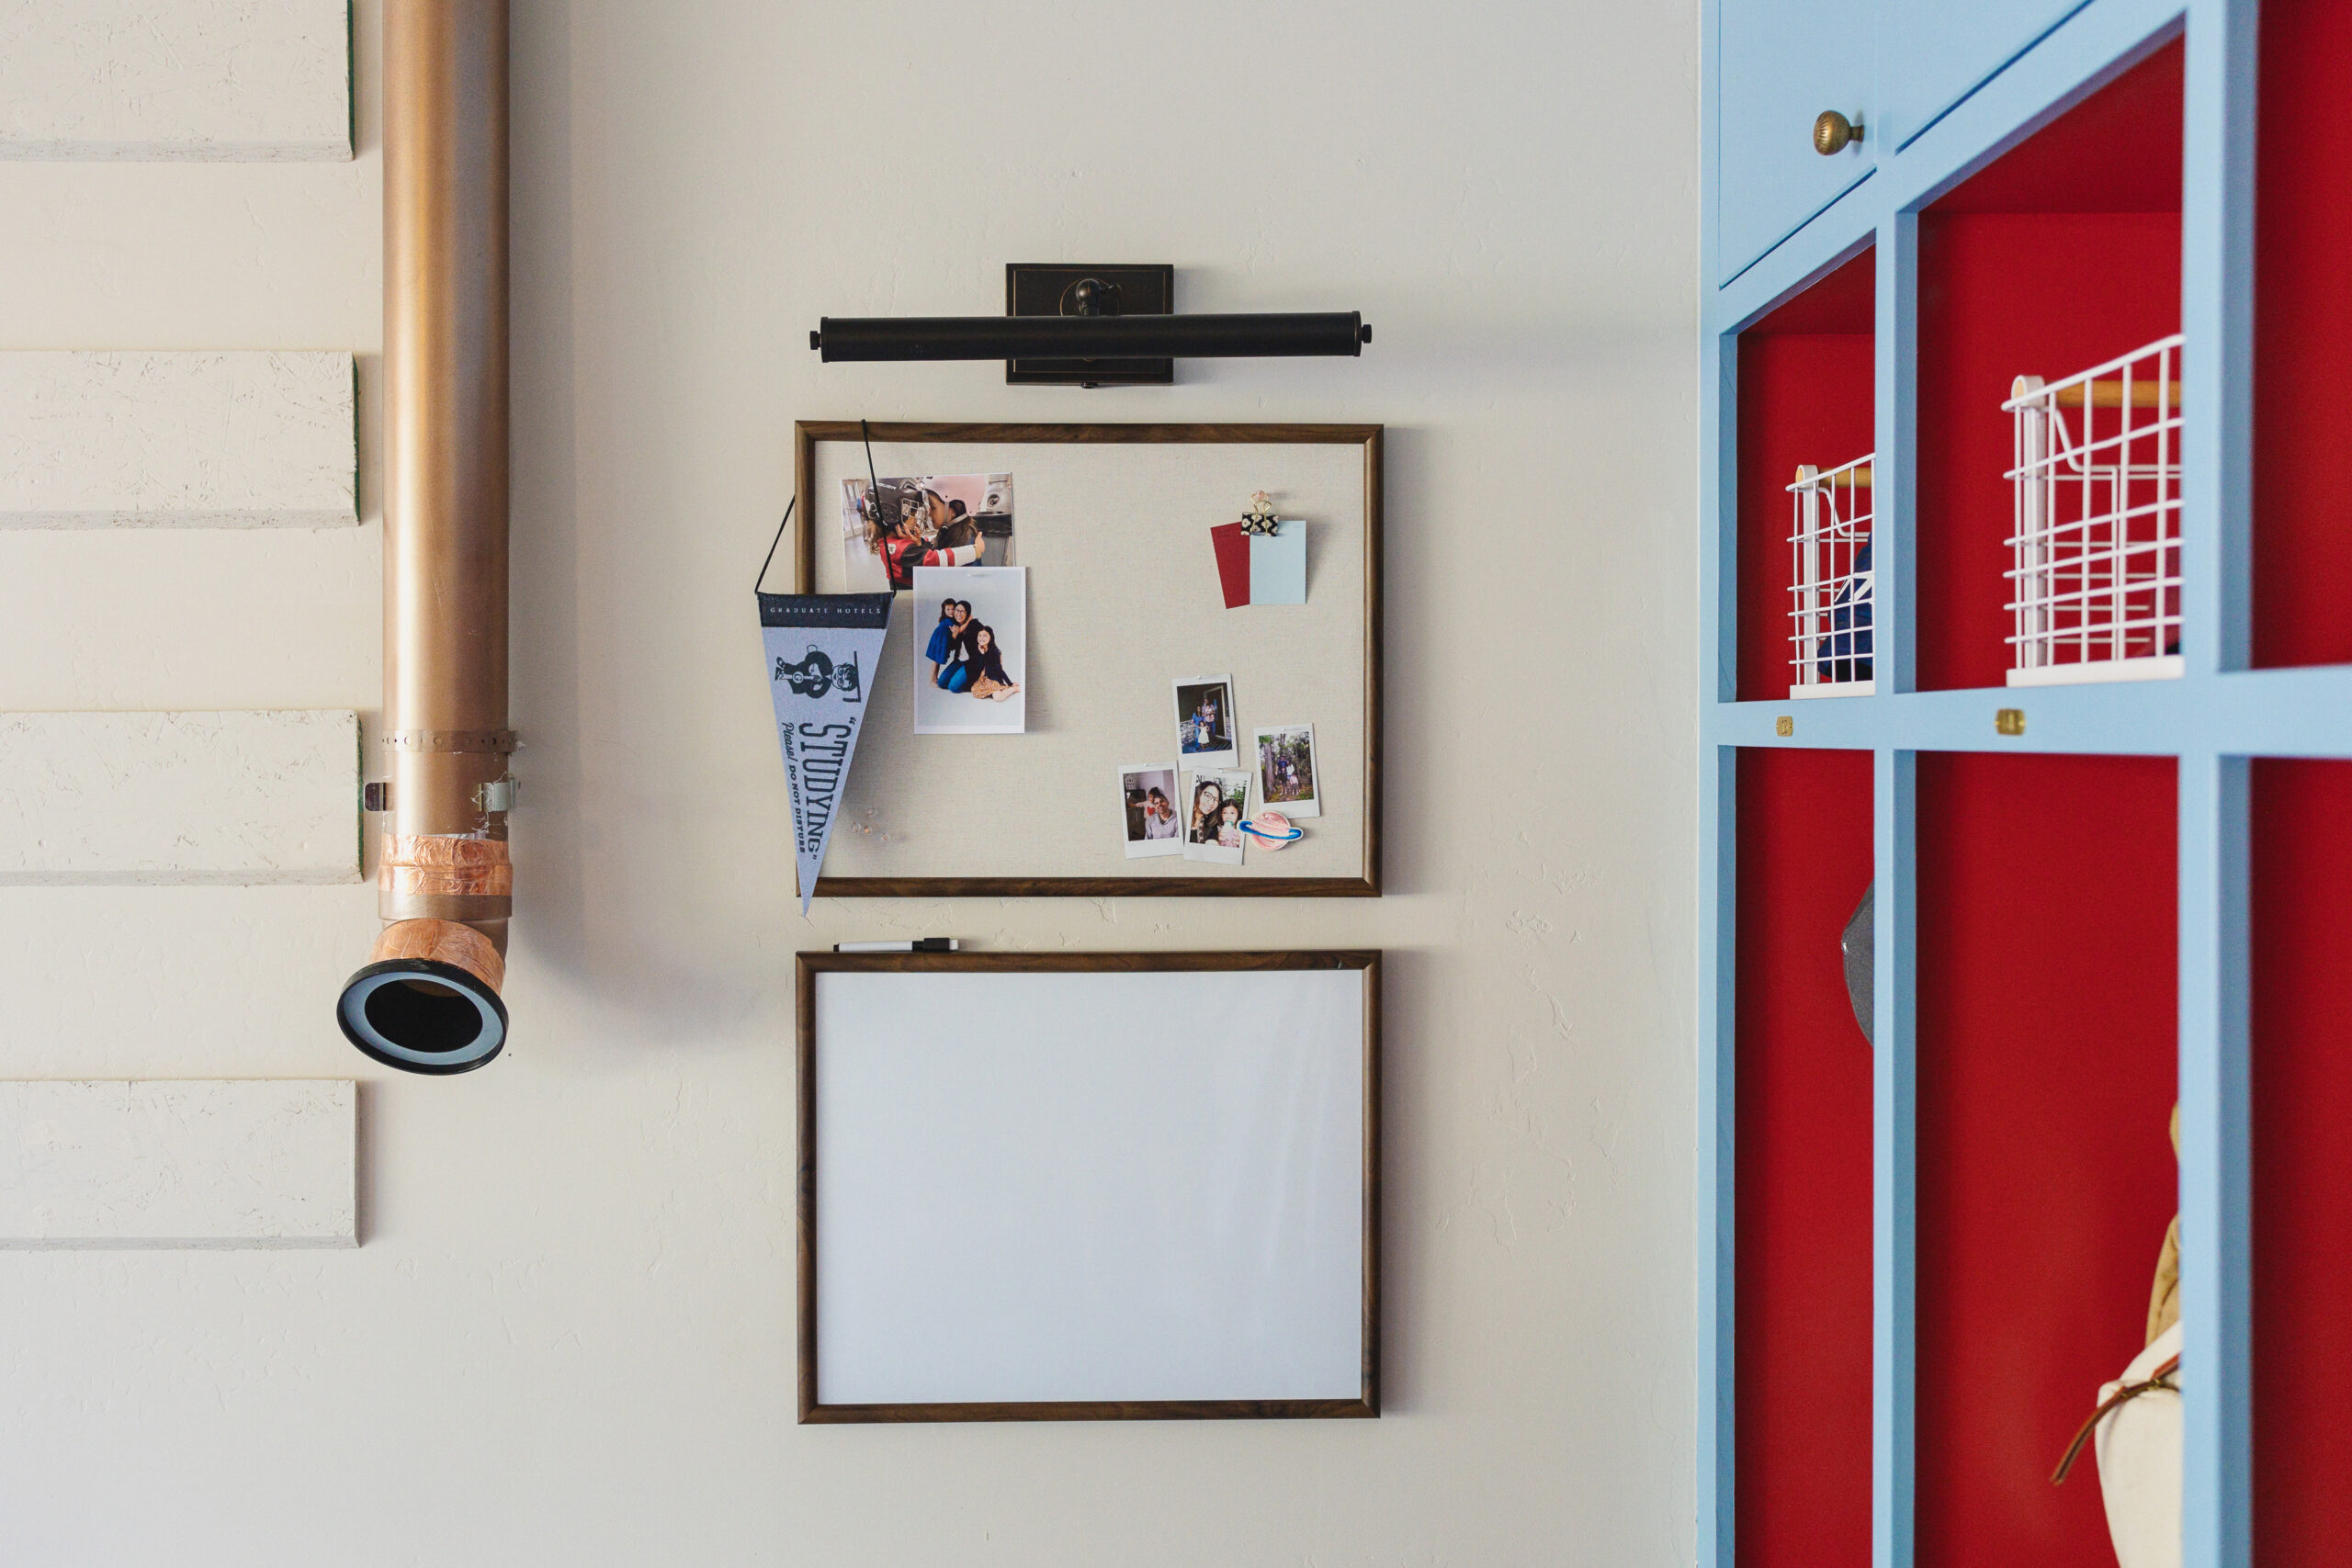
I’m also obsessed with this pinboard/picture light moment. It was a very last minute idea that came to me as I was installing the hardware. I had been playing with the idea of adding sconces over the top of the lockers, but it didn’t click for me. (This picture light is so good, btw).
While I was out shopping for storage bins, I came across this 2 pack linen pinboard and whiteboard and thought it was just what I needed. I wanted to add a whiteboard in the workshop as a place to jot down measurements or things I need to remember (like how far down I placed the support space to screw the hooks into).
The pinboard fits so well with the lockers and it makes me so happy. I was going for the schoolhouse/camp vibe, and my vision really came together!
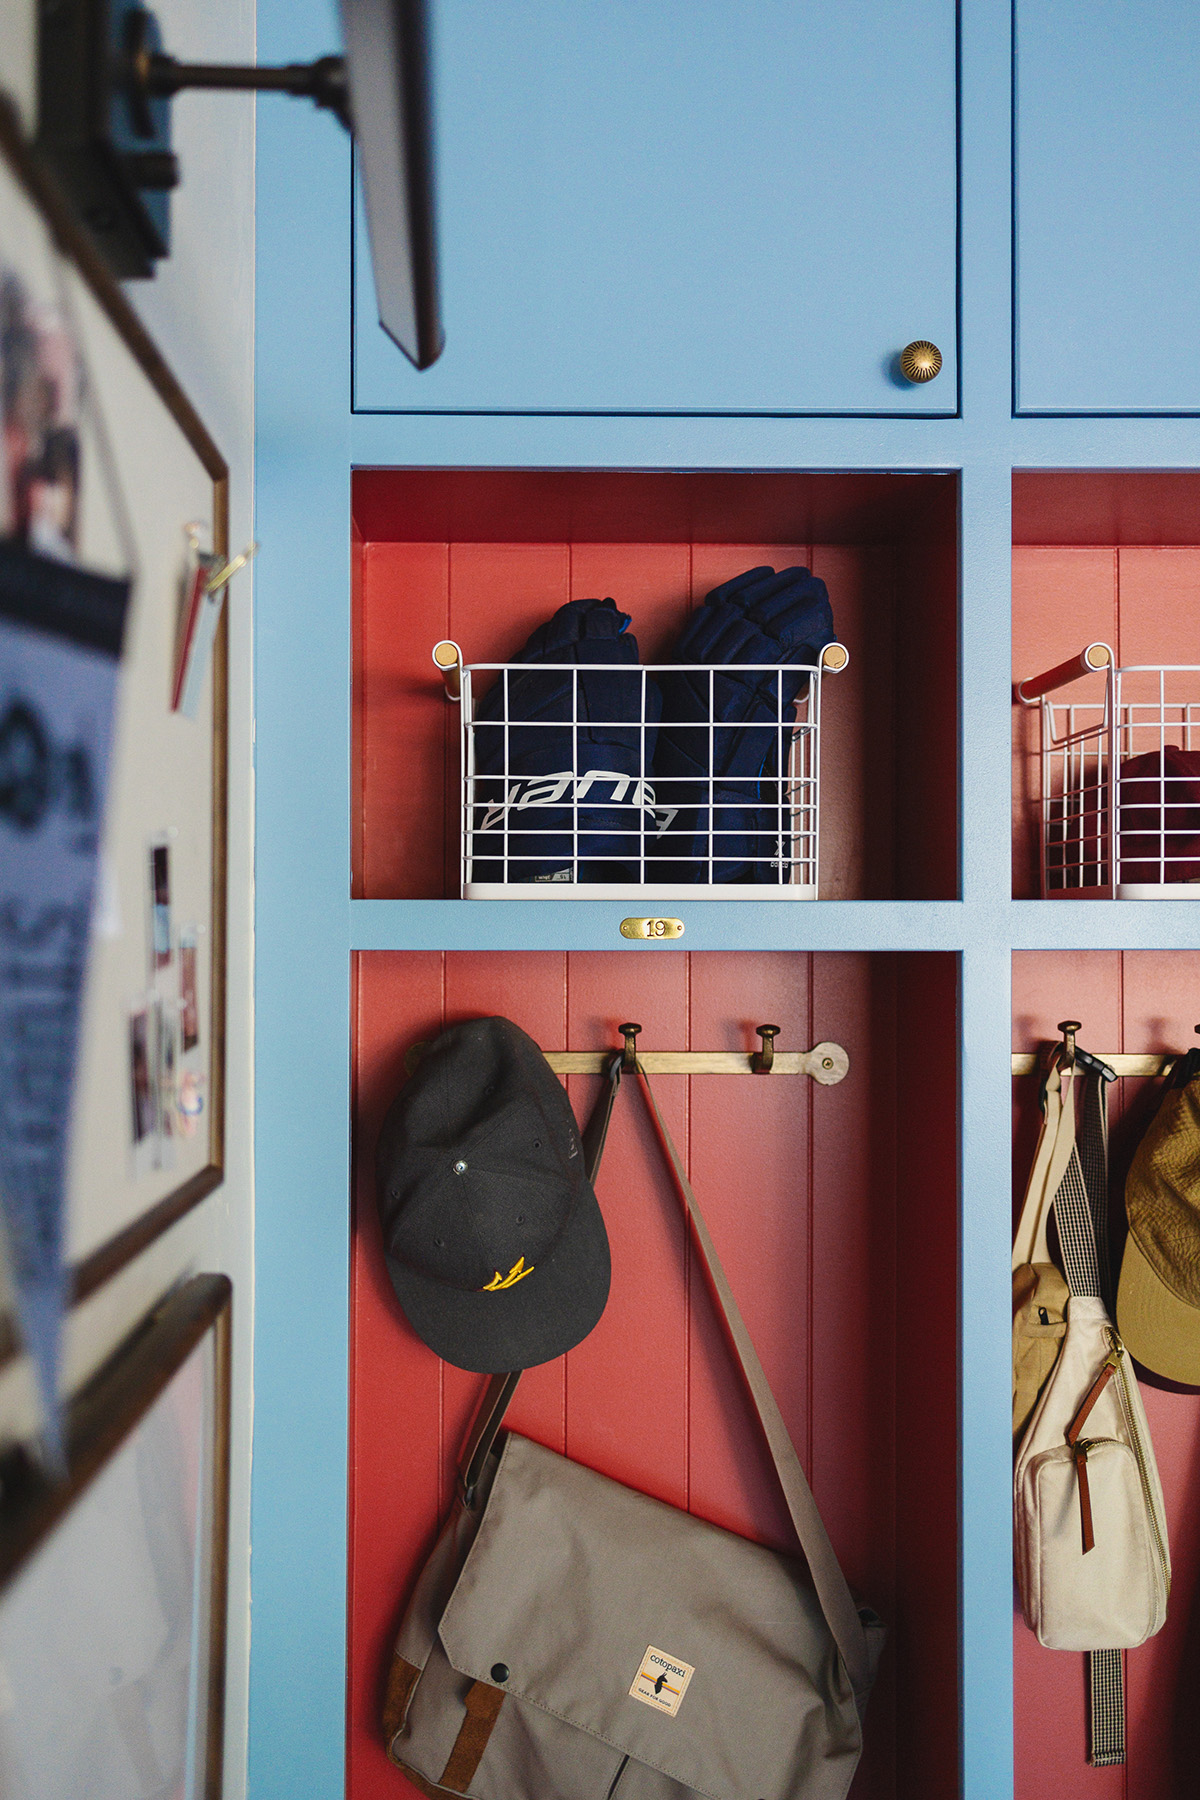
The main reason I wanted to create this drop zone in our garage is because we don’t have a lot of storage in the house. We have zero linen closets and because we have a basement, there’s no under-the-stairs closet that normally would be there, too. Our house doesn’t have a pantry or any coat closets, either. So anywhere I can add functional (and pretty) storage, I’m going to.
Even though I added peg hooks in two places in the house, it always seems like they are overflowing with jackets, backpacks, lunch boxes, hats, aprons, you-name-it! So I wanted to give each of us a dedicated space for our belongings that we can stop at before going into the house or leaving. These hammered iron wall hooks fit perfectly and I love the rounded detail on the ends to soften the hard edges of the lockers.
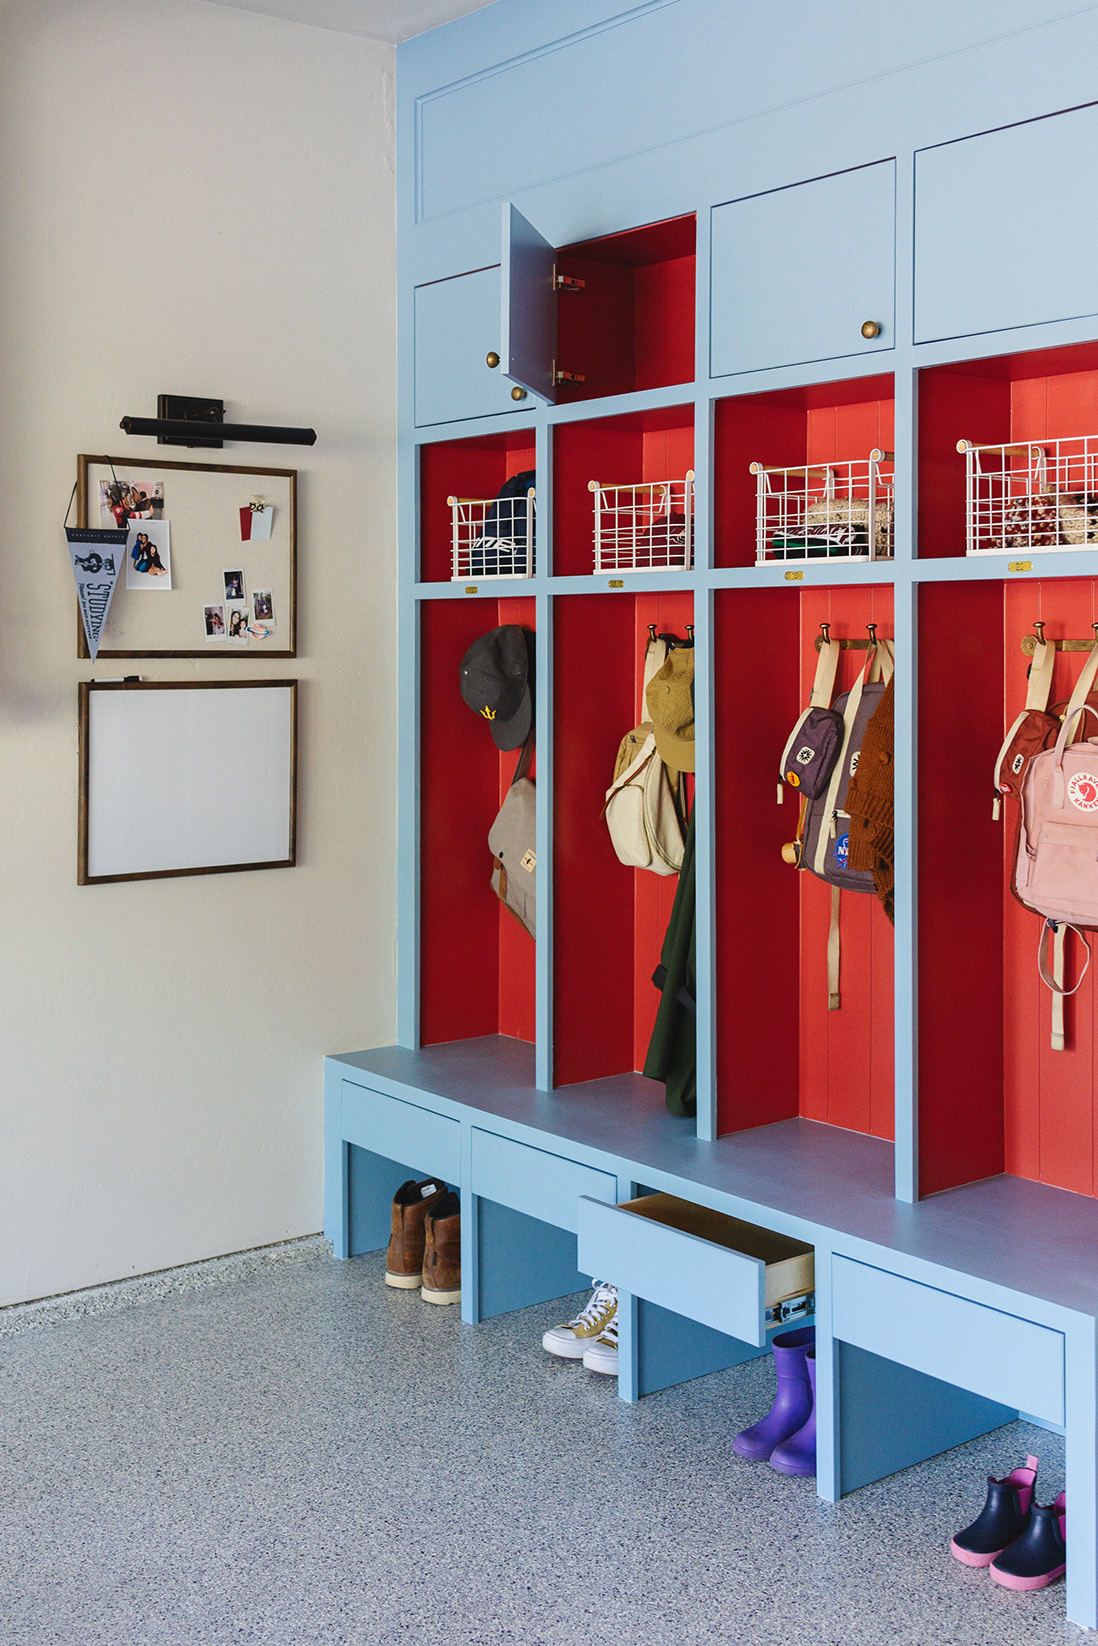
I added a shallow drawer underneath each bench to maximize the space there. I had seen a hack somewhere that you store socks by the shoes and I thought it was a great idea, so we’re going to give that a go. Maybe also use it for gloves and other winter accessories.
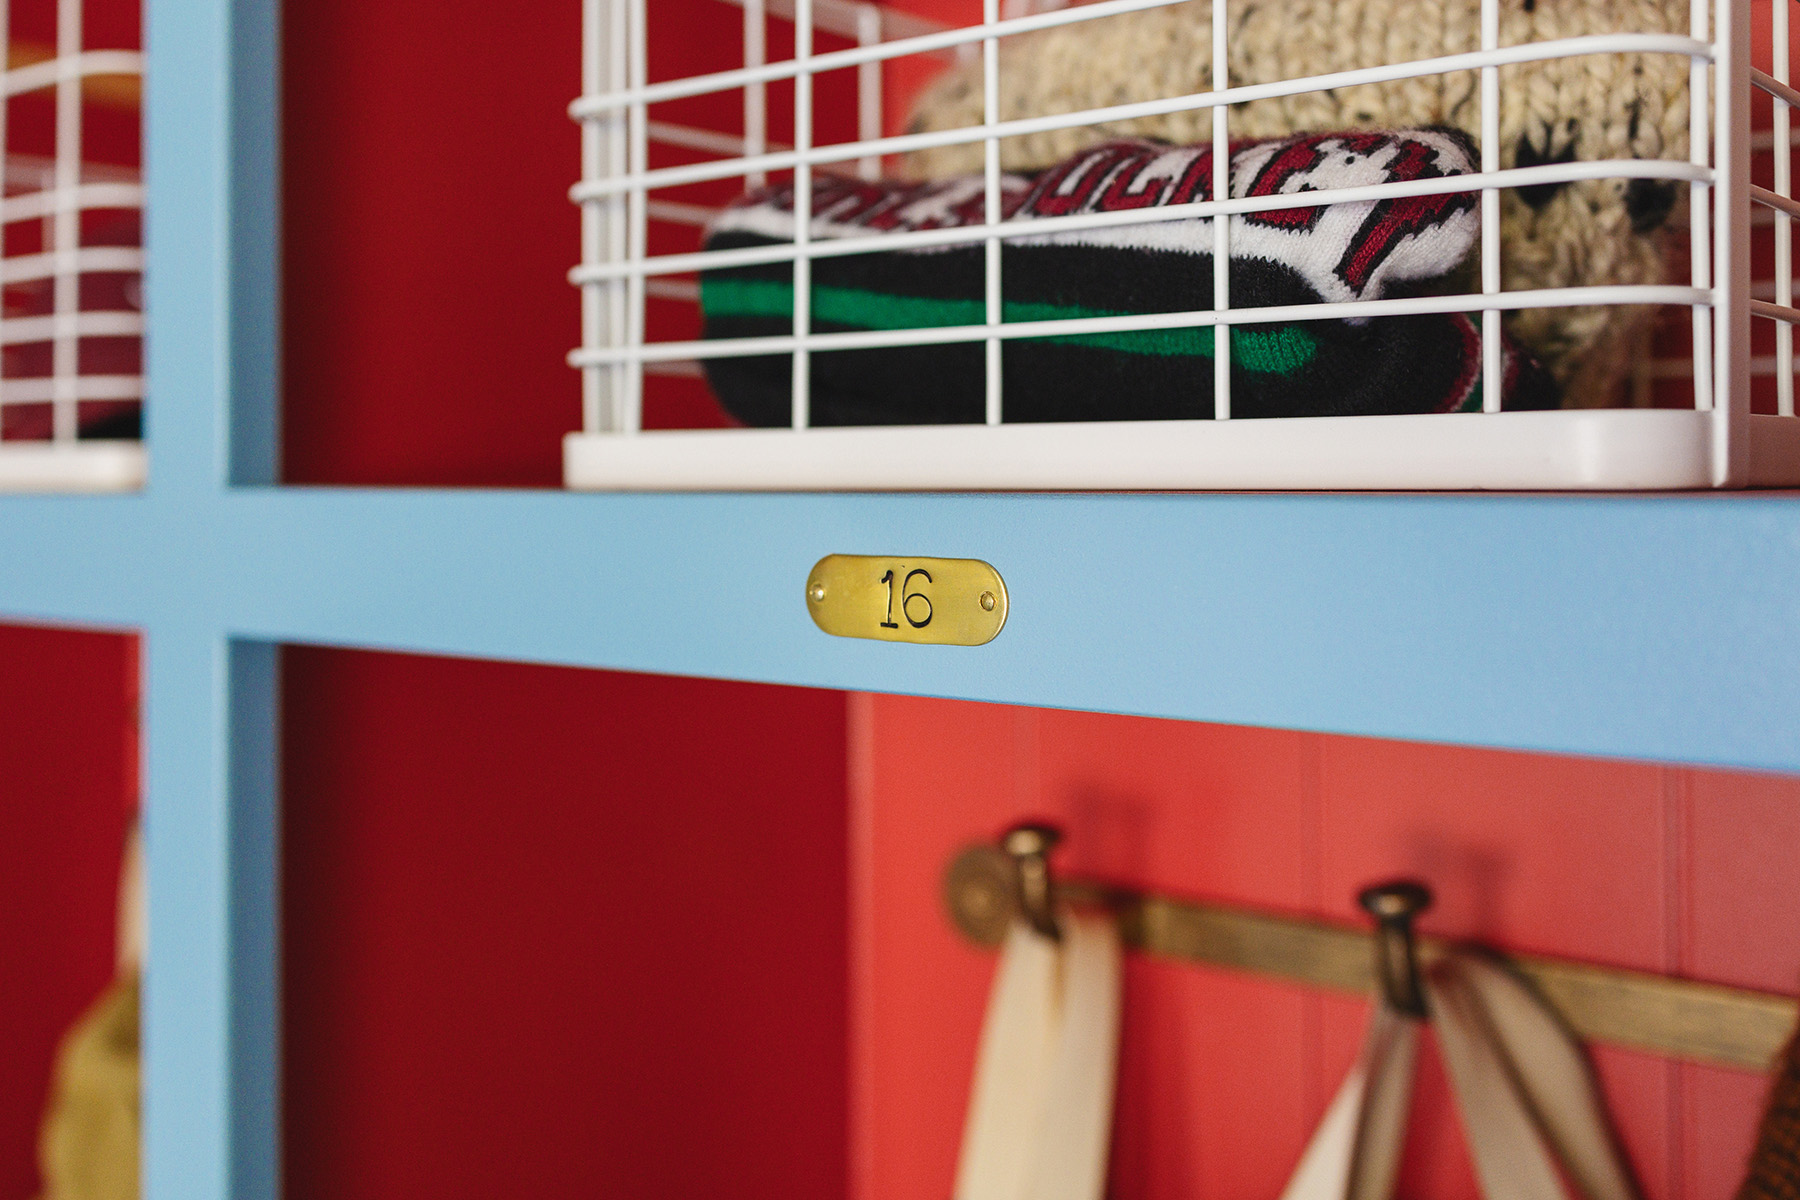
One of my favorite details are these adorable brass locker tags I found on Etsy. I ordered them just after I started the build to keep me motivated to finish. I used small picture frame brass nails to attach them.
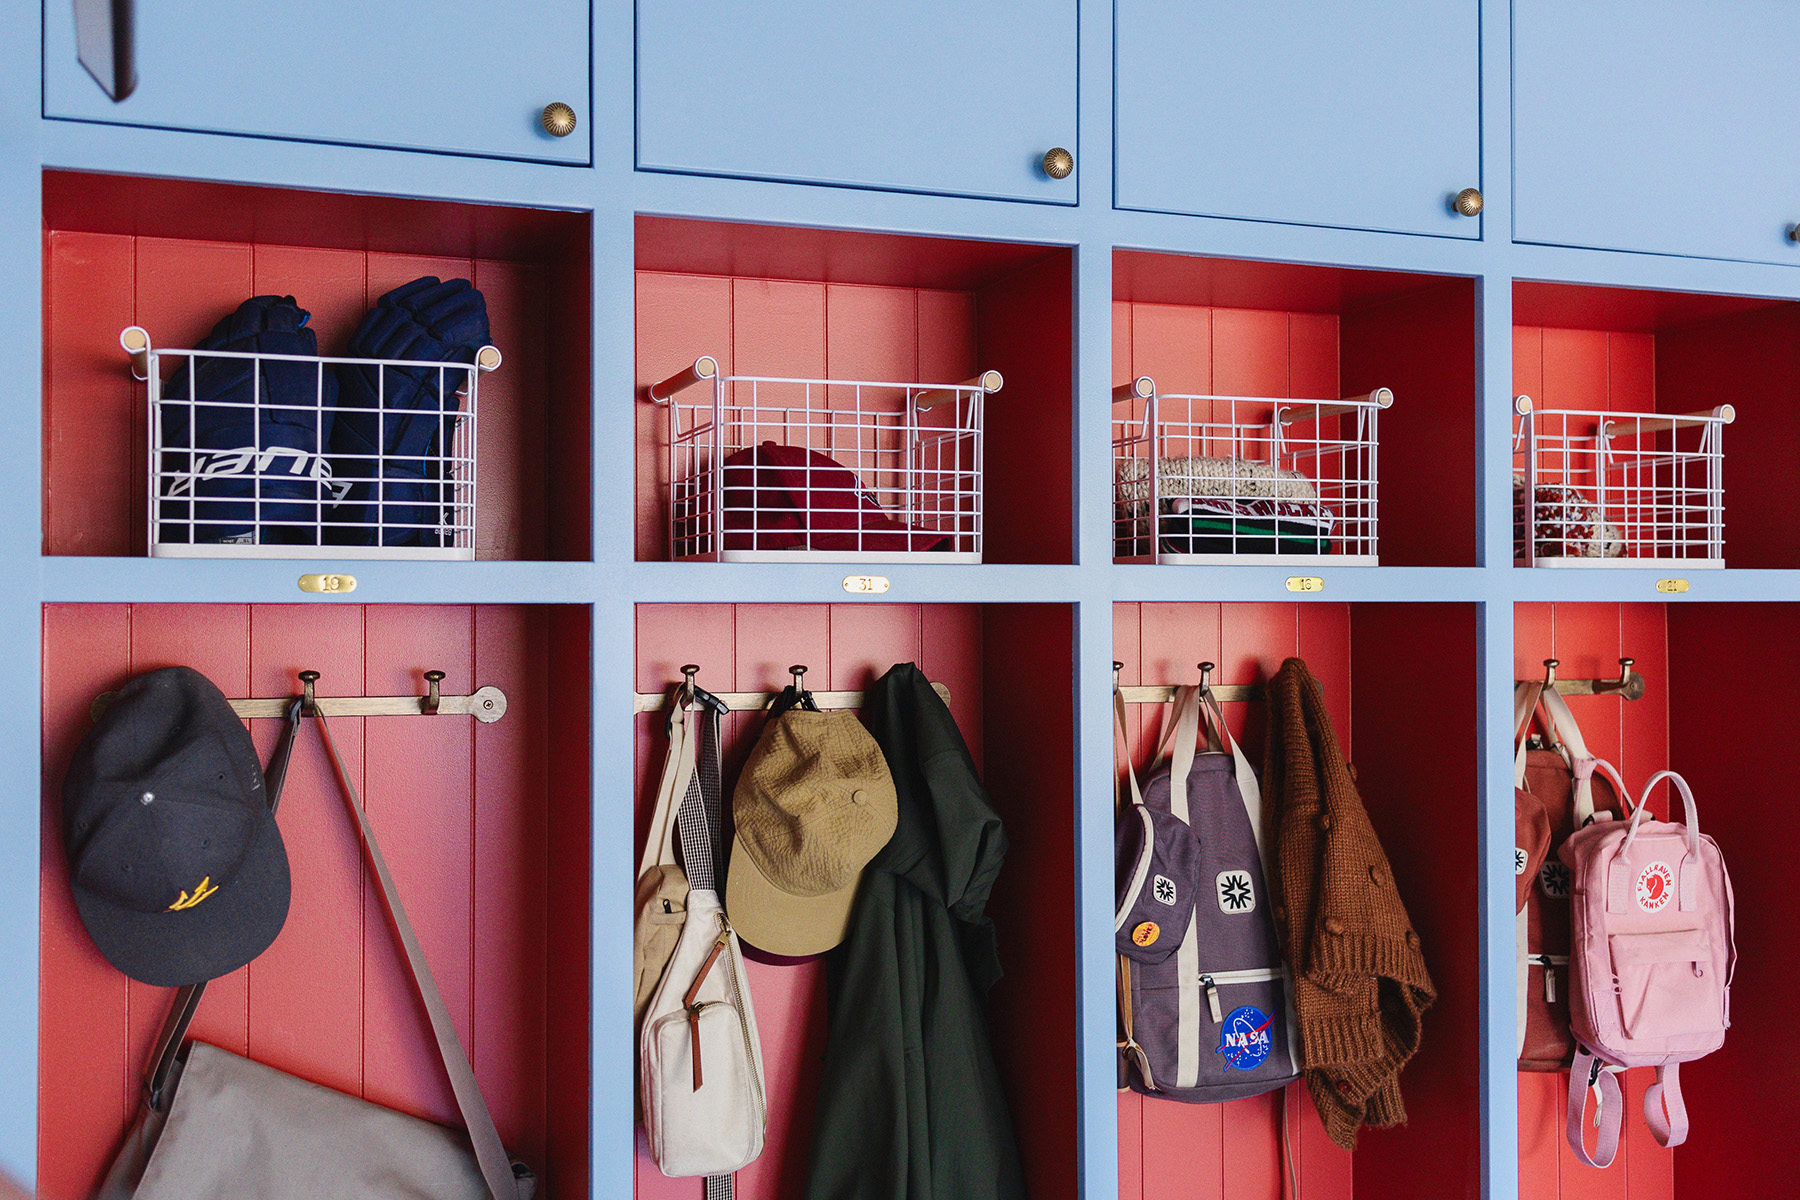
Each of these photos has a slightly different color for the red and blue, depending on the angle that you’re looking and whether the light is shining in.
I got these white wire baskets for the shelves above the locker. I wanted something that I could easily clean because there will be sawdust still flying around and I wanted to be able to see through the basket so it still felt open. I hope that makes sense. I liked these because they have a little wooden detail.
I’ll be writing another post about the step-by-step build process, so stick around for that if you want to build something like this!
Thank you so much for following along with me on this project, encouraging me, and sharing your opinions. I hope you learned a thing or two along the way and you love the outcome as much as I do!
Sources:
- Red paint color: Blazer by Farrow and Ball, color matched to Behr’s Scuff Defense Interior Satin Enamel
- Blue paint color: Adrift by Sherwin Williams, Emerald Urethane Trim Enamel, Satin
- Brass hammered hooks
- Brass locker number tags
- Brass knobs (no longer available)
- Picture light
- Pinboard/Whiteboard (purchased at Home Goods)
- White wire baskets
Tools
Shop the Post:
*Disclosure: This post may contain affiliate links. If you purchase a product, I may earn a small commission at no additional cost to you. Thank you for supporting my blog.

Hi, I’m Tiffany!
I’m so glad you’re here. I hope you’ll see this space as a source of inspiration and encouragement to take the first step in making your home a place you want to be, wherever that may be.
You can expect to find approachable DIY projects and tutorials, opinions on home design, and all the fun stuff that comes up in-between.
