
It’s kitchen reveal day! This has been a labor of love, but gosh the outcome is so satisfying. The main goal in this Phase 1 reno was to paint the cabinets and update the hardware. We ended up doing a couple of other things like swapping our sink and faucet (the faucet was loose and needed to be replaced) and adding soft-close hinges to the doors without changing out the hinges. Everything else remained the same.
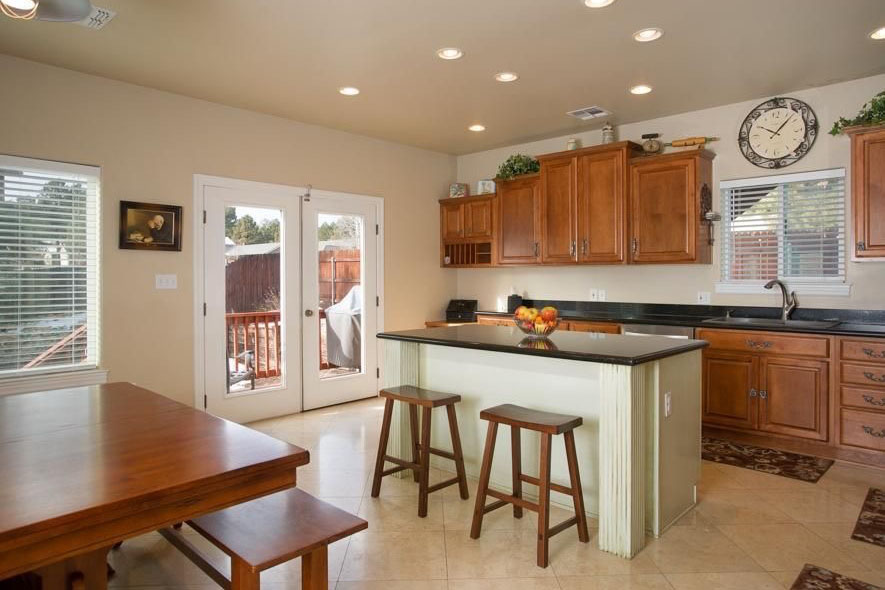
Before
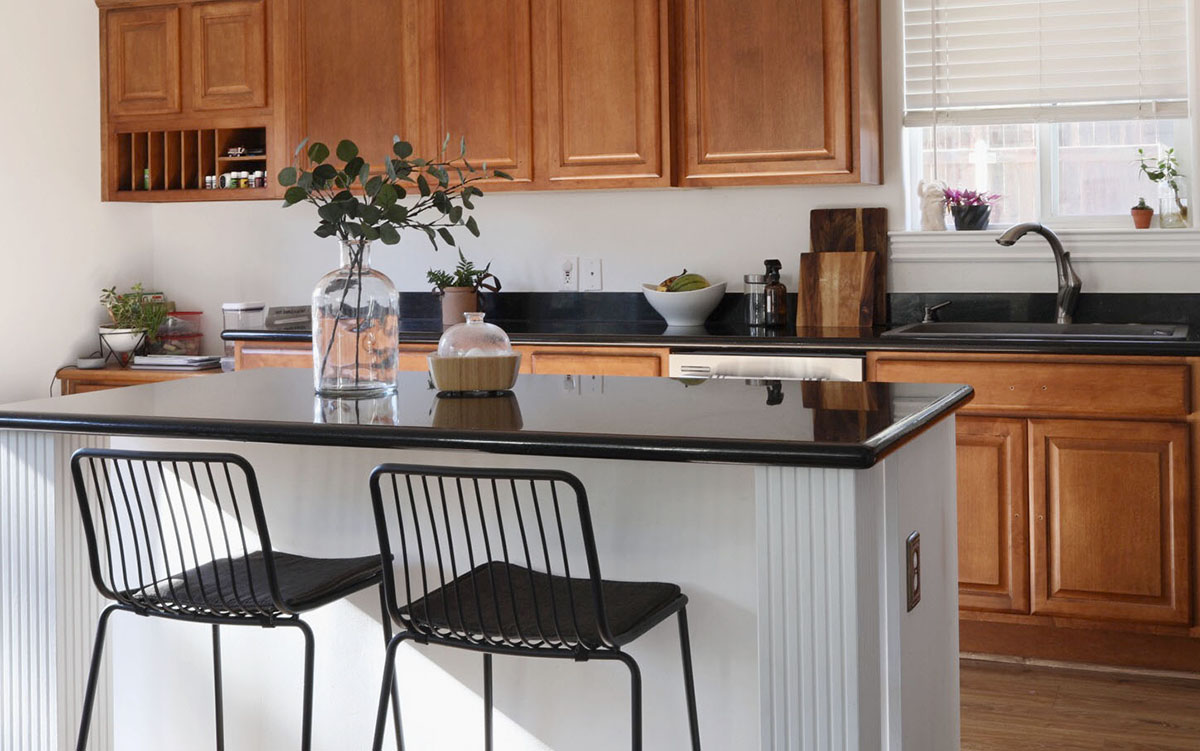
The first two photos are from the listing, before we moved in. You can even see out the back doors that our backyard was completely different, too.
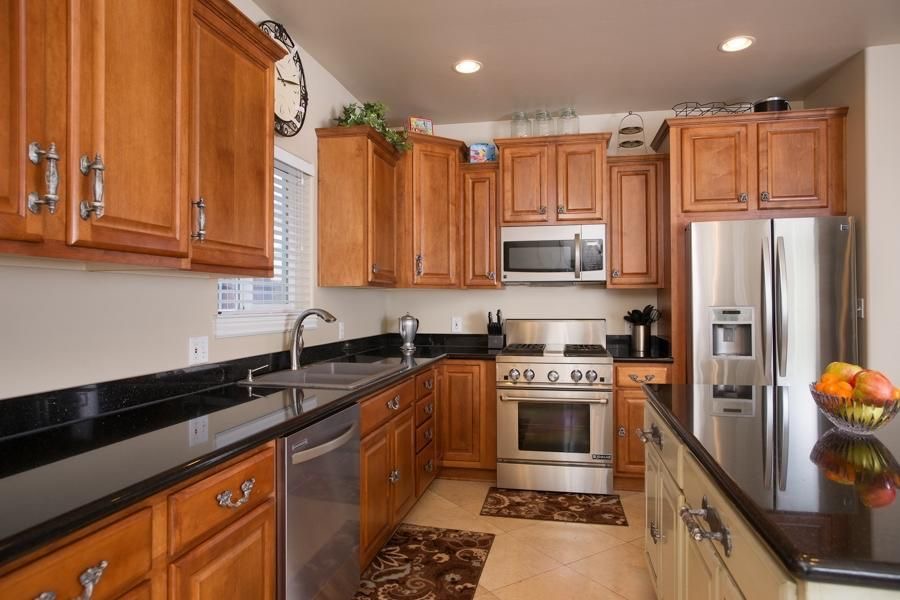
A couple of years ago, I painted the island with white chalk paint on a whim. It was a quick fix but I would not use chalk paint again.
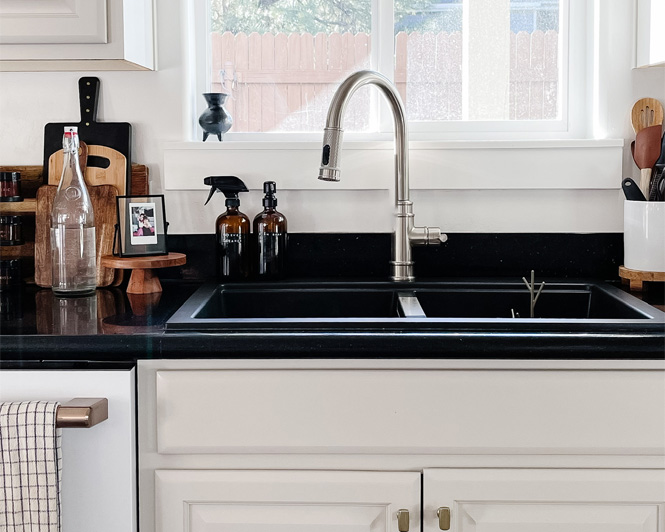
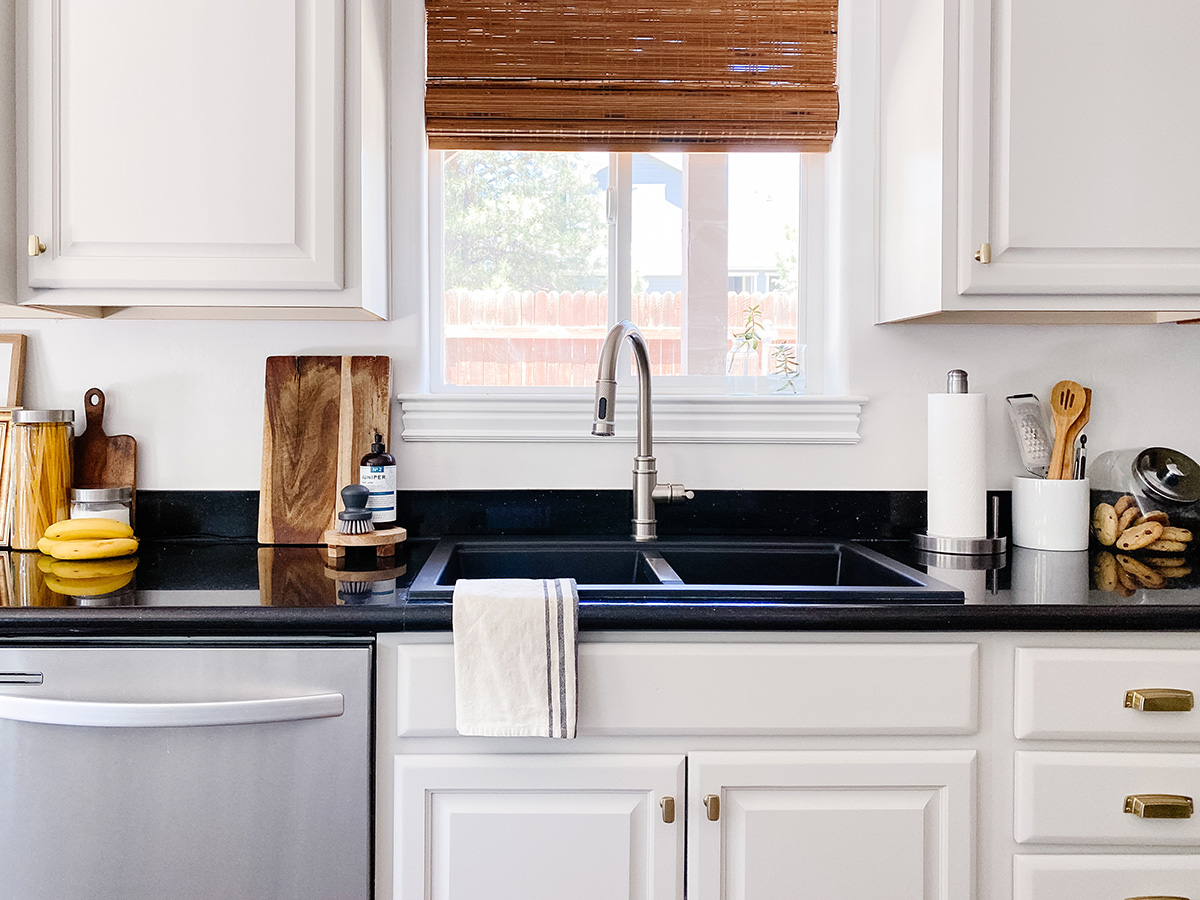
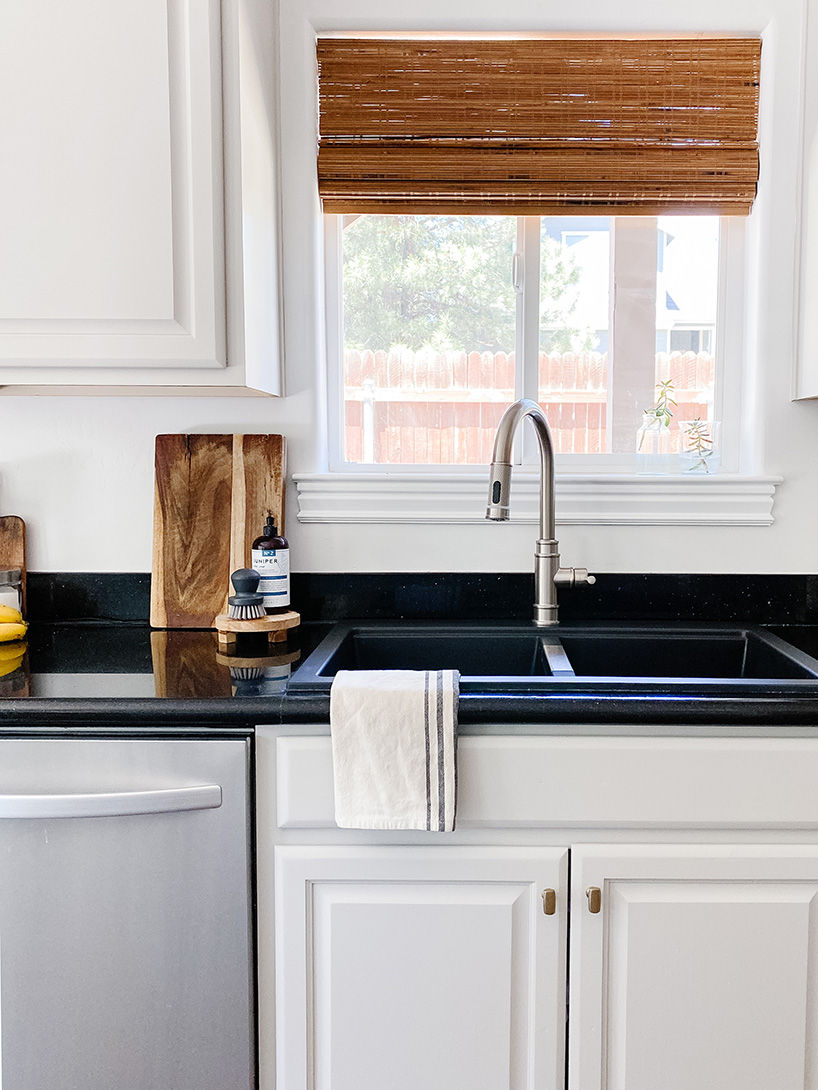
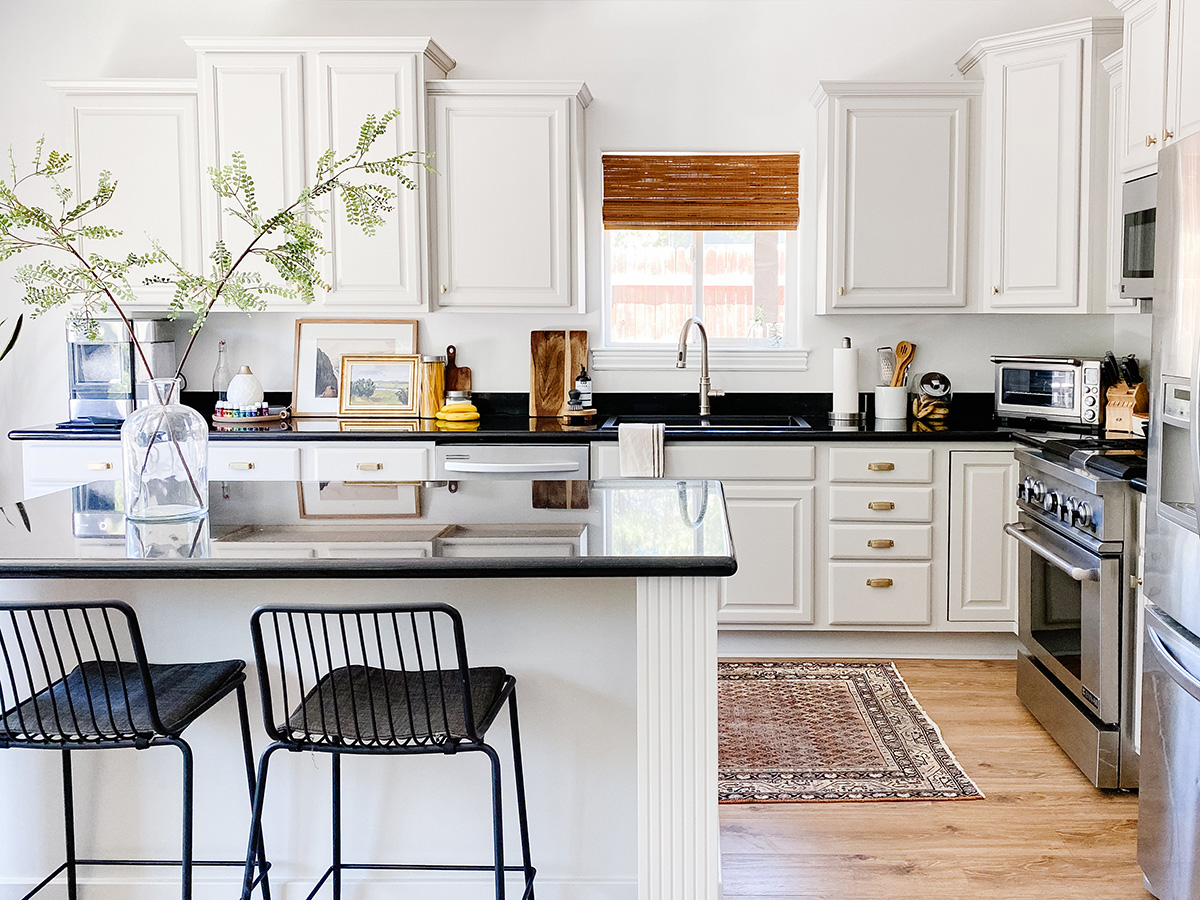
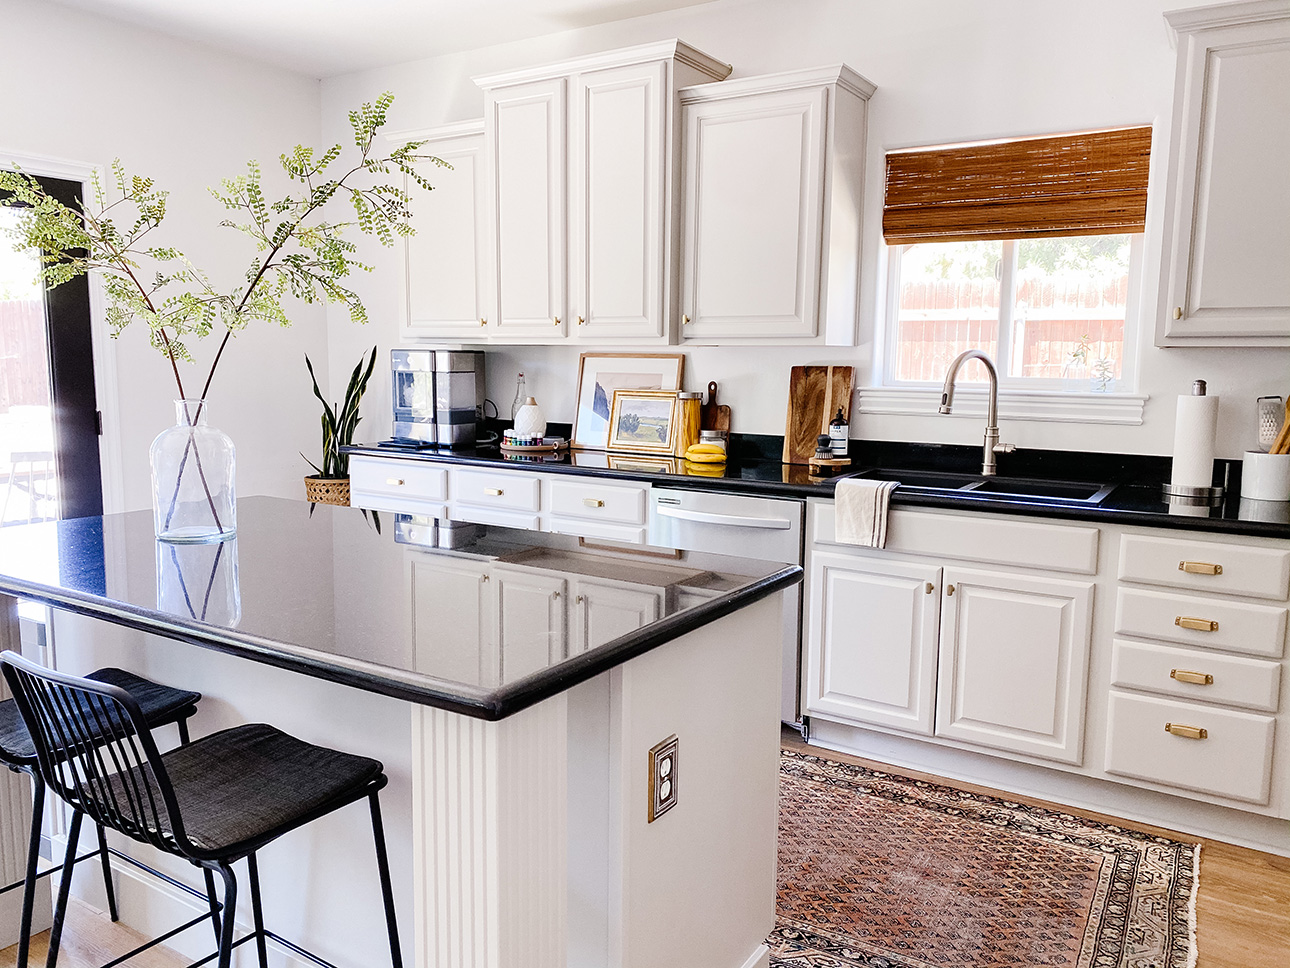
After
I wanted a warm, taupe colored neutral, but after testing a bunch of samples, I decided on a cooler grey called Into the Gloaming by Sherwin Williams. This color is part of the HGTV Home by Sherwin Williams collection at Lowe’s. For some reason, I couldn’t get this color color-matched at Home Depot in the Behr Alkyd paint. They told me their system didn’t have the formula. After talking to lots of people at Home Depot, I decided to get the paint from Sherwin Williams. It’s their Emerald Urethane Trim Enamel paint line. The color turned out better than I imagined. It sometimes is a chameleon color in various lighting throughout the day. But what I love about it is that it’s bright but also contrasts with the wall color to provide some depth and dimension.

Cost Breakdown
- Sink: $199
- Faucet: $249
- Hardware: $282
- Roman Shade: $48
- Rug: Vintage and $15 for the smaller one
- Soft close hinges: $122 (pack of 30)
- Paint: $40/gallon
- Primer: $23
- Wood filler, sanding blocks, tack cloth, rollers: had these at home from other projects
Total: $978
If you only count the painting parts, you’re looking at under $150 (estimating higher for extra prep materials) for a low budget, high impact visual change. It took me about one month to complete, only working during naps and evenings, plus cure times for the doors. I think we let the doors sit between 1-3 weeks before re-attaching them back to the cabinet boxes.
I am so happy I decided to tackle this project as we’ve spent a lot of time in the kitchen this year.
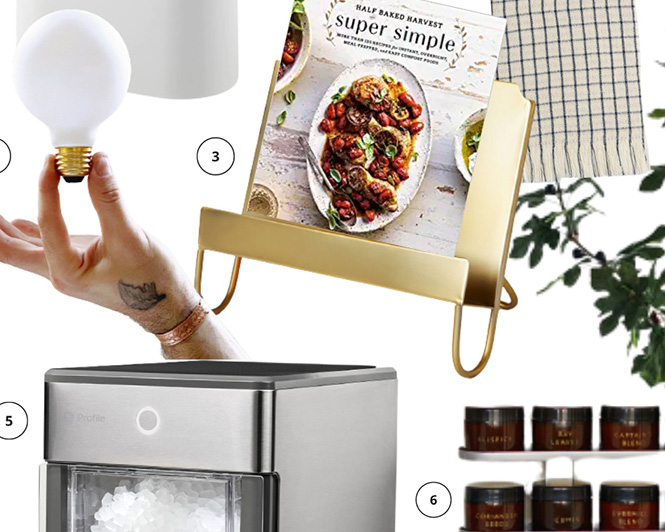
Shop my kitchen here:

Related Posts


Hi, I’m Tiffany!
I’m so glad you’re here. I hope you’ll see this space as a source of inspiration and encouragement to take the first step in making your home a place you want to be, wherever that may be.
You can expect to find approachable DIY projects and tutorials, opinions on home design, and all the fun stuff that comes up in-between.
