
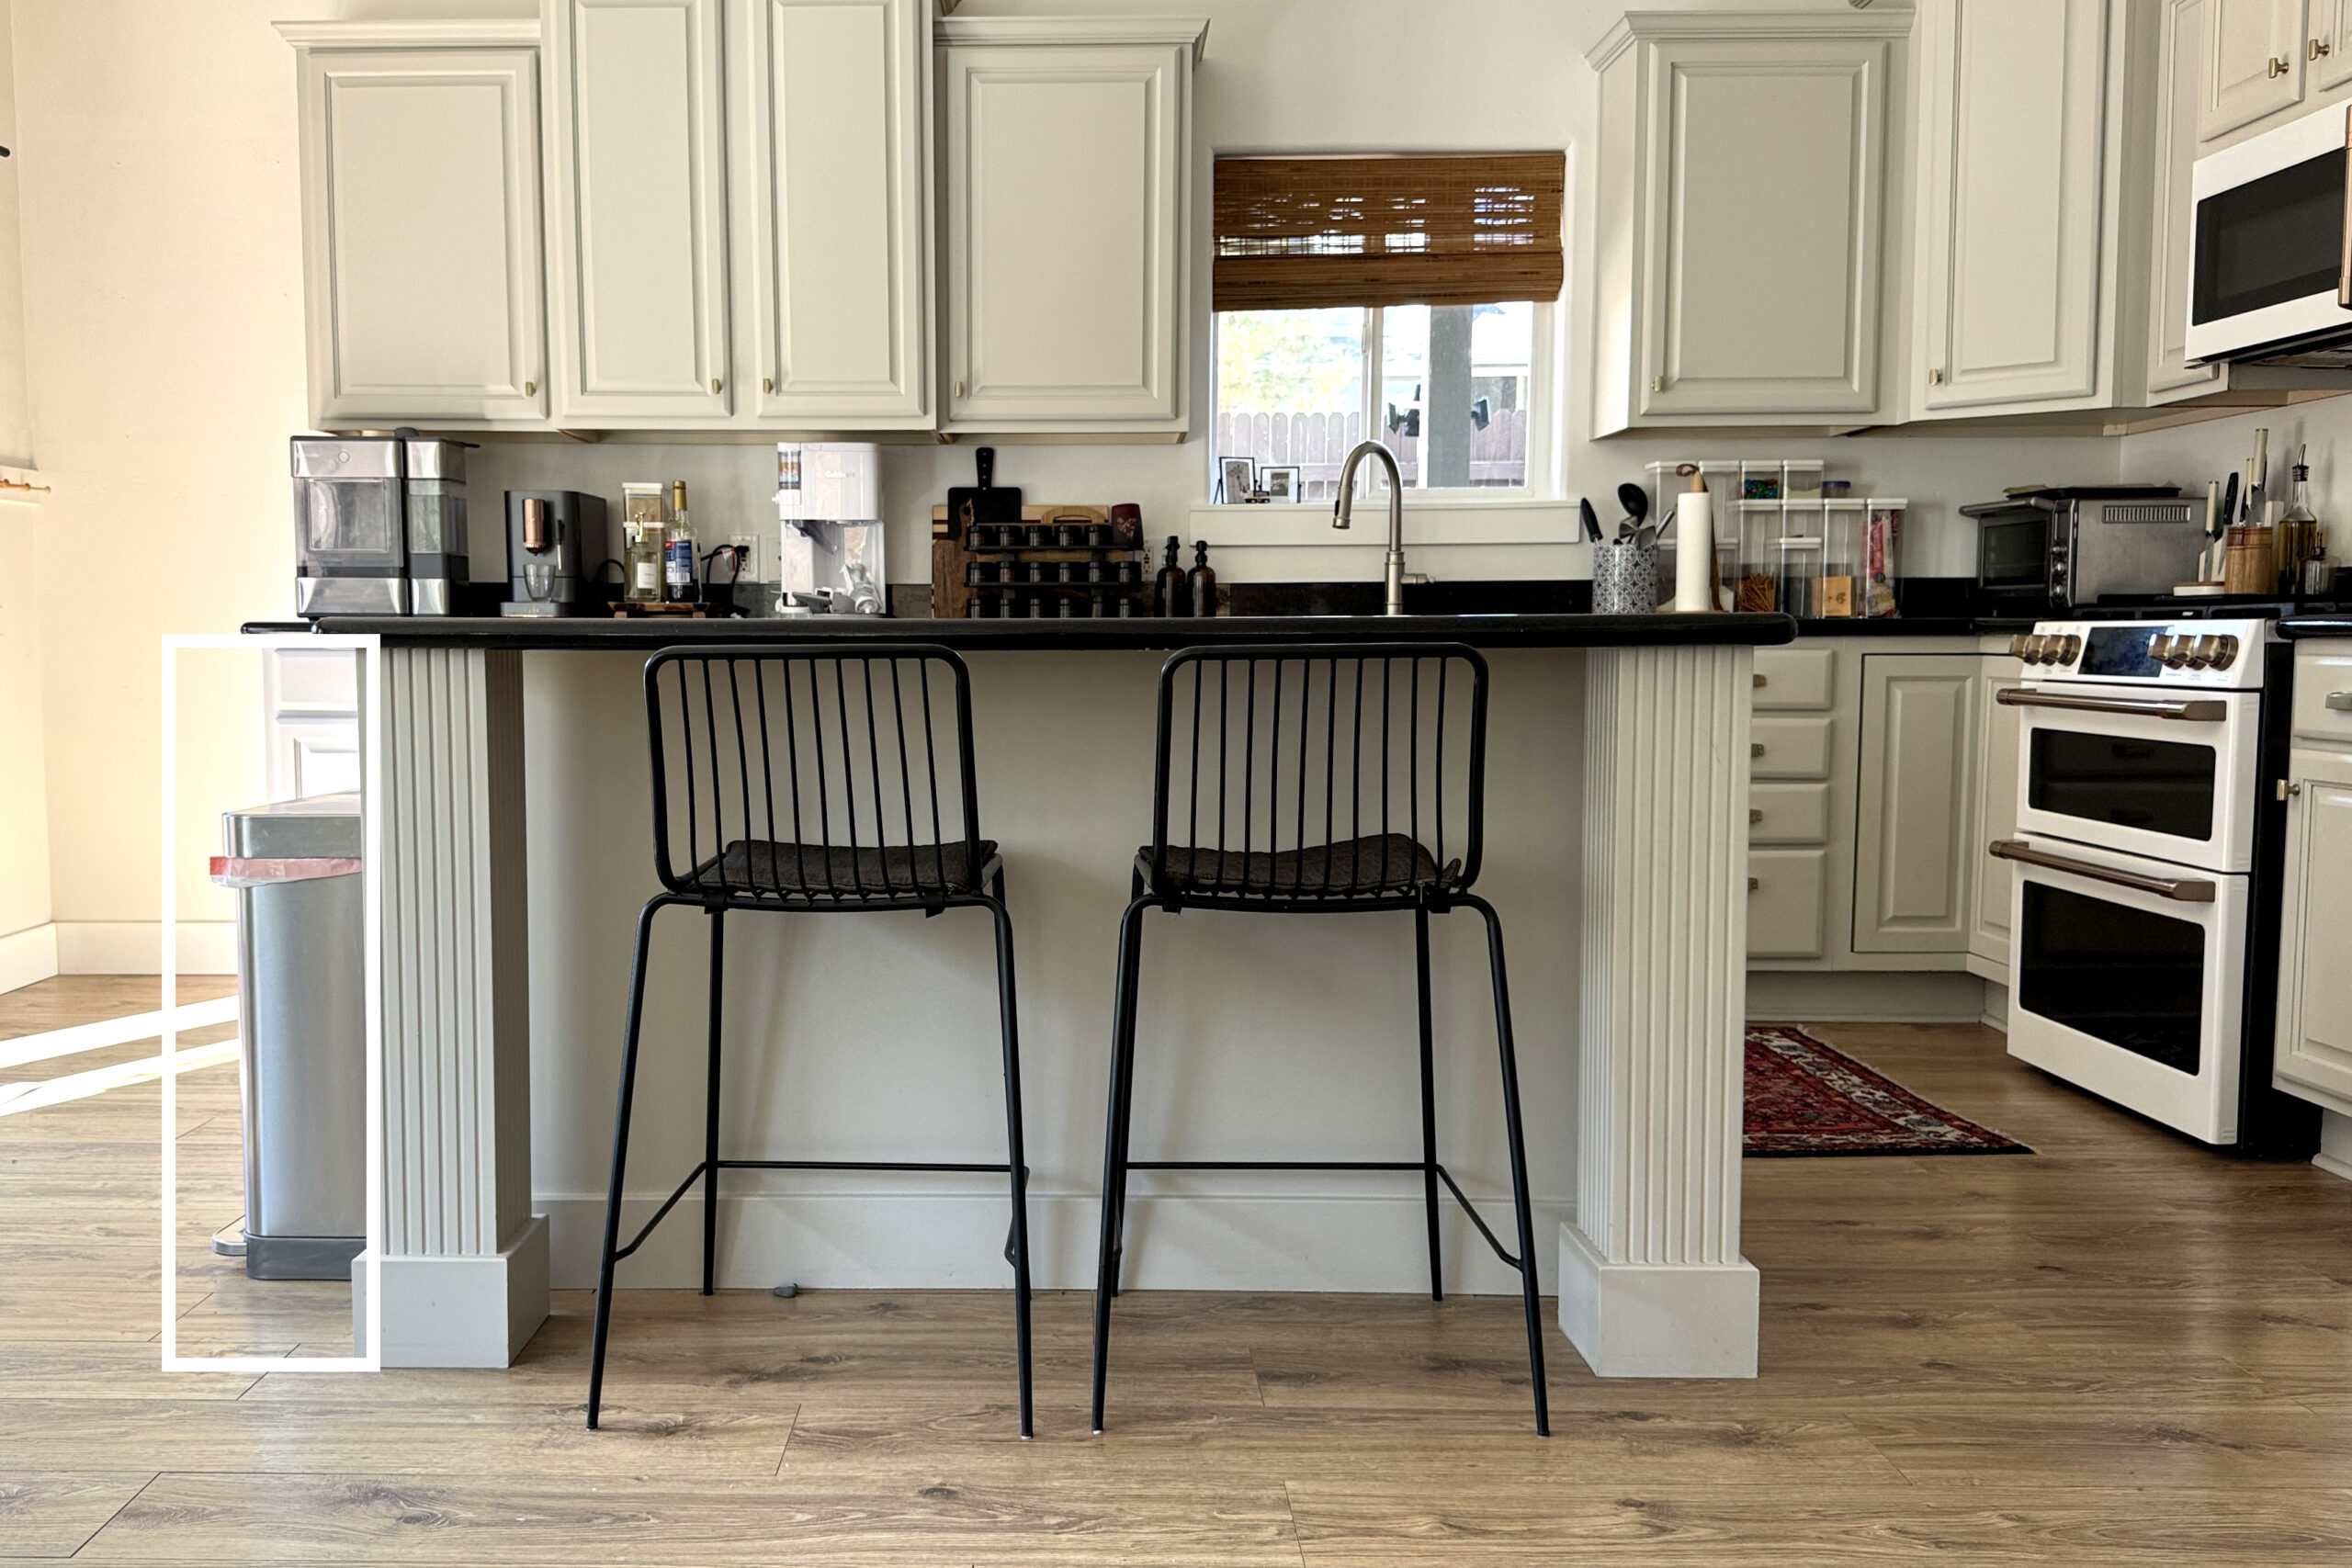
Once we decided on new countertops, I knew I wanted to extend our kitchen island about 14″ to help balance the room and give us more countertop space. But I didn’t want to demo the current island or have to move the legs. It took me several weeks to research this and what I landed on was adding an open cabinet facing the backyard doors on the end.
Our trash and recycling bins lived at the end of the island, so this is extension is also solving an eye sore. These bins will move to a pull out cabinet.
When we took the measurements for the countertop, this extension was not yet built, so I was sort of guessing, which is a little scary. After I built the cabinet and installed it, I ended up needing to change the measurements and add 3/4″ on to the width and 1/4″ on to the length to accommodate the trim pieces I was planning to add. I sent the numbers off and crossed my fingers that it would fit.
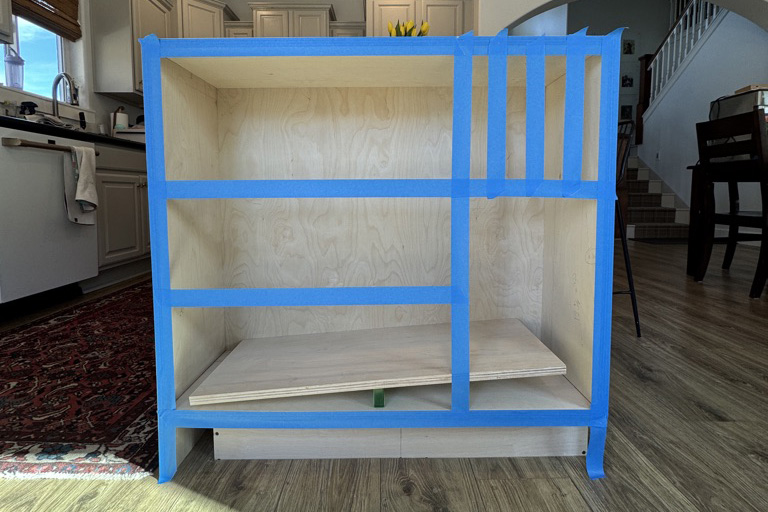
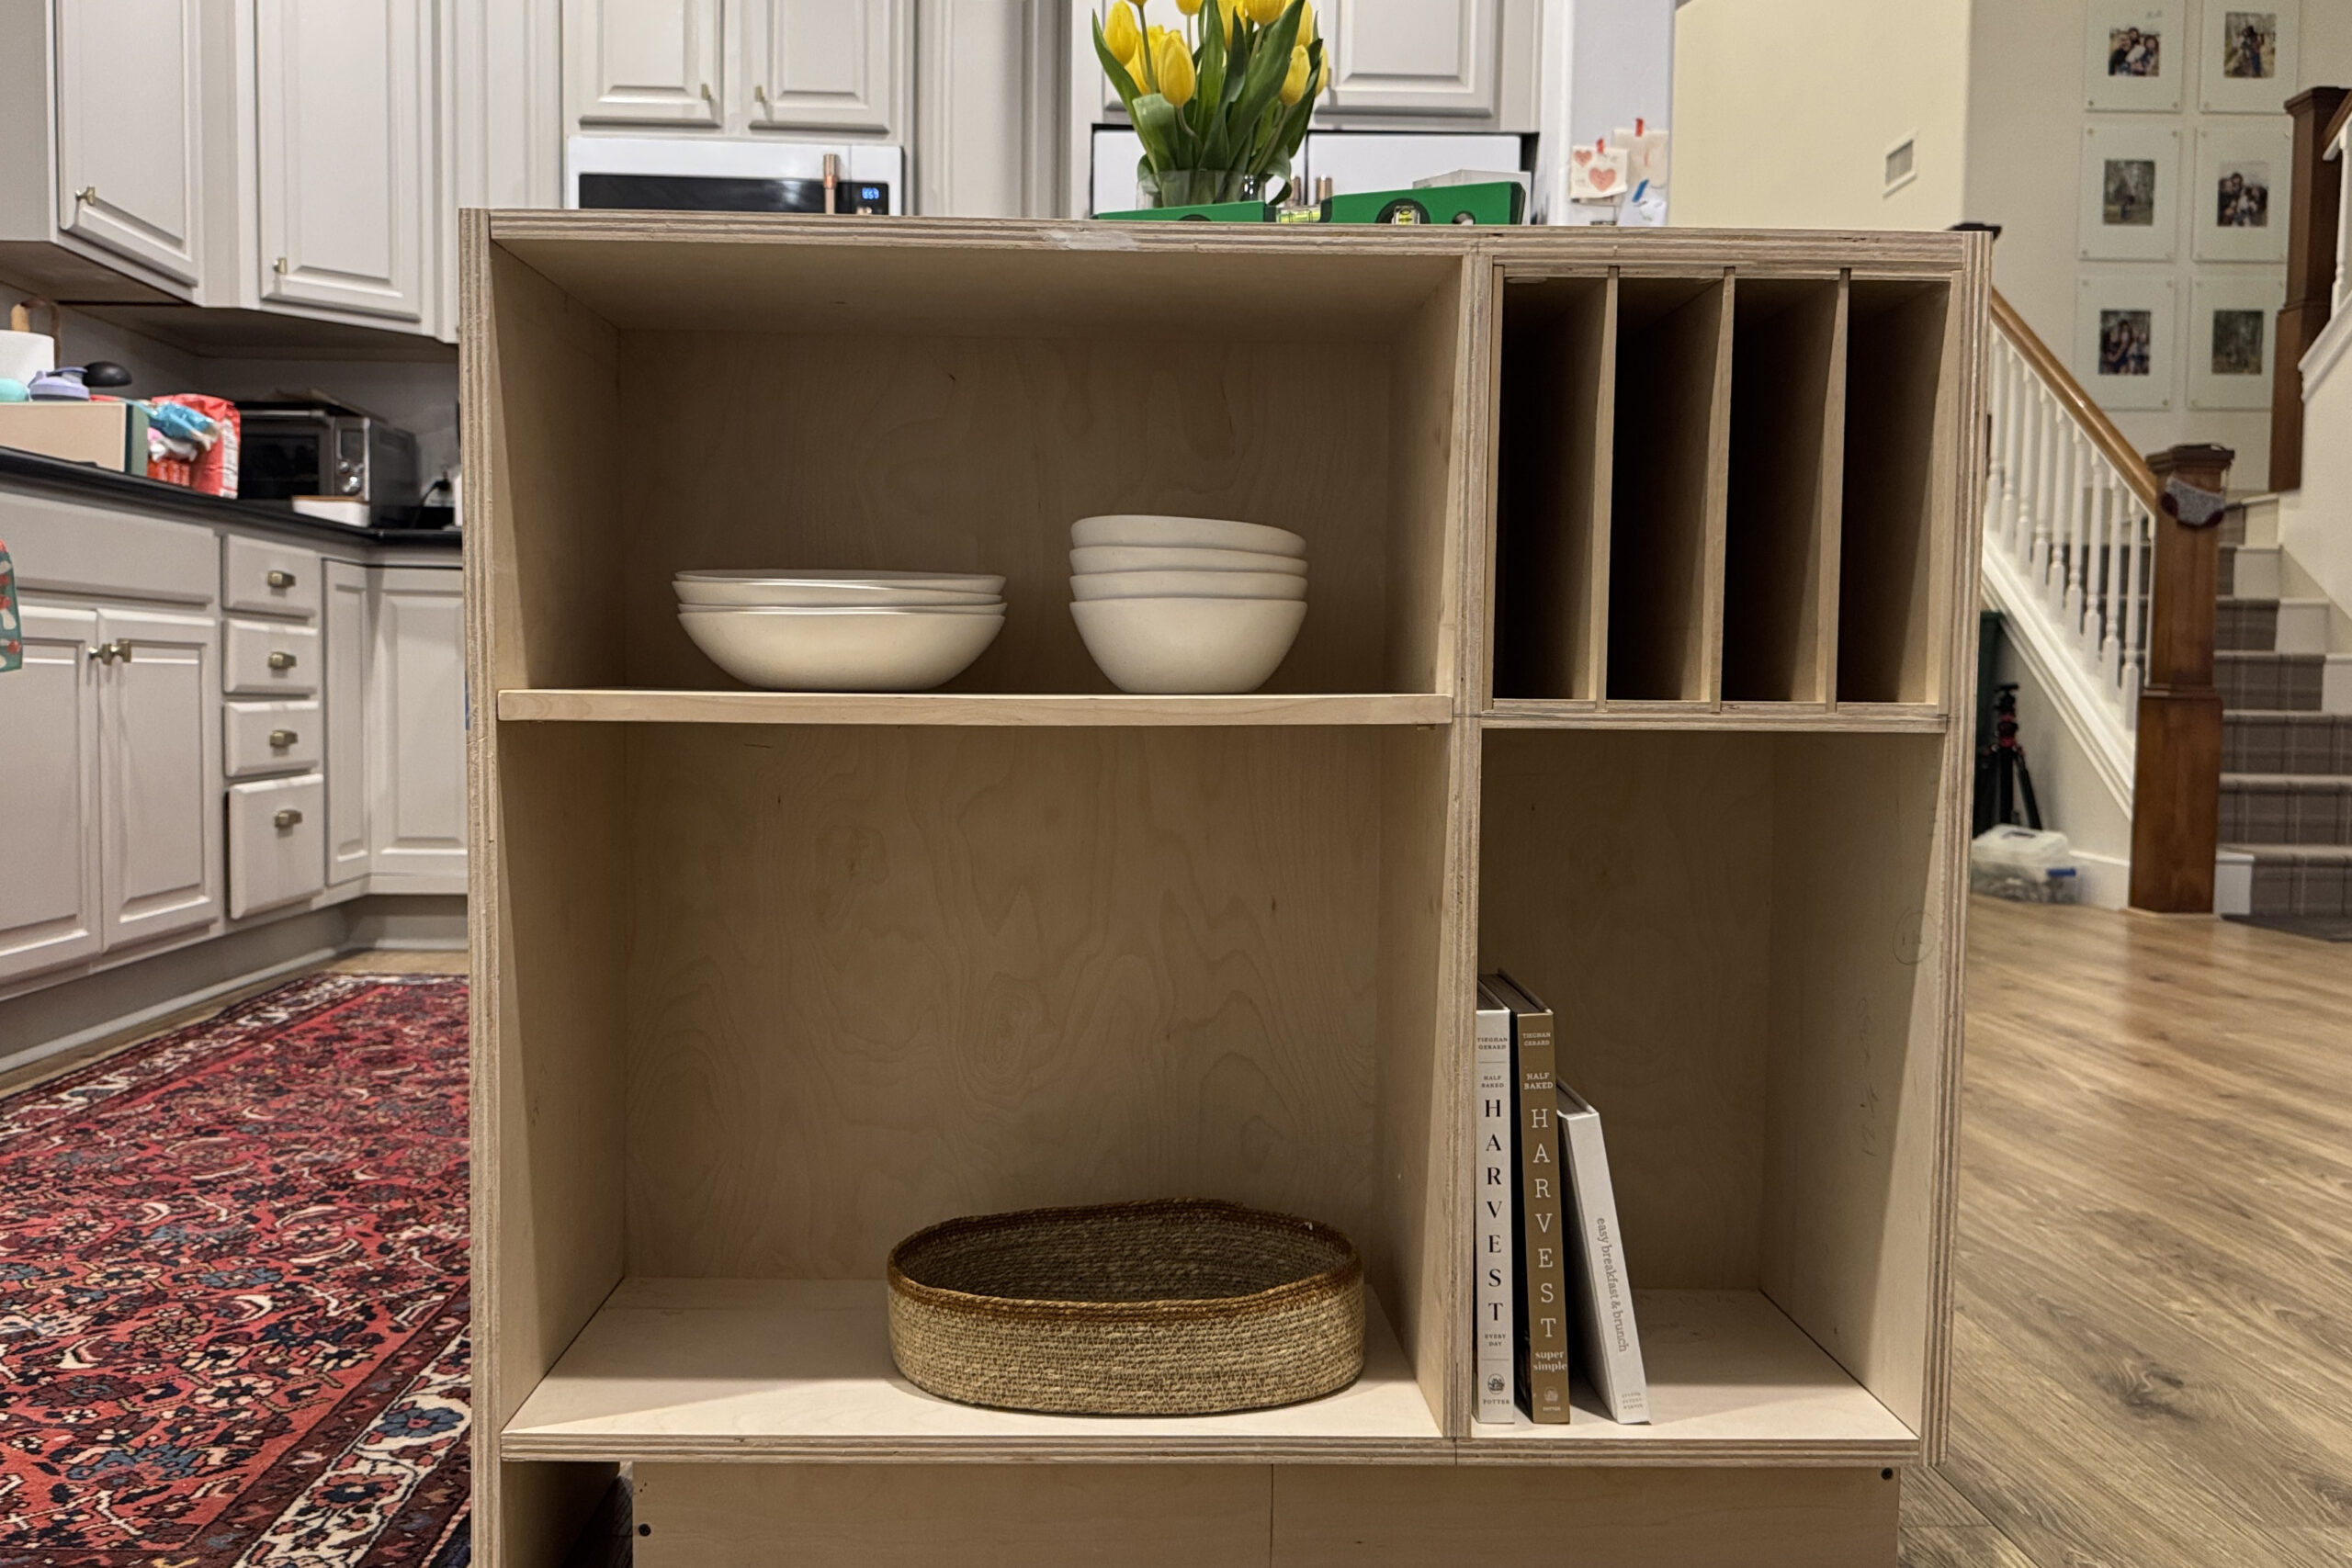
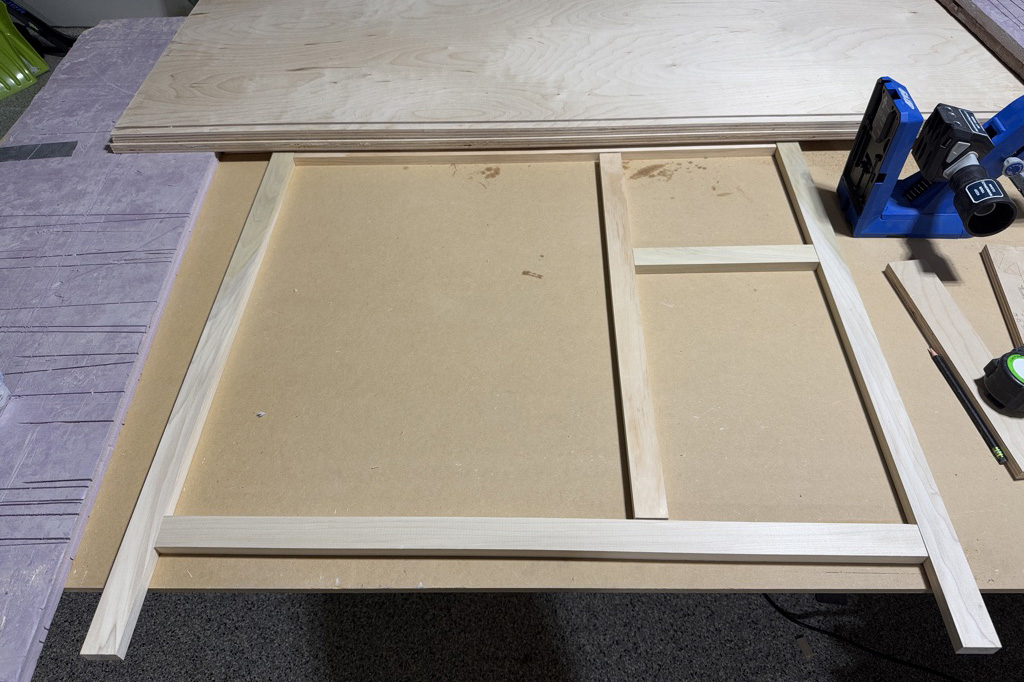
The cabinet is a simple box with a divider, shelf, and a slotted shelf that we are using for mail/papers/art that pile up on the counters and stay for weeks. Each person in our family has a slot and all of their junk goes in there each night when I clean the kitchen. This was a last minute addition because I was getting fed up with all of the paperwork that never seemed to disappear.
I always recommend using tape to visualize your project!
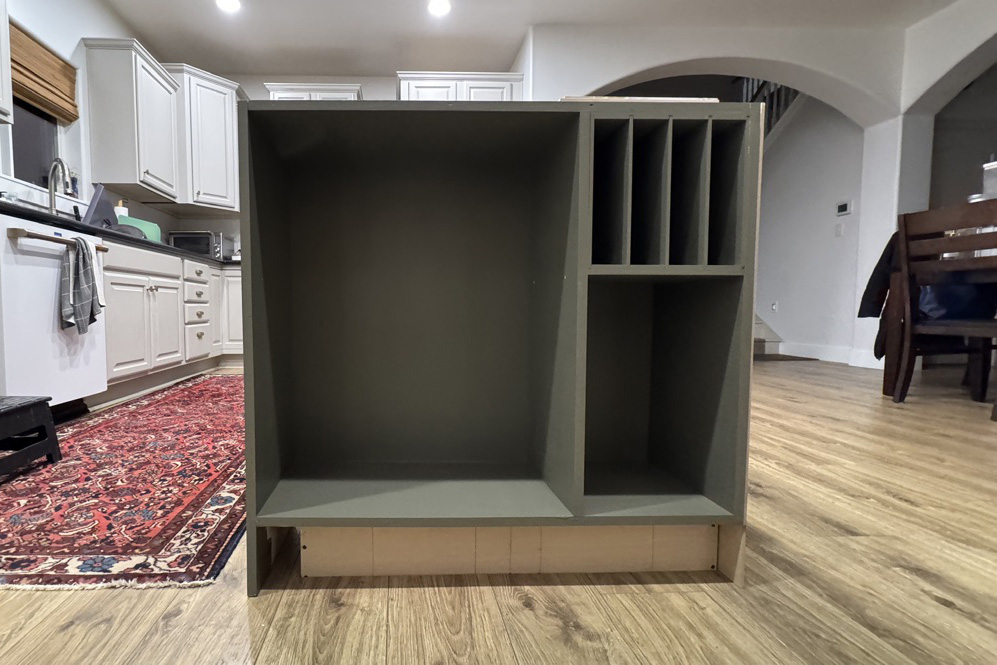
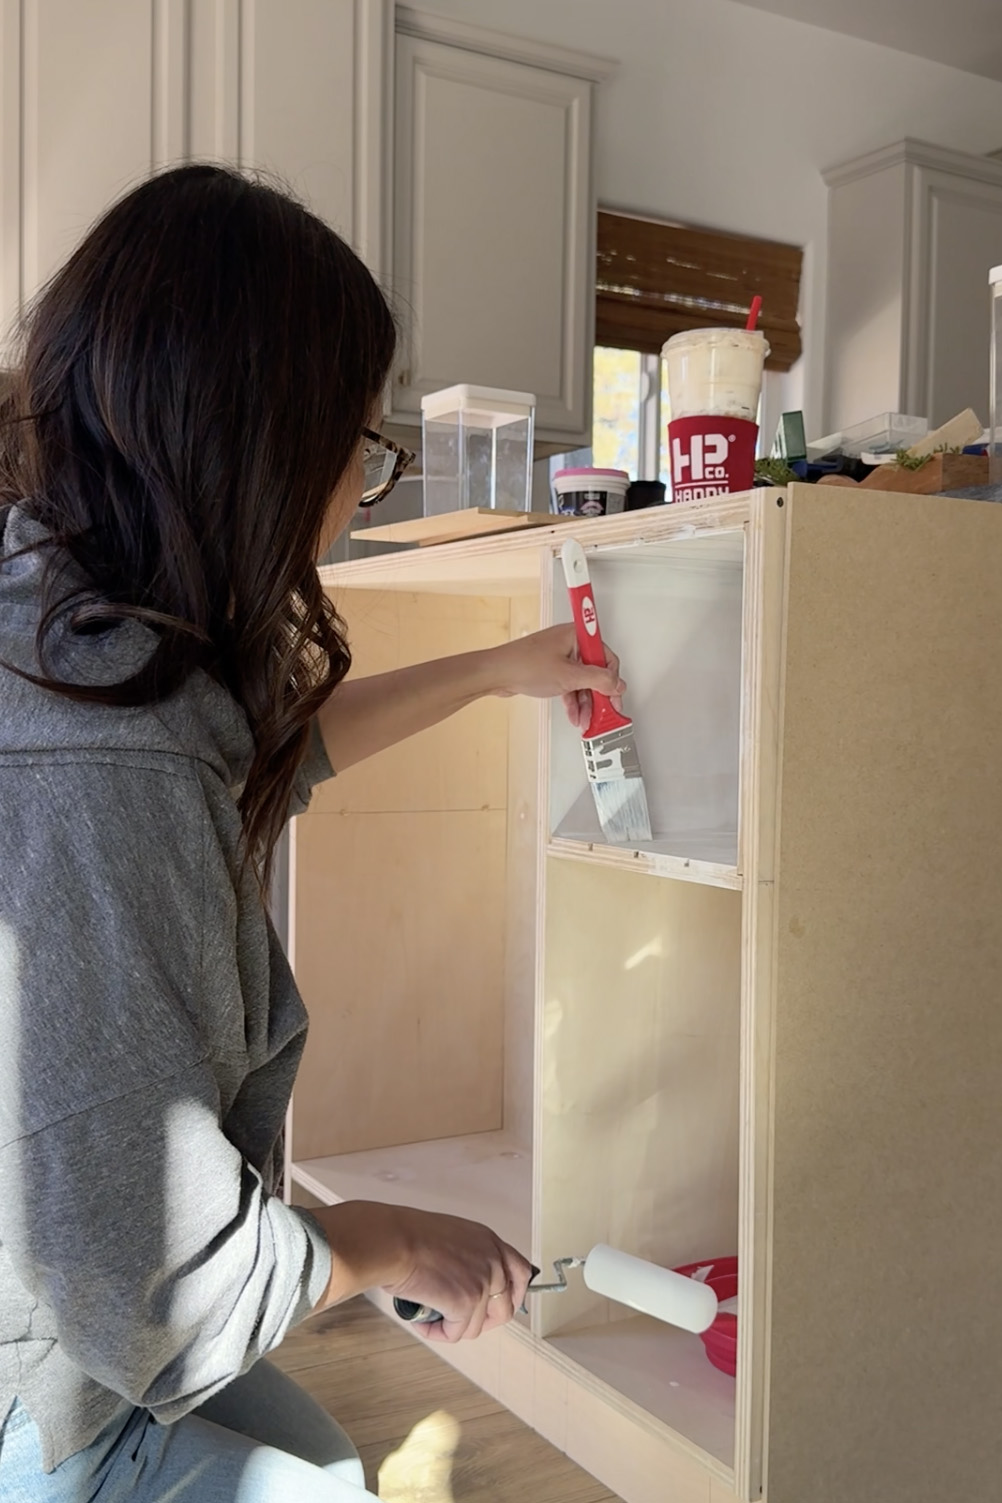
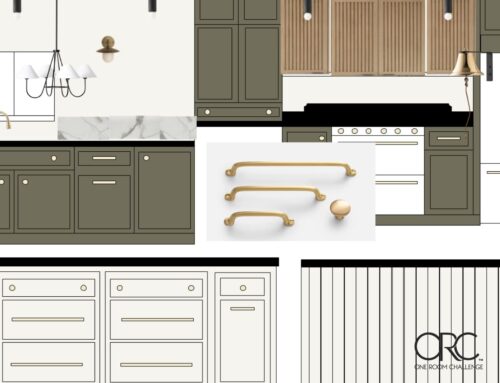
I used 3/4″ birch plywood for the cabinet and 1/4″ MDF for the slots. I primed the whole thing using a shellac primer and gave it a few coats of paint using the Handy Products Trim & Roll Kit, gifted by Handy Products for ORC.
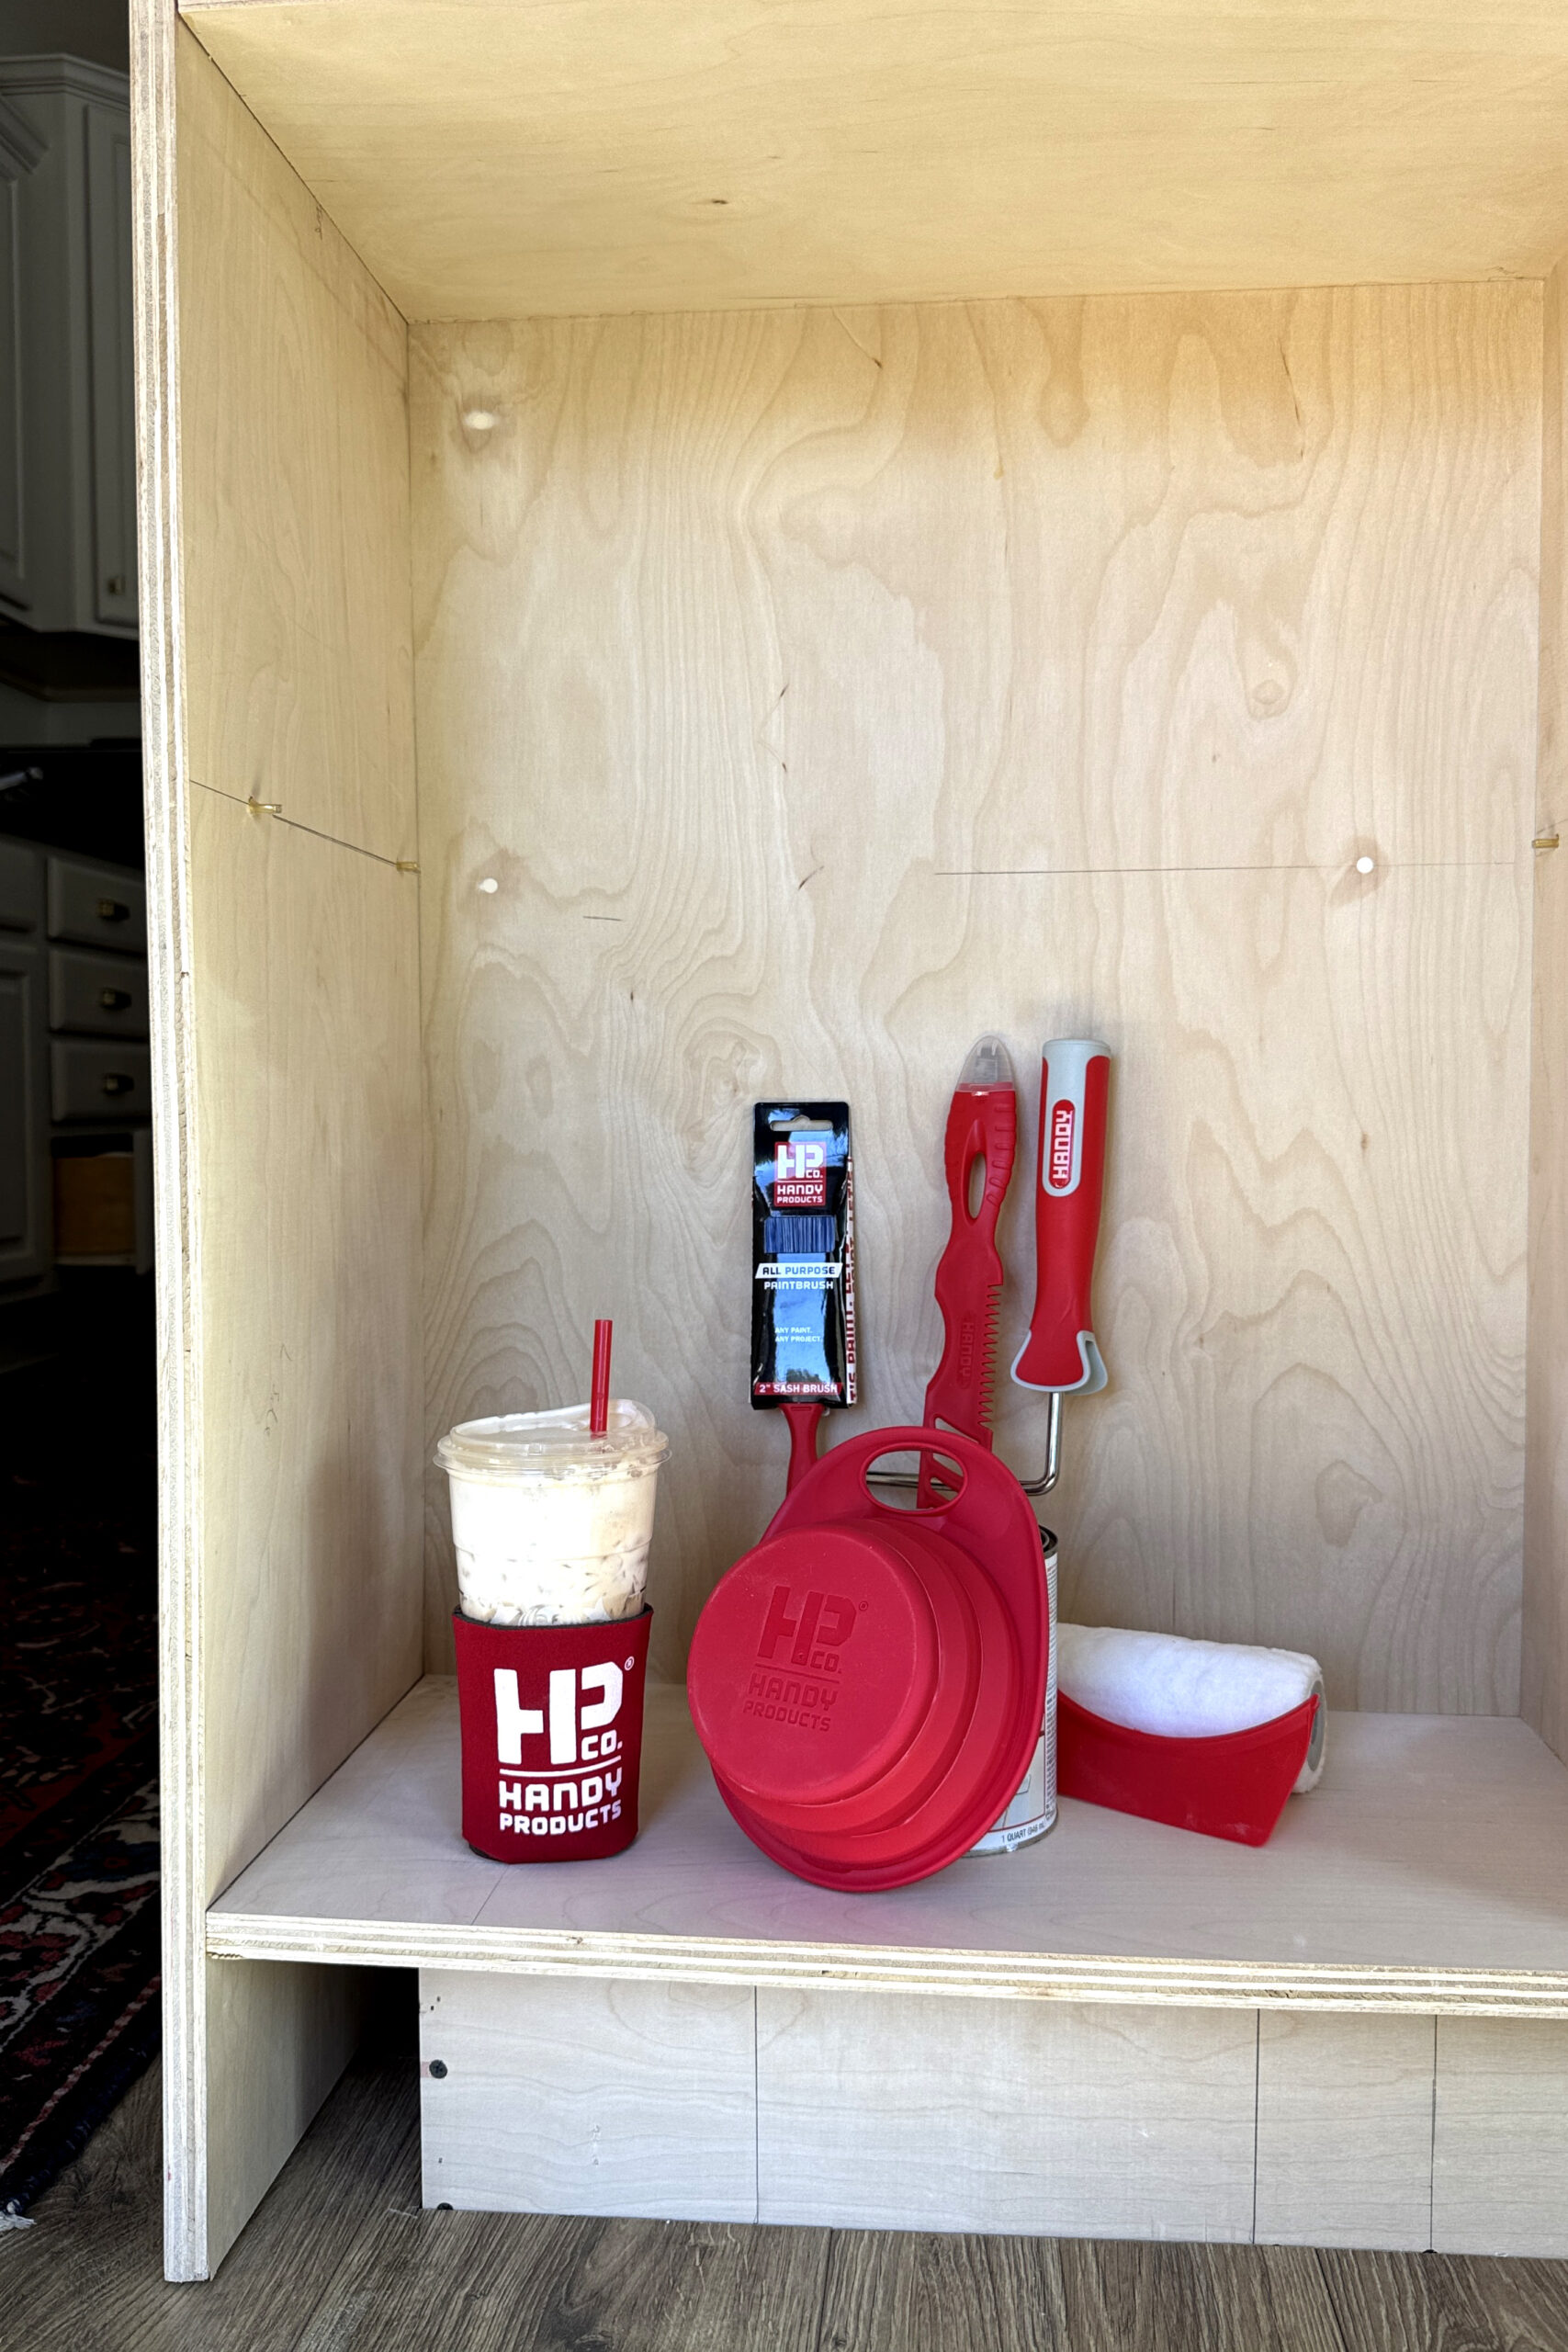
This is a really handy kit to have on hand for paint projects. I specifically loved the 4-in-1 paint can opener, stirrer, brush and roller cleaner! The paint can opener is built in to the end of the stir stick, which is brilliant in my opinion. I have so many paint can openers, but can never seem to find one when I need it.
The collapsible trim cup allowed me to pour enough paint for my project and made for easy clean up afterward. And of course, that cute little drink koozie keeping my iced coffee cold. I’ll be using the rest of the products when we tackle painting the cabinets in the future.
Next I assembled the face frame for the cabinet. This was my first time assembling the face frame in one piece vs attaching separate piece individually directly to the cabinet. I used pocket holes and wood glue.
I pre-painted and attached the face frame to the cabinet an hour before the installers arrived for the countertops.

The shelf was originally planned to be removable. It was being held up by shelf pins at the moment; however, after seeing it with the countertops, I decided it looked odd without a piece of trim there to match the right side, so I added a piece.
Here’s a view of the cabinet addition with the countertops (it fit!) before trimming it all out and covering the end panels with MDF.
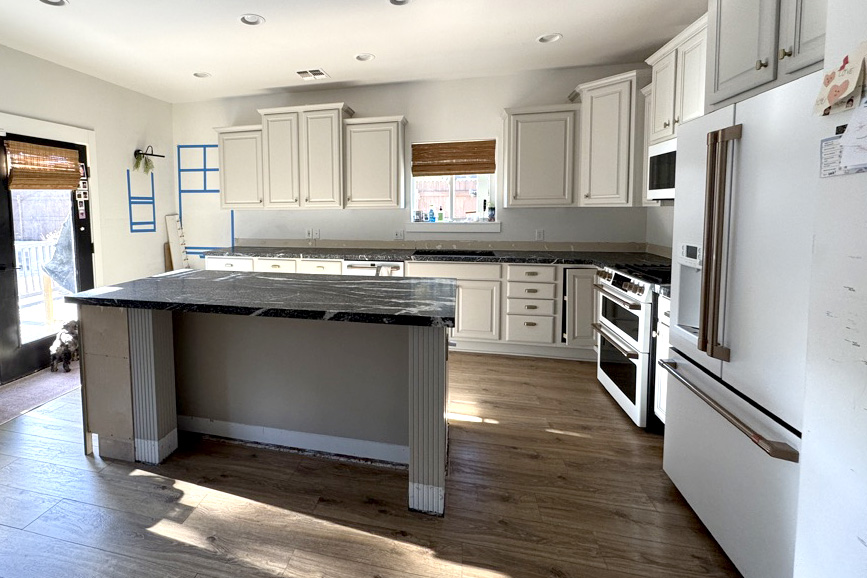
I don’t have a finished photo because well, we’re not finished. I’m still trimming the island, sanding, and needing to paint everything before we can reveal it, but I am thrilled with the direction this is heading.
Thank you Handy Products for sending over the trim kit for me to try!
Catch up on previous posts here:
- Our Kitchen Reno Plans for Fall
- Renderings, Finishes, and Choosing a Slab (reel)
- Kitchen Pantry Part One: Secret Toe Kick Drawer (reel)
- Purchasing Our Honed Granite Countertops
- Kitchen Pantry Part Two: The Larder Cabinet (reel)
Thank you to Apartment Therapy for hosting the One Room Challenge. To see the progress of other ORC participants, click here.
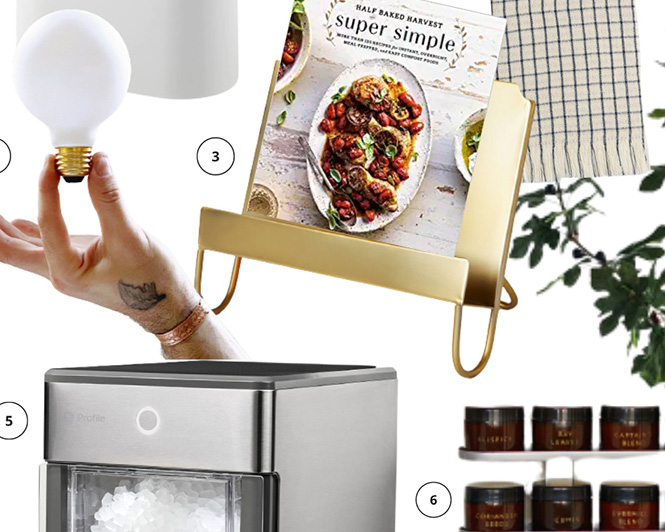
Shop the Post:

*Disclosure: This post may contain affiliate links. If you purchase a product, I may earn a small commission at no additional cost to you. Thank you for supporting my blog.
Related Posts

Hi, I’m Tiffany!
I’m so glad you’re here. I hope you’ll see this space as a source of inspiration and encouragement to take the first step in making your home a place you want to be, wherever that may be.
You can expect to find approachable DIY projects and tutorials, opinions on home design, and all the fun stuff that comes up in-between.
